How to Can Pineapple
Homemade canned pineapple is so much better than store-bought! It’s sweet, juicy, and delicious. Plus, it’s really easy to make. In just a few simple steps, you can have your very own canned pineapple.
Disclosure: Some of the links below are affiliate links, meaning, at no additional cost to you, I will earn a commission if you click through and make a purchase.
Gather Your Supplies
If you want to can your own pineapple, you need to prepare the supplies. Of course, a pineapple is an essential ingredient – hard to imagine a canning jar full of anything else! Canning jars come in all shapes and sizes, so make sure you pick one that suits your needs. And no canning adventure would be complete without a pot for boiling jars – be sure the one you choose is large enough for any size jar you have!
You will also need lids, bands and some sugar. You can learn more about canning equipment and what we use HERE.
Prep Work
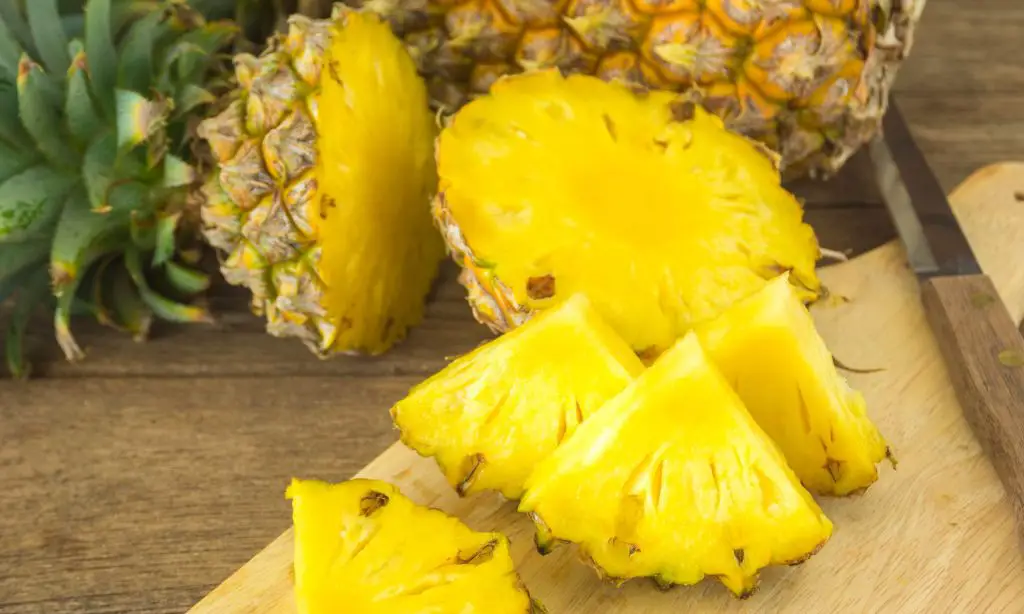
Start by peeling the pineapple. Chop off the top and bottom of the pineapple, and then use a chef’s knife to slice vertically down the sides, removing the peel and spines.
The cores are full of flavor, but they’re tough and fibrous. Slice out the cores and save them to the side.
We’ll use them to make pineapple juice and can the pineapple in its own juice. That makes for much more flavorful canned pineapple, without added sugar.
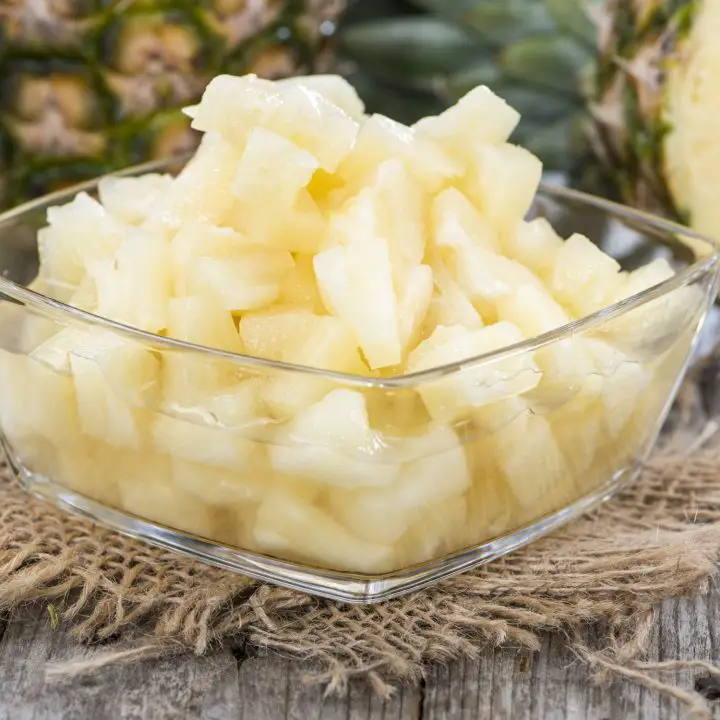
Chop the pineapple into pieces. Large chunks work, or I prefer smaller chunks because they’ll be ready to top a pizza for a quick weeknight dinner.
You can also mince them very small for crushed pineapple, and use it in carrot cake or hummingbird cake.
Pineapple can be raw packed or hot packed into jars for home canning. That means that you can either put the pineapple chunks directly into the jars raw, or you can simmer the pineapple for 10 or so minutes on the stovetop and pack it into jars hot. Either way is perfectly fine and safe.
Raw Packing
Raw Packing has the advantage of being quick and easy. Stuff the pineapple into jars, and cover with boiling water, juice or syrup. Lid up and can them in a water bath canner.
The downside is that with a raw pack, your food may discolor after a few months in the jars. Fruit, pineapple, in particular, has a lot of air inside its structure.
Some estimate that air can be as much as 30% of the total volume. When you pack it raw, that air stays inside the canning jar and will cause the food to discolor over time, and can impact flavor.
Hot Packing
Hot packing is supposed to yield a better result for pineapple in particular, according to the University of Alaska Cooperative Extension. If you’re hot packing, simmer the pineapple in your canning liquid of choice (water, juice or syrup) for 10 minutes before packing into jars. This drives off the extra air in the pineapple and ensures a better-finished product.
I’ve had great results with a raw pack, and packing hot pineapple into jars can be messy. It’s also hard to stuff the jars completely full when you’re dealing with hot pineapple and syrup together. I haven’t had issues with discoloration, but they never last more than a few months in my pantry.

Don’t Let your Homestead Fail!
Get our FREE What Makes a Successful Homestead eBook!
Canning Liquid for Pineapple
With pineapple, you have a lot of choices for canning liquid.
- Water
- Juice – Pineapple, apple or grape
- Extra light syrup, light syrup or medium syrup
You can just simply pack the pineapple into the water, but that’s going to cause a lot of the pineapple flavor to leach out into the water. Juice, such as pineapple juice, apple juice or grape juice also works.
I recommend avoiding syrup because pineapple is sweet enough. Canning it in syrup makes it over the top sweet, and it doesn’t taste like fruit anymore.
My Favorite Canning Liquid for Pineapple
Boil the pineapple cores in water, which extracts the pineapple flavor and a lot of the sugars.
Simmer the chopped pineapple cores in water for about 10 minutes, and then strain out the cores.
I found that I needed about 1/3 of a cup of added liquid for each half-pint jar, and each pineapple yielded roughly 5 to 6 half-pints. Estimate that you’ll need 2 to 2.5 cups of boiling liquid for each pineapple you can.
It’s always better to have too much than not enough. Running out of canning liquid mid-batch is frustrating!
Prepare Your Canner
Pineapples are a high-acid fruit so they can be safely canned in a water bath (as opposed to pressure canning). Make sure jars don’t have any nicks or cracks in them (I’ve lost jars and their contents in the canner this way).
Wash jars and bands with hot soapy water, rinse them and pop them in your canner full of water. Heat them to sterilize them. You don’t need to boil, just bring water to a simmer hot enough that steam is evaporating.
Get your lids out and ready. The bands can be reused, but always use new lids when canning to ensure a proper seal. Leave jars in canner until they’re ready to be filled.
Hot Packing Your Pineapples
After you have created your liquid for canning and it is simmering add your pineapple and heat throughly.
Use a slotted spoon to pack hot pineapple into jars leaving a generous ½ inch of headspace. Then ladle hot “syrup” over pineapple leaving ½ inch headspace in each jar.
Remove any air bubbles by running a butter knife or a canning ruler along the inside “edge” of the jar. Adjust headspace if needed, then wipe rim, place lids on top and screw bands on.
Place jars in canner so they’re completely submerged in water and bring to a boil. Process pint jars for 15 minutes or quart jars for 20.
Once time is up, turn off heat, remove canner lid and let cool for 5 minutes. Then, remove from water and allow to cool completely before storing.
Learning how to can pineapples is a fun and delicious way to preserve this fruit for later. With these easy steps, you’ll be an expert in no time! The next time you have a surplus of pineapples, don’t let them go to waste – start canning them!
You may also enjoy these related articles:
Did you enjoy this article? Want to hear more? Stay in touch! Sign up below to receive weekly tips and inspiration for your homestead.
[convertkit form=3733554]
Sharing is Caring
Home Canned Pineapple
Ingredients
- 12 lbs pineapple (approx. 6 large pineapples peeled, cored & cut into chunks)
- Water
- Canning Jars & Lids
Instructions
- Prepare water bath canner, jars and lids. Wash jars and bands with hot, soapy water, then place in water bath canner and bring water to a simmer to sterilize jars. Leave jars in canner until ready to fill. Always use new lids when canning (bands can be reused).
- Peel and core the pineapples. **Save the cores
- Chop the pineapple into chunks. Large hunks, small chunks or minced for crushed pineapple. Choose your preference.
- In a large, stainless steel pot, simmer the chopped pineapple cores in water for about 10 minutes, and then strain out the cores. Reduce heat to medium low.
- Add pineapple chunks to liquid. Heat thoroughly (about 30 seconds per pound).
- Use a slotted spoon to pack hot pineapple chunks into jars, leaving a generous ½ inch headspace. Then ladle hot syrup into jars, covering pineapple chunks, leaving ½ inch headspace.
- Remove any air bubbles by running a butter knife along the inside of the jar. Adjust headspace if necessary. Wipe rim, place lids on top, screw bands on and place in the canner, ensuring that jars are completely submerged in water.
- Bring water to a boil and process pint jars for 15 minutes or quart jars for 20 minutes. Once time is up, turn heat off, remove canner lid, let sit for 5 minutes and then remove and let cool completely before storing in a cool, dark place.
