Best Way to use Worm Compost Bins
Welcome to our guide on worm composting! In this article, we will discuss the benefits of worm composting, what materials can be added to a worm compost bin, and how to set up and care for your very own worm compost bin.
Worm compost bins are a great way to recycle food scraps and reduce the amount of waste produced by households. Not only are worm compost bins a great way to reduce your carbon footprint, but they also produce nutrient-rich fertilizers that can be used to fertilize plants in your garden.
Disclosure: Some of the links below are affiliate links, meaning, at no additional cost to you, I will earn a commission if you click through and make a purchase.
What is a Worm Compost Bin?
Worm compost bins work by providing a home for red wigglers, also known as Eisenia fetida, a type of earthworm that feeds on organic matter. The worms eat the food scraps and break them down into a nutrient-rich compost that can be used to fertilize plants. Worm compost bins are easy to set up and care for, and they can be kept indoors or outdoors depending on your needs.
Why Compost with Worms
To me composting with worms is a no brainer. There is very little investment of time and money. A homemade worm composter coasts about $40 and a store-bought worm hotel will cost about $150.
Your worms will produce natural, odor-free compost for you and you only have to spend 30 minutes per week to maintain it!!
Your biggest time investment is harvesting your worm casting and that only happens every 3-6 months.
Setting up your worm composting bin
To set up a worm bin you will need a dark colored plastic storage bin with a lid, coco coir, shredded newspaper, worms and some food scraps.
Drill a series of holes a few inches apart around the top of your bin and a few in the bottom. Do not drill any holes in the lid. Worms do not need light!!
The holes on the sides are for ventilation and the holes on the bottom are for drainage which there shouldn’t be much of. With any worm bin design, the goal is good ventilation, darkness, and drainage.
You will also want to make sure your worm bin is elevated. The easiest way to do this is to place a plastic bin inside a slightly larger second bin.
https://youtu.be/3Fl8TZouwMM
Bedding for Your Worms
Bedding Materials
- Coco Coir
- Leaves
- Shredded newspaper
- Cardboard egg cartons
- Straw
- Big scoop of garden soil (a MUST)
- water
If you are planning on keeping your worm bin inside, skip the leaves and the straw because these materials can introduce insects and other creatures that you don’t want inside your house.
Layer your bedding materials inside your worm bin. Then pour in some water. You want the moisture level to be the same as a wet sponge – not too wet and not too dry. If the bedding is too wet by accident, add more dry materials and/or let it drip off.
DO NOT add worms until you get the bedding material to the correct moisture content!!
Want to Know More About Composting?
Check out our FREE Key to Black Gold: Composting for Beginners eBook!!
Where Should your Put Your Worm Bin?
Outside
There are two big benefits for keeping your worm bin outside; capacity and a lot less attention to detail. Worm bins don’t often smell but might have a slight odor to them every now and then. If your bin is kept outside the smell will be less noticeable.
If you do keep your worms outside and you live in an area that gets freezing temperatures during winter then you will need to bring the worms inside during winter so they don’t die.
Inside
Indoor worm bins are limited by the space that you have available. Your space will determine the size of bin you can keep and therefore the number of worms that can comfortably live inside your worm compost bin. With only a certain amount of worms, you will only be able to compost a certain amount of food or it will get stinky and go wrong. Learn more about how many worms you should keep at the end of this article.
Getting Worms
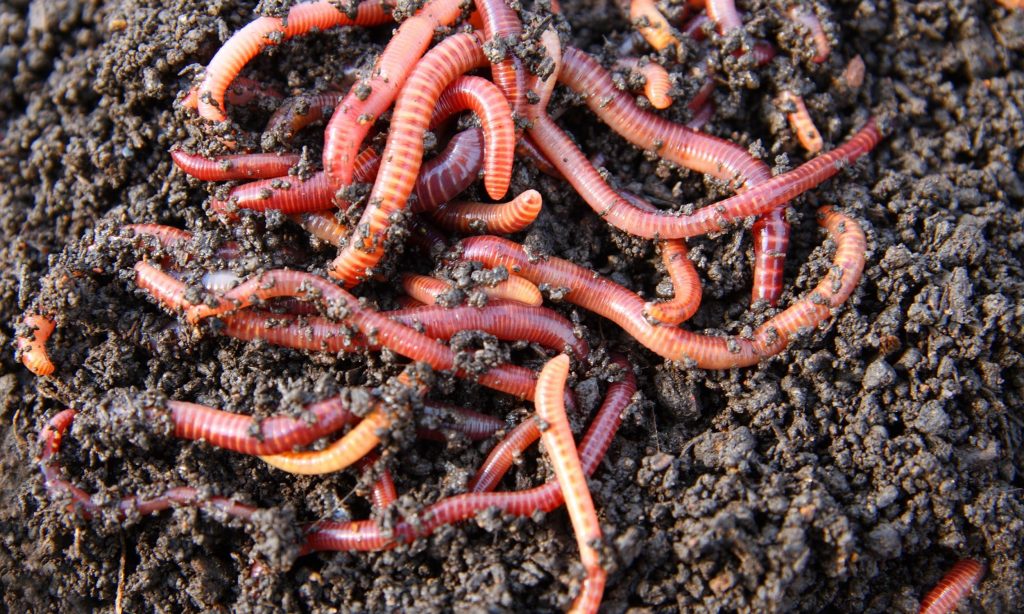
Red Wigglers are the most commonly used worm for vermicomposting. The red wiggler species (Eisenia fetida) love living in rotting organic materials and manure. They are also extremely efficient at breaking down organic materials.
Nowadays there are many companies that will ship red wiggles to you by the bag. We recommend Uncle Jim’s Worm Farm.
Keep in mind that a pound of worms will eat half their body weight in waste EVERY DAY. If you don’t have enough food waste for your worms they will end up dying. To determine how many worms you should get collect your food waste and weigh it, you can then determine how many worms you’ll need.
What Should You Feed Your Worms
Your worms will eat almost any fruit or vegetable waste. We have found that our worms love banana peels. Do not give them anything that comes from an animal – no fats, bones, dairy, or meat.
Worms can also have a difficult time with some stems and the outer layers of onions, and they can’t handle too much citrus.
Think beyond fruit and vegetable waste… you can add coffee grounds, filters, napkins, shredded paper towels, and non-plastic teabags to your worm bin as well.
To add food to your bin
- Check if there’s something left over that the worms are avoiding from previous feedings.
- Remove anything they won’t eat.
- Dig a hole on one side of your bin.
- Add your food scraps.
- Burry the scraps beneath the top layer of bedding
- Add a handful of shredded paper to help soak up moisture.
Remember worms will eat half their body weight every day!! When you first get your worms and introduce them to your worm bin they will have a slow start. Begin with small amounts of food and check to see how long it takes them to eat it. Increase the amount until you are adding the equivalent to half their weight daily/weekly.
We hope that this blog post has helped you understand the basics of worm composting and given you enough information to get started. If you’re looking for more detailed instructions, or want to know more about composting, be sure to download our FREE Composting Guide; The Key to Black Gold: Composting for Beginners. And as always, if you have any questions feel free to reach out to us!
You may also enjoy these related articles:
Did you enjoy this article? Want to hear more? Stay in touch! Sign up below to receive weekly tips and inspiration for your homestead.
[convertkit form=3733554]
Pin for Later