Worm Composting 101
Worms are decomposers with the ability to turn trash into treasure. Though worms are present in most compost piles, creating a worm compost bin is an excellent way to use these powerful critters to break down organic wastes and make usable compost fairly quickly. Keep reading to learn how you can diy a worm compost bin.
Disclosure: Some of the links below are affiliate links, meaning, at no additional cost to you, I will earn a commission if you click through and make a purchase.
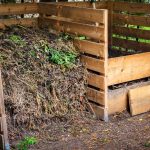
How to Start a Composting Bin
Worm composting, also known as vermicomposting, is a simple way to reduce household garbage, and it’s possible to do whether you live in a tiny apartment or a large house! By layering your food scraps with dry materials like scrap paper and cardboard and adding the magic ingredient – worms – you can convert it into compost gold, while reducing your reliance on the landfills that are quickly filling up.
To Learn More About Composting Visit- Composting for Beginners
How to Compost with Worms
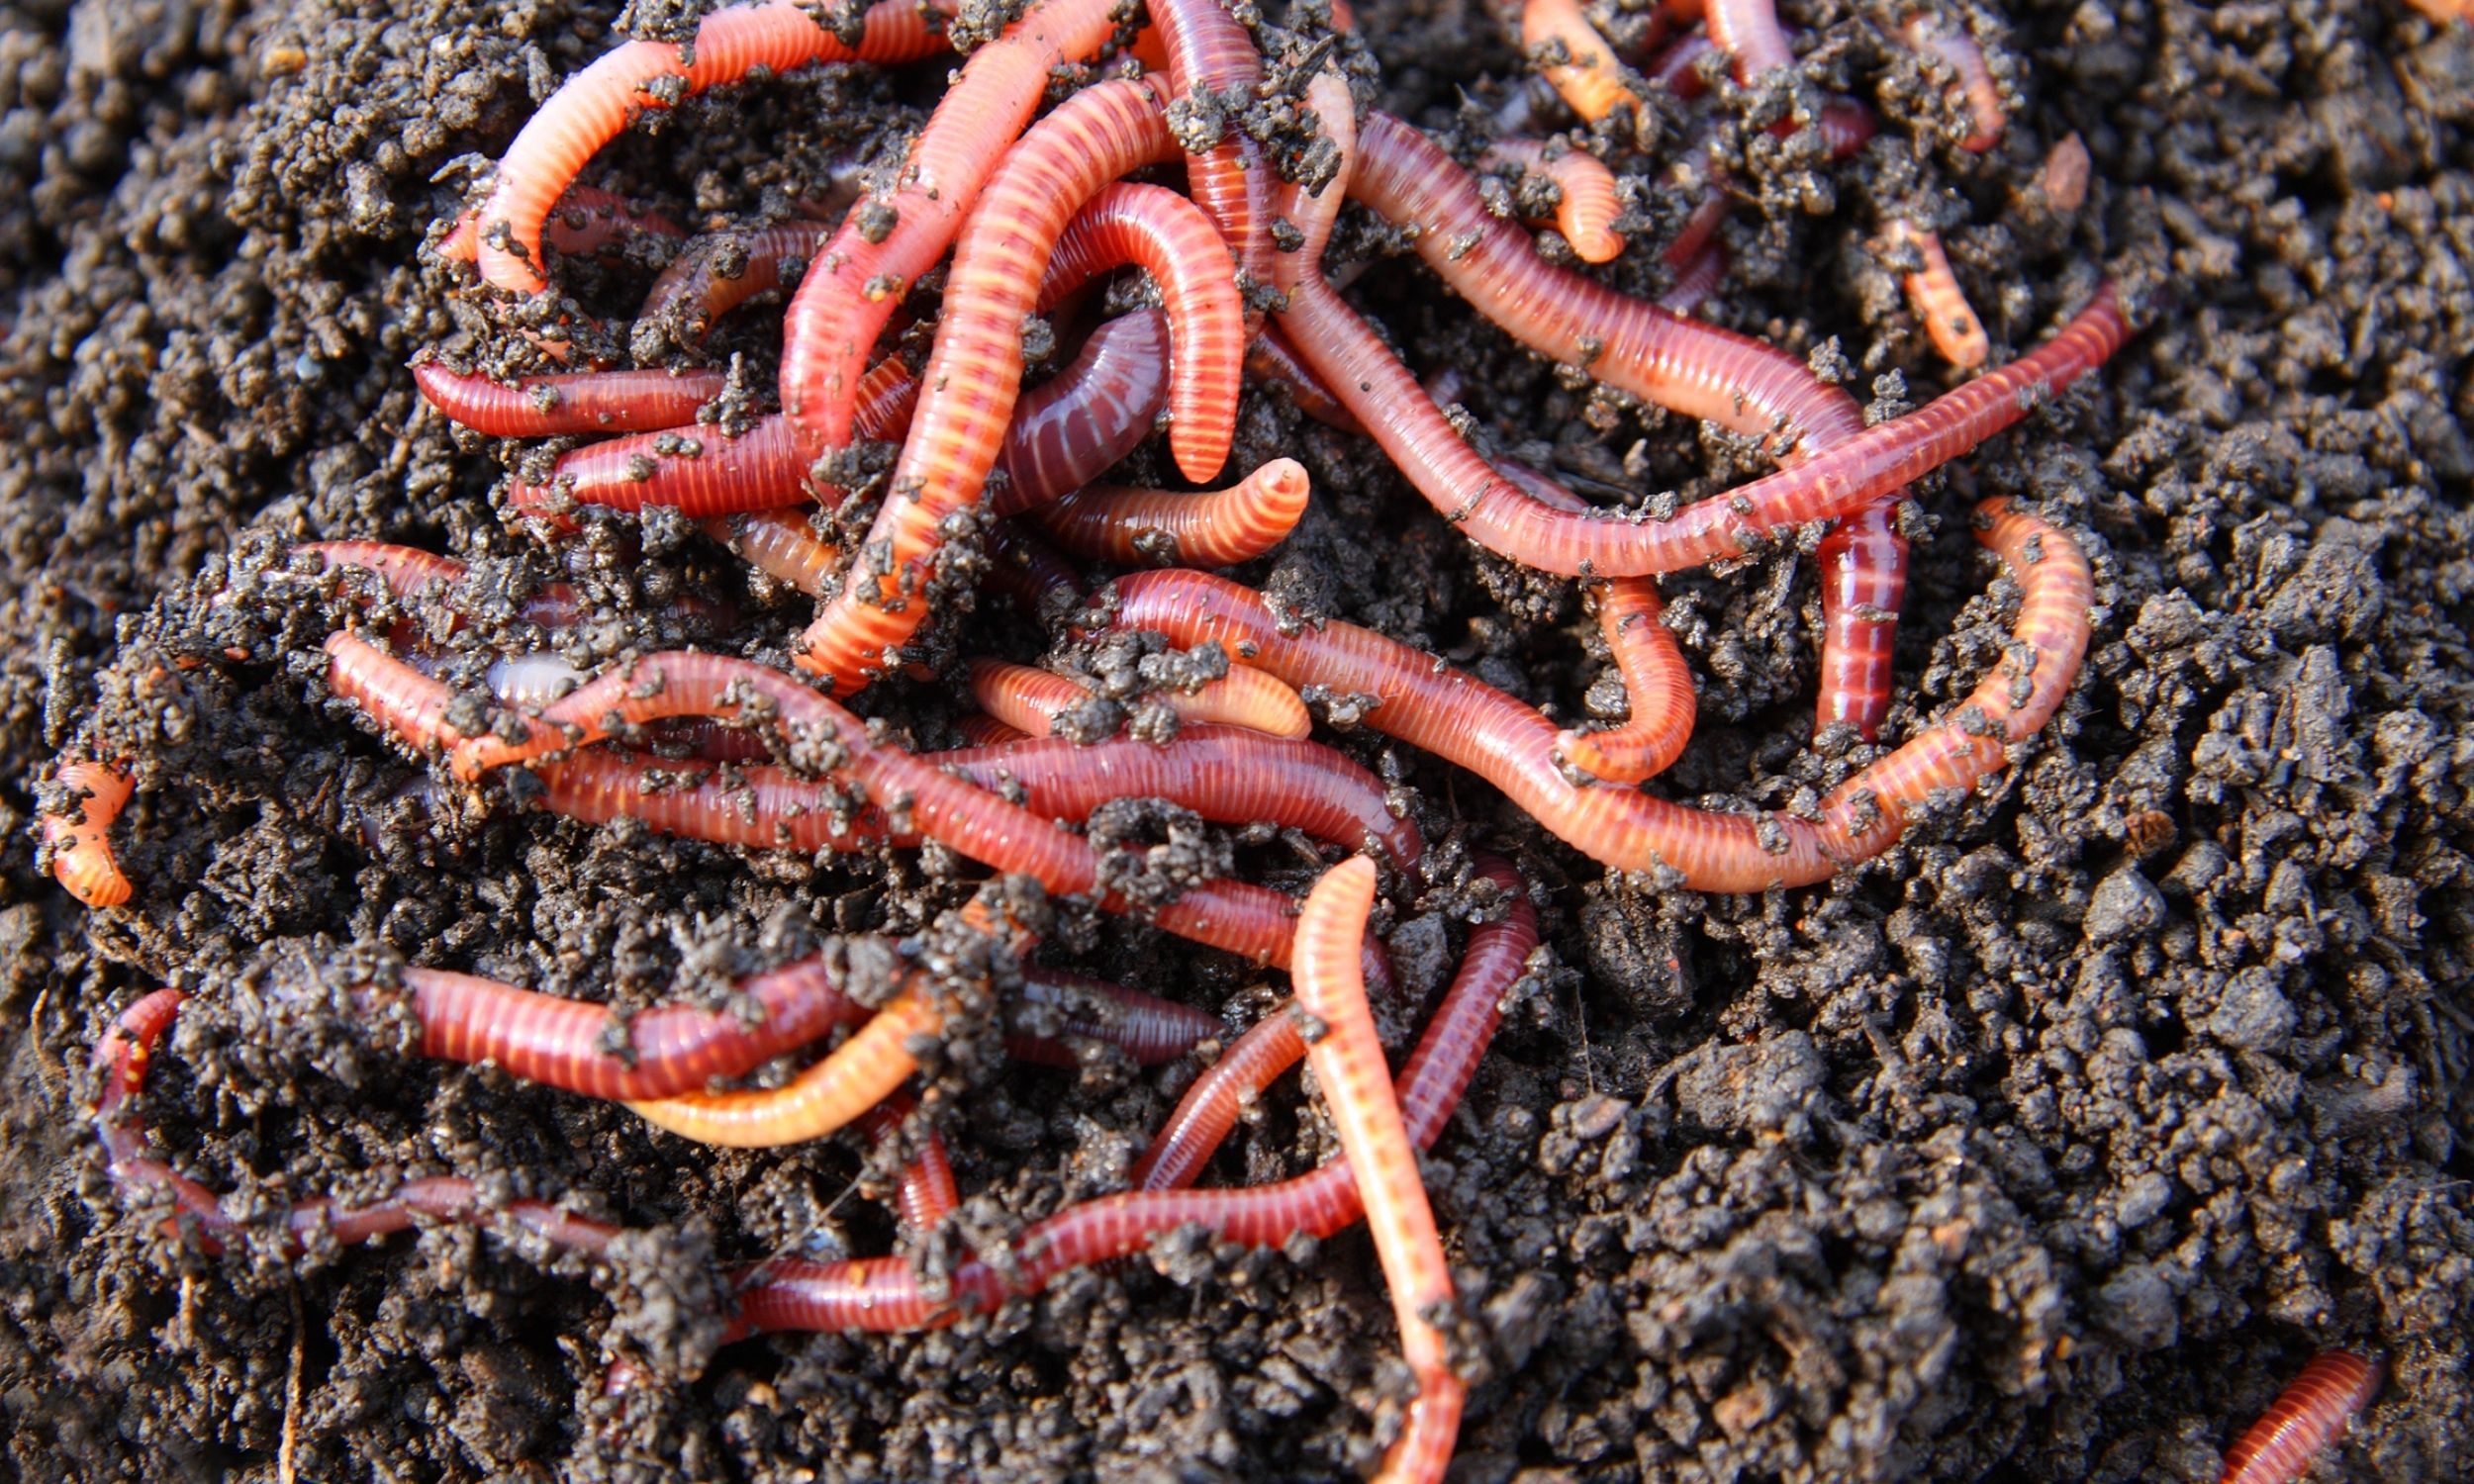
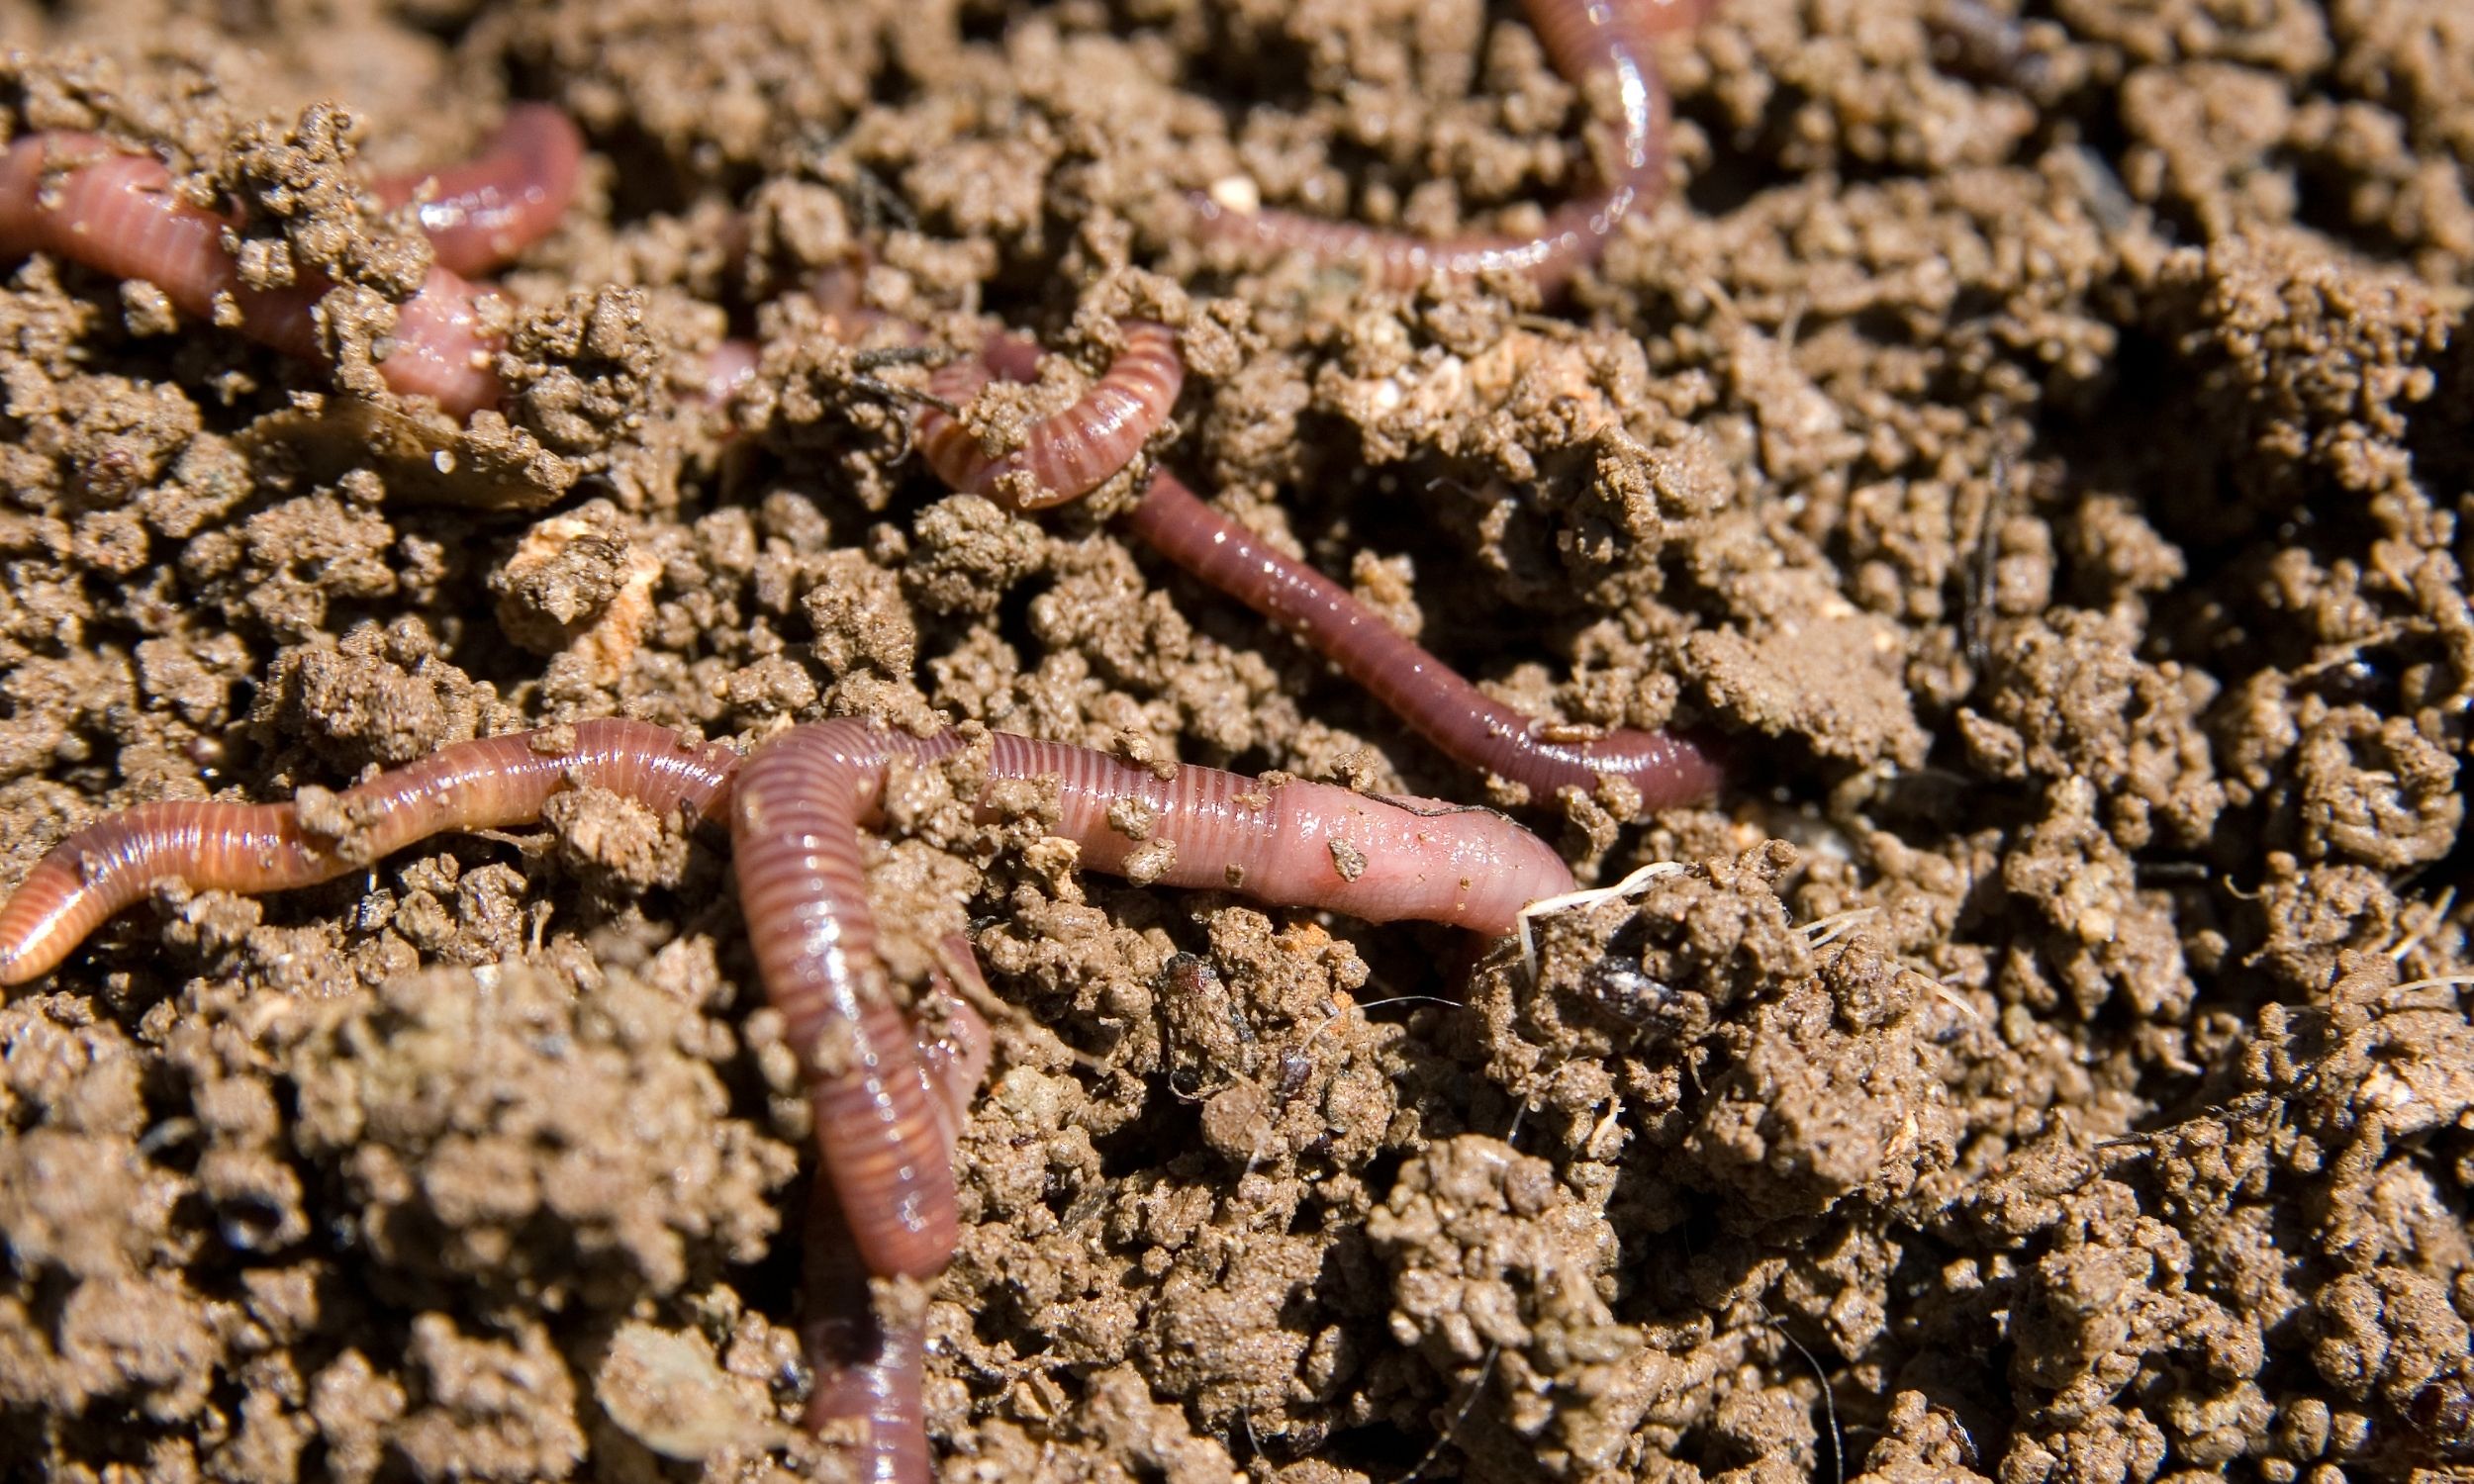
All worms are not created equal. For vermicomposting, you need red wiggler or red earthworms (probably familiar to you if you fish). Your worms have one mission in life: to eat your food scraps and cast (i.e., poop) it into super-rich soil. Not a bad life’s purpose. There are other organisms in there too that help break down your garbage. But the worms, and their health, are the number one priority.
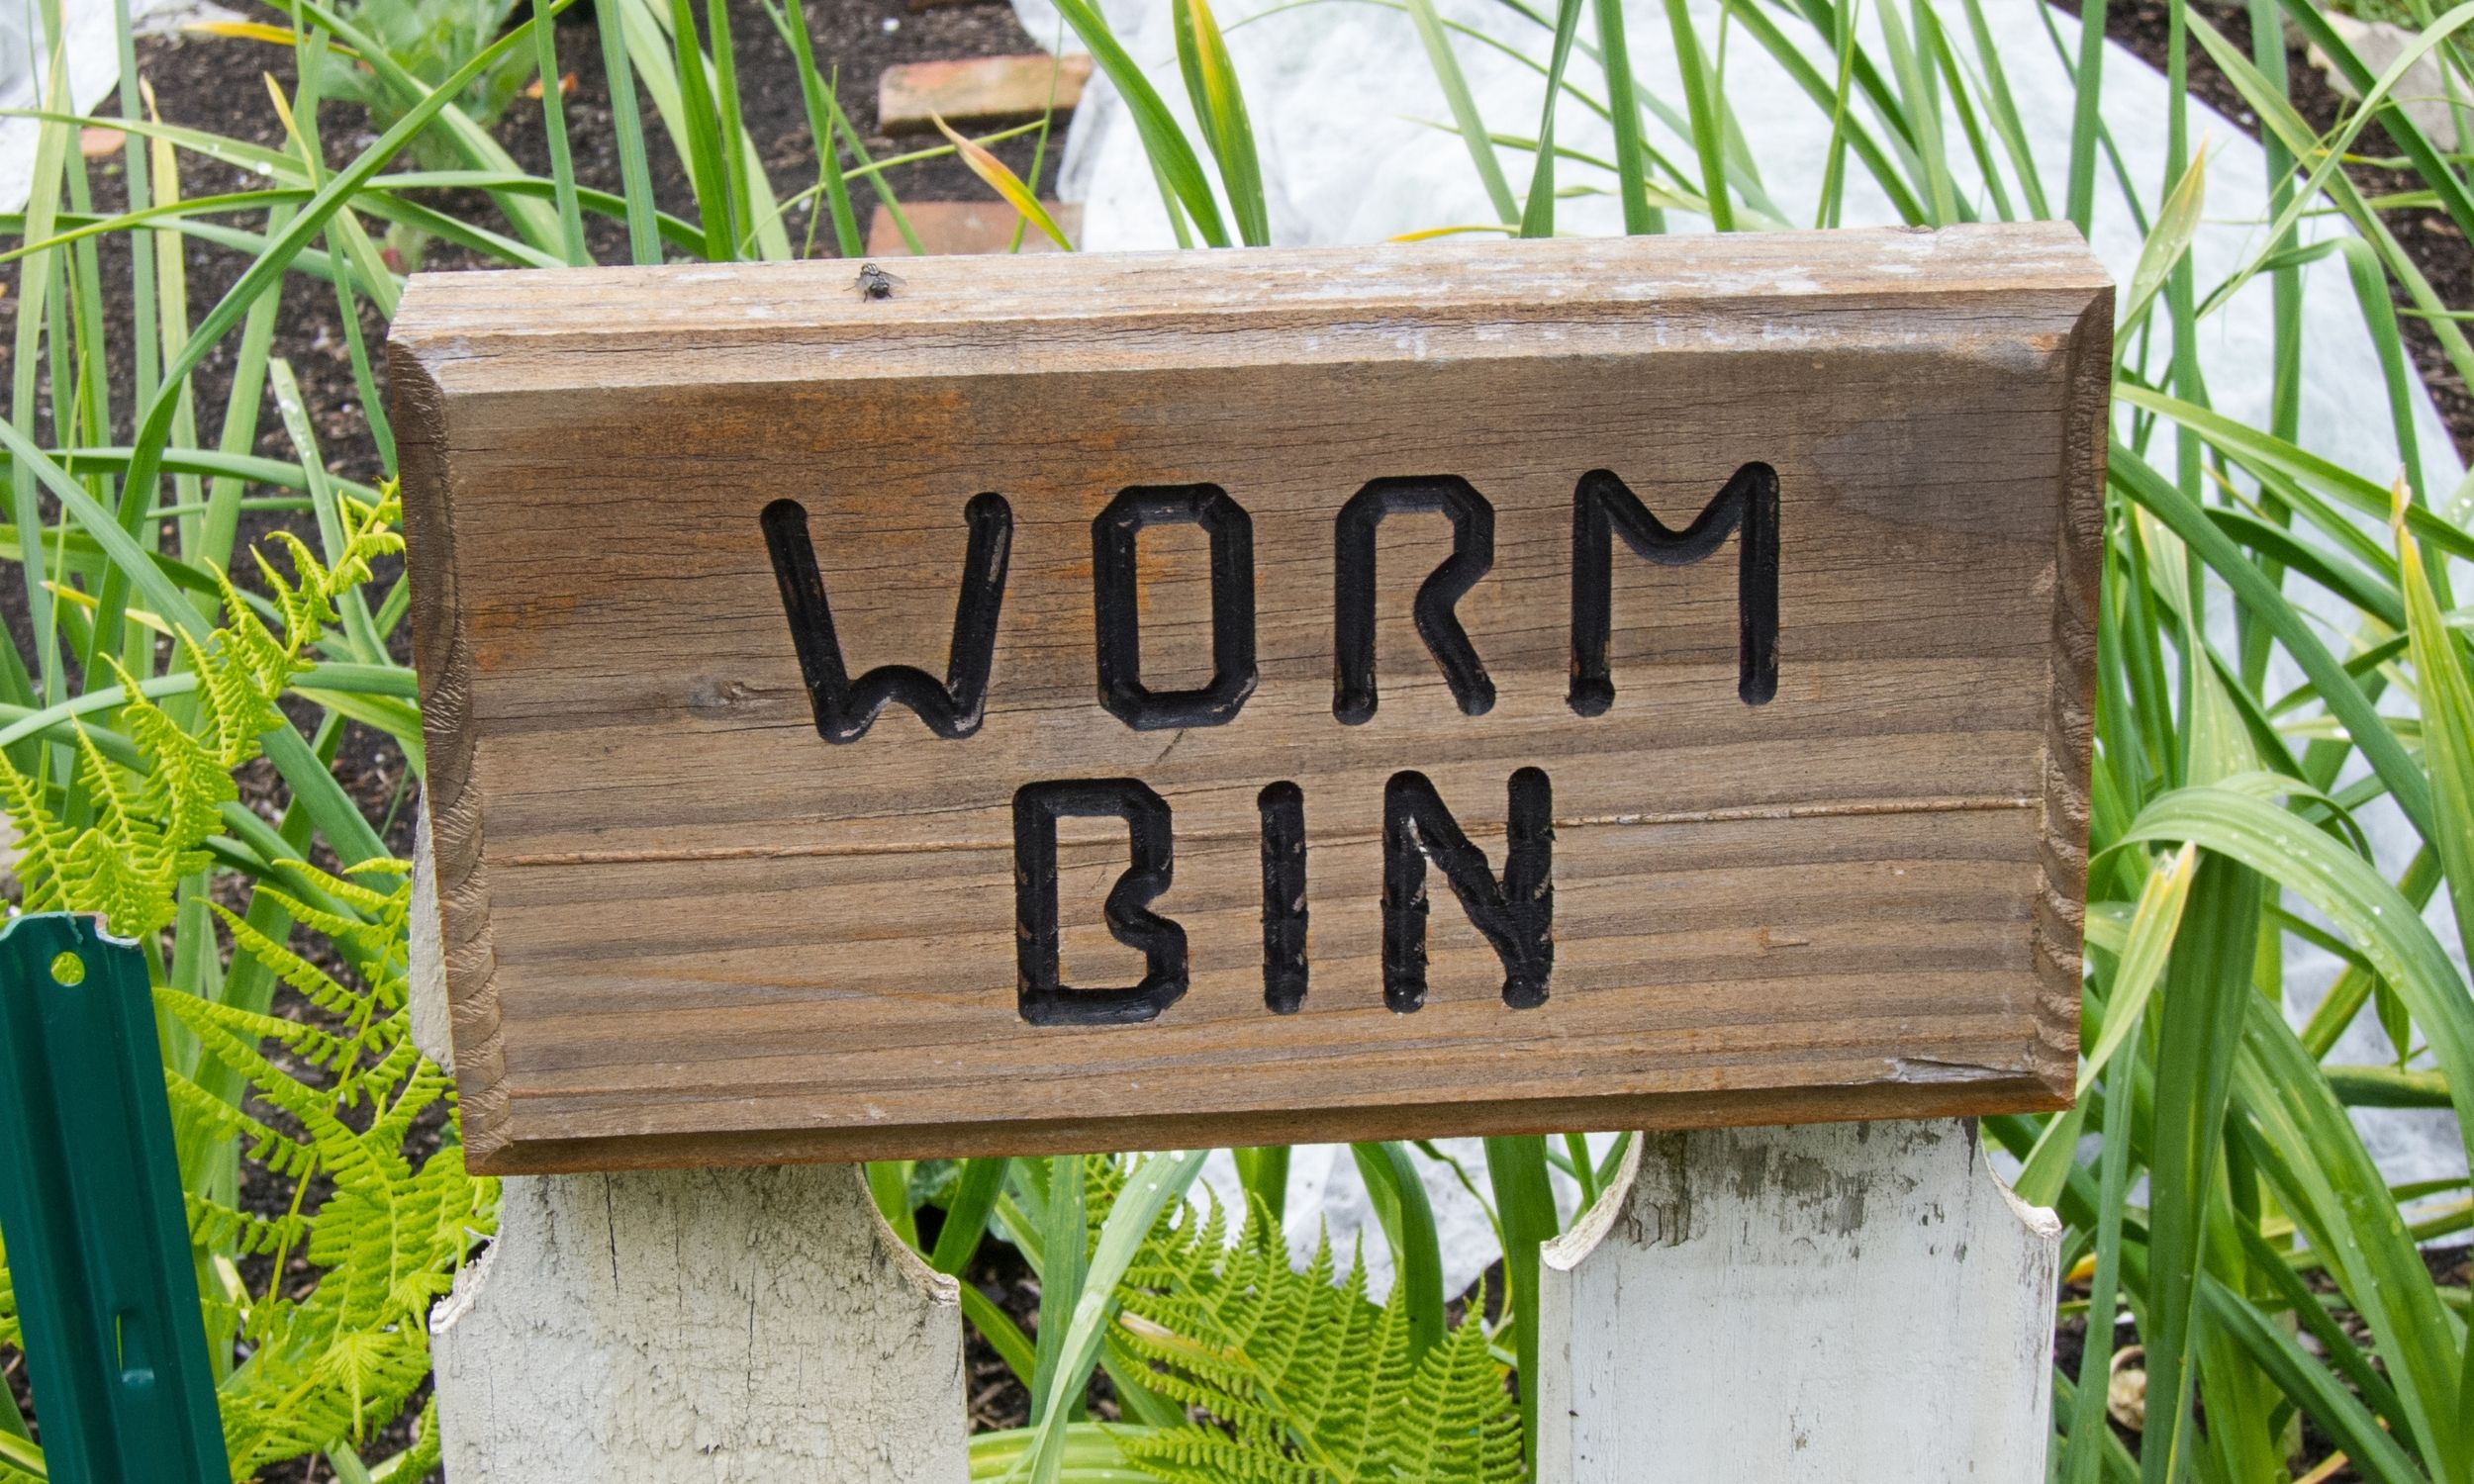
Worm Compost Bin DIY
- To begin your adventure in vermicomposting, start first with shelter for your worms. If you want practical, easy, and cheap, go with a 10-gallon opaque plastic storage tub with a lid. Use a nail, drill, or chisel to make a few holes around the top of the sides. The holes on the sides are for air circulation. Do not put holes in the bottom, your worms will crawl out. What about drainage, well a properly functioning worm bin will not have any excess moisture to drain out. Do not put holes in the lid. They let in too much light and encourage excessive evaporation.
- Once your bin is prepped, get the bedding ready. You will need Coco Coir Soil Amendment/Bedding and some dirt from your yard (this will be their grit). You will also need newspaper (avoid the glossy inserts), office paper, or printer paper. Shred the paper by tearing it into strips or running it through a shredder. This shredded paper makes a great addition to either a worm bin or compost pile. In a compost pile, it serves as a “brown” carbon-rich ingredient. Next, make sure the bedding is moist. Worms breathe by exchanging gasses through their moist skin, so spritz the bedding with a mister full of water. It should be damp but not soaking. Fill your empty bin about 1/3 full with loose bedding.
- Then, add some food scraps. Vegetable peelings, coffee grounds, fall leaves, and moderate amounts of corrugated cardboard make good worm-composting-scraps. Add a thin layer of these ingredients on top of the bedding material, then add more damp paper bedding and toss in one or two shovels of garden soil for roughage. Top this with another layer of food scraps, and finally, finish with one more layer of bedding. In a worm bin or compost pile, layering multiple ingredients together results in faster decomposition. The bin should be about 3/4 full when you’re done layering. Don’t add meats, oils, or dairy, which can attract flies and maggots. Avoid using too much of any one ingredient to keep your bin well-balanced.
- Welcome your worms. There are roughly 4,000 different species of earthworms in the world and only six species are known to be suitable for vermicomposting. But one is by far the most popular: the red wriggler (Eisenia fetida). This species can tolerate a wide range of environments, and it eats and reproduces more than most other worms. Purchase a minimum of one pound of worms to start. Buy them from a reputable worm farm and not a bait shop where you can’t be sure you are purchasing the right species. Carefully lift back the top layer of bedding and dump in the worms. Cover them back up with the bedding.
- Keep your bin between 59 and 77 degrees F. Red wrigglers will tolerate temperatures outside of that range (up to 95 and down to 32), but they do their best work somewhere in between. Put the bin in a heated garage, the basement, the laundry room, under your kitchen sink, or wherever else you see fit. Do not expose them to below-freezing temperatures.
Maintaining Your Vermicomposting Worm Bin
The bin should be as moist as a damp sponge. An indoor temperature of 55 to 75 degrees is perfect for the worms. Keep them away from ovens, heaters or air conditioners – too cold and your worms will freeze, too hot and they’ll roast. Remember, the worms create their own heat through their work.
Worms are a little like children – they are picky eaters and they like it when their caretakers chop their food. Cut food scraps into one to two inch pieces, and shred paper before adding it to the bin. This allows more surface area for the worms to eat faster. Feed your worms about once a week, a cup or two of food scraps. Dig a small hole with a hand trowel, tossing the scraps in, and then covering them back up. Put your food scraps in a different spot each time, and don’t overfeed. Add some dry bedding material if the bin gets too soggy or develops an odor, which it should typically not have.
If you need to go on vacation, don’t worry. Your worms can be left alone for about three to four weeks without any help. Before you leave, provide them with a freezer bag or two full of food scraps and distribute it evenly around the bin. If you’ll be gone longer, ask a friendly neighbor to feed the little guys once or twice and move things around. After such a long time without care there might be a slight smell to the bin. Follow the tips below to solve this.
How to Harvest the Worm Compost
The compost is ready when it is a deep blackish brown color, and is moist. There may be some small pieces of egg shells or paper remaining. Before you feed it to your plants, you want to separate out as many worms as possible so they can keep working for you. Because worms like it dark and warm, they are often hiding in the middle or the bottom of the container.
Want to Know More About Composting?
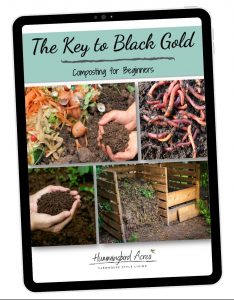
Check out our FREE Key to Black Gold: Composting for Beginners eBook!!
What Can I Compost in a Worm Bin? What Shouldn’t I Compost in a Worm Bin?
ITEMS YOU CAN COMPOST WITH YOUR WORMS:
Food scraps (including things like melon rinds, roots, stems, leaves, cores, husks, seeds, skins, peels, etc.). Exceptions to this are listed below.
Egg shells (but not whole eggs), seaweed and rinsed seashells (like oyster shells; not shrimp peels)
Old natural fiber clothing (old t-shirts, socks, boxers, etc)
Natural yarn, twine and string
Non-glossy paper products (cardboard boxes, newspapers, magazine inserts, most junk mail, envelopes, etc)
Tea leaves and bags (remove the staple!); coffee grinds and filters
Dead plants, grass clippings, pine needles and leaves – just make sure they have not been sprayed with pesticides
Natural non-treated wood and byproducts like wood ash, sawdust and shavings (no coal ash)
Feathers and hair (human, cat, dog, etc.)
Dryer lint
ITEMS YOU CANNOT COMPOST IN A WORM BIN:
Lemon, lime, orange or other citrus peels and juice (in excess this will make the soil too acidic)
Onions and garlic (a good rule of thumb is if it makes you smell, it makes your worm bin smell)
Meat, fats, grease, bones or oils (no butter, lard, stocks, soups, etc)
Plastics and plastic coated paper (like glossy magazines)
Stickers, including veggie stickers (remove stamps from envelopes)
Bread or yeast products (no crackers or cakes)
Salt, pepper and other spices
Milk, dairy or dairy products
Cat or dog feces
Diseased or infested plants
Treated wood products
What if it Starts to Smell? Troubleshooting Vermicompost Bins
The only smell your compost should have is a slight sweet pleasant earthiness of soil, and should only be noticeable when the bin is open for feeding time. If you notice an off or rotten smell while feeding the worms, or if you notice a lot worms attempting to crawl out of the bin, something is wrong.
The bin may be too moist. Move the soil from the corners. Is there liquid buildup or is the compost extremely runny and muddy? Add shredded paper, especially in the corners, to absorb water and regain balance.
The bin may be too dry. You can puree some veggies to add moisture, or spritz the top with some water.
Infestation. Other organisms live with your worms. Most of the time they will not be noticeable. If you get an infestation, follow the links below for troubleshooting tips and tricks. Most infestations, like fruit flies, are easily avoidable if you freeze scraps for 24 hours before you add them to the bin.
Other Vermicomposting Tips
Try to keep a ratio of 70 percent brown matter (paper, wood, dried and dead plants) to 30 percent green matter (food scraps, young plants and wet leaves).
To reduce the chances of fruit flies (eggs are often laid in items like banana peels) freeze scraps for 24 hours before adding them to your bin.
Give the worms air! Every other week or so, move the compost around to aerate it.
Don’t overwhelm your worms. If you notice smells beginning to form you might be feeding them too much! Reduce the amount you feed them and add a little paper to absorb smells until they can catch up.
Creating a worm compost bin isn’t hard and before you know it you will have amazing soil for your gardens.
Where to Order Worms
Get Your Kids Involved!
Here are some books you can read with your kiddos to teach them all about composting or just read for yourself.
