Water Bath Canning Pineapple Jam
Nothing is quite like making your own foods from scratch. Whether that means baking cookies for dessert or canning fruit preserves, it’s an amazing feeling to know exactly what went into the creation and be able to enjoy the outcomes of a little hard work and dedication. Have you ever tried your hand at making homemade jams? If not, then this post is perfect for you! Today we’re going to show you the basics of water bath canning pineapple jam so you can experience firsthand just how rewarding it can be!
Disclosure: As an Amazon affiliate, I earn from qualifying purchases at no extra cost to you. My blog contains other affiliate links as well for your convenience. To learn more, you may read my Disclosure Policy. Thank you for supporting my blog!
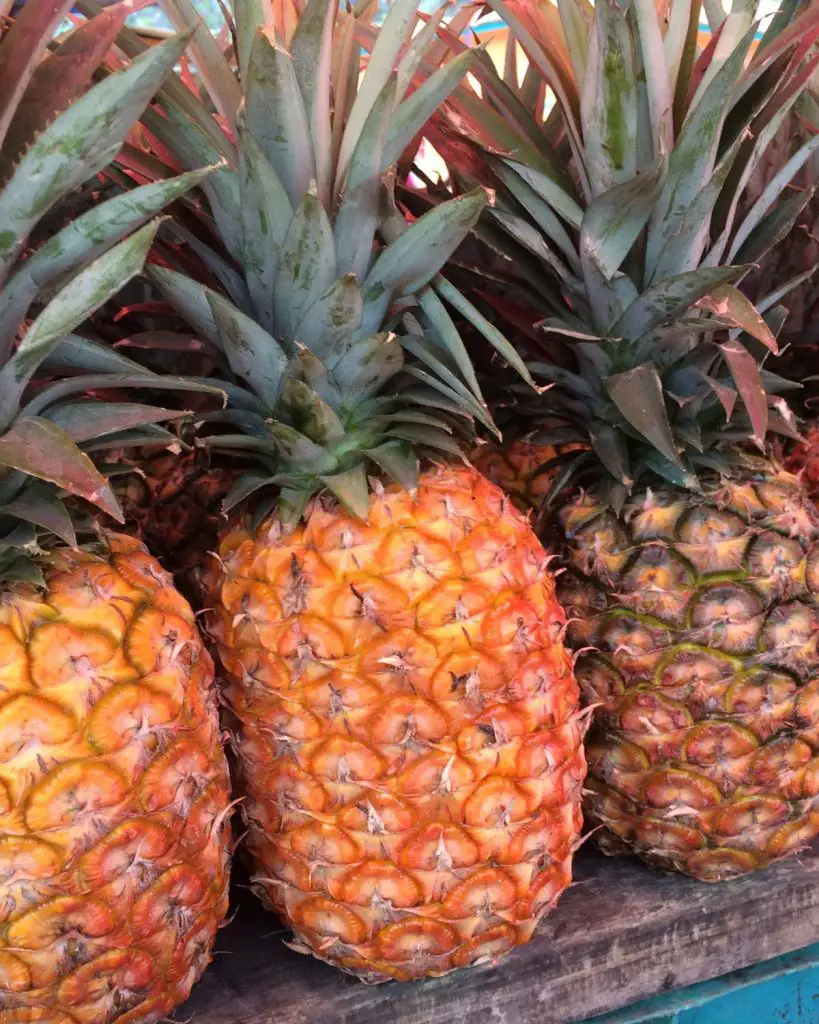
Pineapples may not be native to Virginia, but they hold a special place in my family’s heart. Throughout most of the year, they come at a hefty price tag of $6 to $7 each. However, during a brief period of time, it’s almost as if the grocery stores are begging us to take them off their hands with rock-bottom prices. Regardless of their origin, there’s no denying the sweet and juicy flavor of this tropical fruit that always makes our taste buds dance with delight.
The sun-kissed months of April and May in Hawaii herald the peak season of succulent pineapples, tempting fruit enthusiasts to preserve the tropical goodness. With prices as low as a mere 89 cents a pop, it’s impossible to resist the urge to stock up on these juicy delights. Every time I venture to the store, I make sure to fill my cart with a few cases of these sweet treats.
How to Make Pineapple Jam
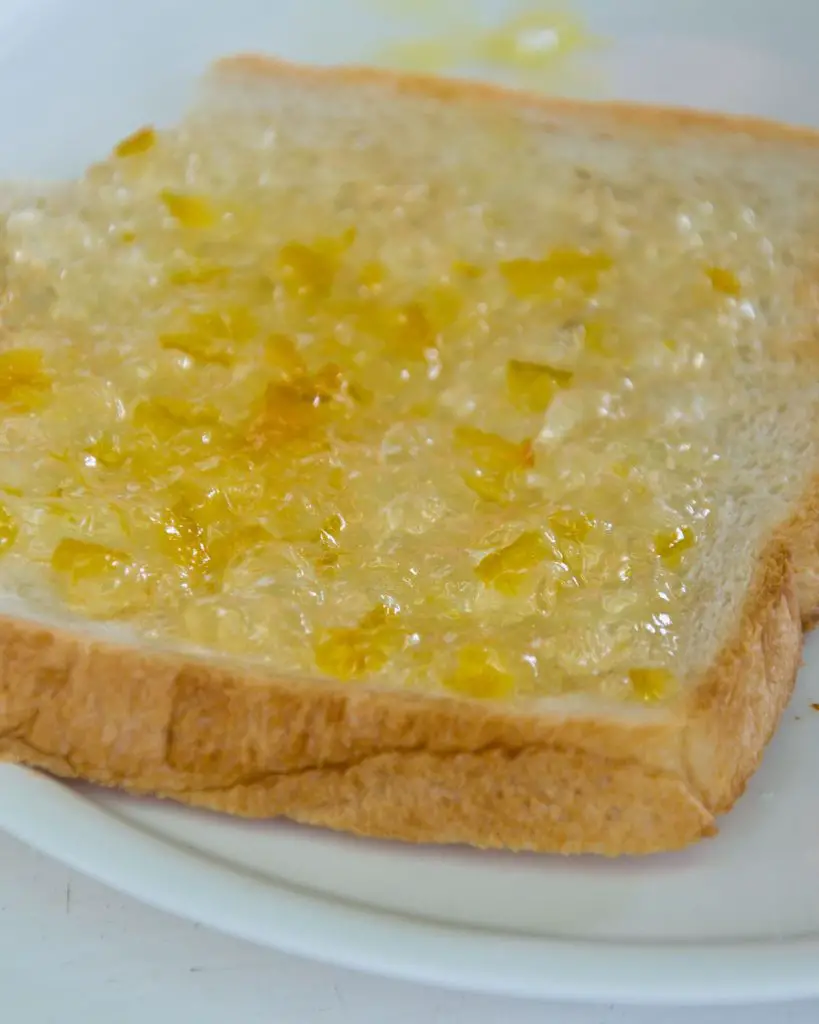
Creating your own delicious pineapple jam is a lot simpler than you might think! By carefully cleaning and chopping the fruit, and cooking it with plenty of sugar until it reaches a delightfully thick consistency, you’ll have a flavorful spread that’s perfect for toast, biscuits, and more. Don’t worry if you don’t have any pectin on hand – pineapples are surprisingly capable of thickening up on their own! Actually, pineapple preserves may be the official name, but let’s be real – when the taste is this good, who’s really keeping track of the technicalities?
Pineapple jam without pectin requires at least 1 part sugar to every 2 parts fruit. In this recipe, that’s 3 cups crushed pineapple to at least 1 1/2 cups sugar. If you want to reduce the sugar to make a low sugar pineapple jam, you’ll have to add low sugar pectin (like sure jell low sugar) to get the jam to set.
Preparing the Pineapple for Jam
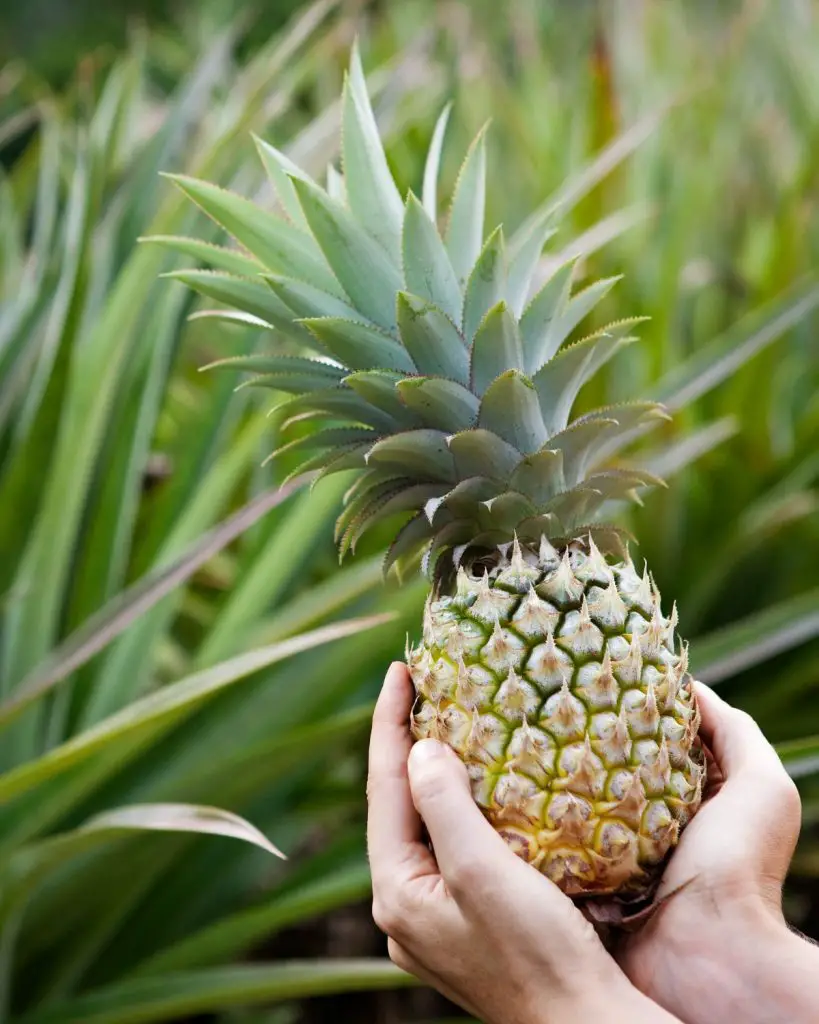
To begin making this tasty treat, crushed pineapple is a must-have ingredient. While store-bought canned pineapple will suffice, it’s not quite as flavorful as freshly crushed pineapple. If you’re looking for perfection, start by obtaining a ripe and juicy whole pineapple, weighing in at approximately 3 to 3 1/4 pounds.
First, peel away the tough exterior and reveal the juicy and fragrant flesh inside. Next, quarter the fruit and carefully remove the core to avoid any unpleasant textures in your jam.
With the pineapple prepped and ready, coarsely chop it up and add it to your trusty food processor. A few quick pulses later, and you’ll have a perfectly textured pineapple puree that’s ready to be transformed into the jam of your dreams.
Just remember, be gentle with your blending. Over-pulsing can quickly turn your pineapple into liquid, which is definitely not what you’re aiming for!
Once you have crushed pineapple, the process differs a bit depending on whether you’re making pineapple jam with or without pectin.
Pineapple Jam without Pectin
A basic full recipe for pineapple jam without pectin starts with 3 cups of prepared (crushed) pineapple from one medium fresh fruit (or from three 8 oz cans).
Place the pineapple in a jam pot and add in 1 1/2 to 2 cups of sugar. More sugar will yield more jam, and as you might imagine, is sweeter. If you use 2 cups of sugar, the yield is right about 3 cups of finished jam (or 3 half-pint jars). Using less sugar will result in about 2 1/2 jars.
Pineapples are naturally quite acidic, so you don’t need to add any lemon juice. That said, adding a few tablespoons of lemon juice will increase the yield as lemons are very high in pectin, and it’ll help cut the sweetness in an otherwise very sweet jam. Add 1-2 tablespoons of lemon juice if you’d like, but know that it’s optional.
Bring the pineapple and sugar to a boil over high heat, stirring to prevent scorching. Boil hard until the mixture reaches “gel stage” or 220 degrees F at sea level. This should take about 25 to 30 minutes.
If you’re at a higher elevation, the target temperature for gel stage reduces by 1 degree for every 500 feet above sea level. For example, I’m at around 1,000 feet elevation so I finish my jams at around 218 F.
If you don’t have a thermometer, watch the texture. It’ll thicken up nicely after about 25 to 30 minutes of cooking and it should mound on a spoon. The bubbles will change from what looks like boiling water to more of a glossy sheen.
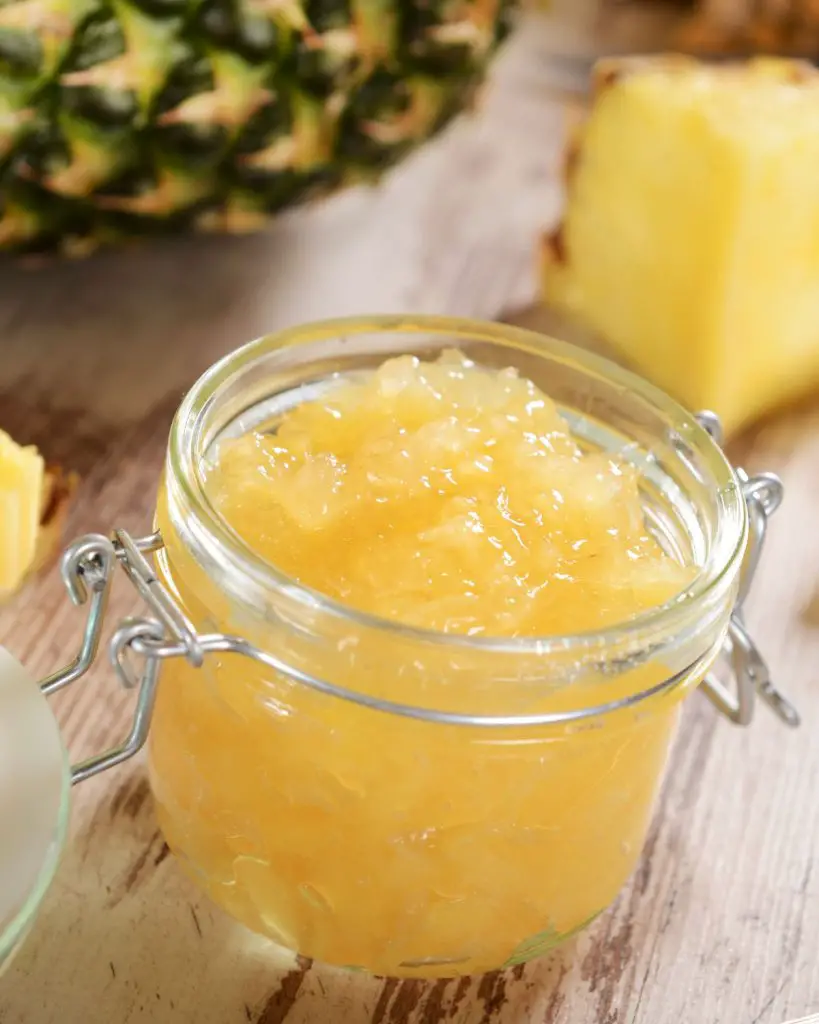
Even without pectin, pineapple jam should thicken up nicely. Once it’s cooled completely, it’ll mound up nicely on a spoon and hold its shape, but still spread easily on toast.
Once the pineapple jam has thickened to your liking, ladle into prepared jars leaving 1/4 inch headspace.
Pineapple Jam with Pectin
If you use pectin, the whole process is much faster and the yield is higher. The pineapple flavor won’t be as concentrated, but you’ll spend a lot less time cooking it down.
Place the 3 cups crushed pineapple into a jam pot (but don’t add the sugar yet). Bring the pineapple to a boil and add 1 box (1.75 ounces) powdered pectin such as sure jell. Stir to incorporate and boil for 1 minute.
Now add 3 cups of sugar (note that you need more sugar to allow the pectin to gel), and return the mixture to a boil for 1 minute.
Ladle into prepared jars, leaving 1/4 inch headspace.
With powdered pectin, you can expect a yield of around 4 to 5 half-pint (8 oz) jars.
(Note that if you choose to make pineapple jam with liquid pectin, you’ll need even more sugar. Liquid pectin requires 4 cups of sugar to 3 cups of pineapple. For liquid pectin, the sugar is added at the beginning and the pectin at the end, which is opposite of the order when using a powdered pectin.)
Low Sugar Pineapple Jam
So putting it out there…pineapples are already pretty darn sweet. If you’re using regular pectin to make pineapple jam, you have to add quite a bit of sugar to get it to gel. Making pineapple jam without pectin requires less sugar (and more cook time), but it’s still quite sweet.
If you’d like to make a low sugar pineapple jam, I’d suggest using low sugar pectin. My favorite low sugar pectin is Sure Jell low sugar. No sugar pineapple jam is delicious, since the fruit is sweet at the start.
To use sure jell low sugar, simply follow the same instructions as for regular sure jell, but add less sugar. That means starting with just the fruit in the pot, then adding pectin, and adding sugar at the end.
(The order is important, and if sugar is added first the pectin won’t gel.)
Canning Pineapple Jam
When it comes to pineapple jam, did you know that the natural acidity of pineapples actually makes it an ideal candidate for canning? Of course, you can always opt for a fridge or freezer preserve, but there’s something satisfying about cracking open a jar of homemade pineapple jam months later and knowing it’s still as delicious as the day you made it. For me, canning is the way to go when it comes to preserving this tropical treat.
Refrigerator jams will last 3-4 weeks (with full sugar, less with low sugar), and freezer jams last about 6 months. Home-canned pineapple jam will keep perfectly well on the pantry shelf for at least 18 months, and it makes lovely gifts.
(If you’re not familiar with water bath canning, I’d suggest reading this beginner’s guide to water bath canning before getting started.)
To can pineapple jam, prepare a water bath canner before you begin making the jam.
Prepare the jam as you otherwise would, and ladle into prepared canning jars leaving 1/4 inch headspace. Cap with 2 part canning lids and process the jars for 10 minutes. (Increase the time to 15 minutes if you’re above 6,000 feet in elevation.)
Turn the canner off and let sit for 5 minutes.
Remove the pineapple jam from the canner with a jar lifter and allow the jars to cool completely on a towel on the counter before checking seals. Store any unsealed jars in the refrigerator for immediate use.
Properly canned and sealed jars of pineapple jam should maintain peak quality on the pantry shelf for 12-18 months.
You may also enjoy these related articles:
Did you enjoy this article? Want to hear more? Stay in touch! Sign up below to receive weekly tips and inspiration for your homestead.