Homemade Pumpkin Puree & Roasted Pumpkin Seeds
Don’t waste those pumpkins!! There are so many amazing things that you can do with your pumpkin besides just throwing them in the trash. In this post I am going to share how we make homemade pumpkin puree, how we roast pumpkin seeds and how we save pumpkin seeds for next years garden.
To make homemade pumpkin puree you cut your pumpkin into chunks, remove the guts and seeds. Then roast the flesh. Once the pumpkin chunks have cooled remove the flesh and puree it in a food processor. From there your pumpkin puree is ready to use in your next pumpkin dessert.
Pumpkin season is one of my favorite times of year. I love the cold crisp weather and the beautiful fall colors but most of all I love the pumpkins. There are so many things you can do with pumpkins; puree, tasty roasted pumpkin seed snack and saving some seeds for next years garden.
Disclosure: Some of the links below are affiliate links, meaning, at no additional cost to you, I will earn a commission if you click through and make a purchase.
To Make Homemade Pumpkin Puree
To make pumpkin puree we are going to use the Instant Pot. It is one of the easiest and quickest ways that I have found to make pumpkin puree. The first thing you need to do is carve the pumpkin, aka removing all of the guts. The easiest way I have found to do this is to use a large knife and cut the pumpkin in half, remove the pulp and seeds. I put everything into one bowl and worry about getting all the seeds out later.
After all of the pulp and the seeds out, you want to cut the pumpkin into pieces that will fit into your Instant Pot.
I have done this in previous years where the whole pumpkin just fits in the instant pot and it’s perfect but, if that is not the case just cut the pumpkin into large pieces that will fit in your Instant Pot. You DO NOT need to take the skin off of the pumpkin.
In the instant pot make sure you have the liner in. Add one cup of water and the rack to keep the pumpkin off of the bottom of the pot. Arrange your pumpkin pieces on the rack. Not filling your pot above the fill line.
Lock the lid, and make sure vent is closed. Pressure cook on high for 20 minutes and then let it vent naturally.
Once the pumpkin is cooled to room temperature you are going to peel off the skin and put the meat in a food processor. Pulse in the processor for about a minute or two. Now you have pumpkin puree.
Transfer the puree to freezer safe containers. You DO NOT want to can pumpkin puree because you will not be able to get the puree to a temperature that will kill the bad bacteria. Therefore you want to freeze it. If you want to know more about preserving pumpkin check out Preserving Pumpkin for those Pies!!
I love using our pumpkin puree to make pumpkin pie, but I really LOVE anything pumpkin. What do you like to make with pumpkin let me know in the comments or hop on over to Instagram and send me a DM.
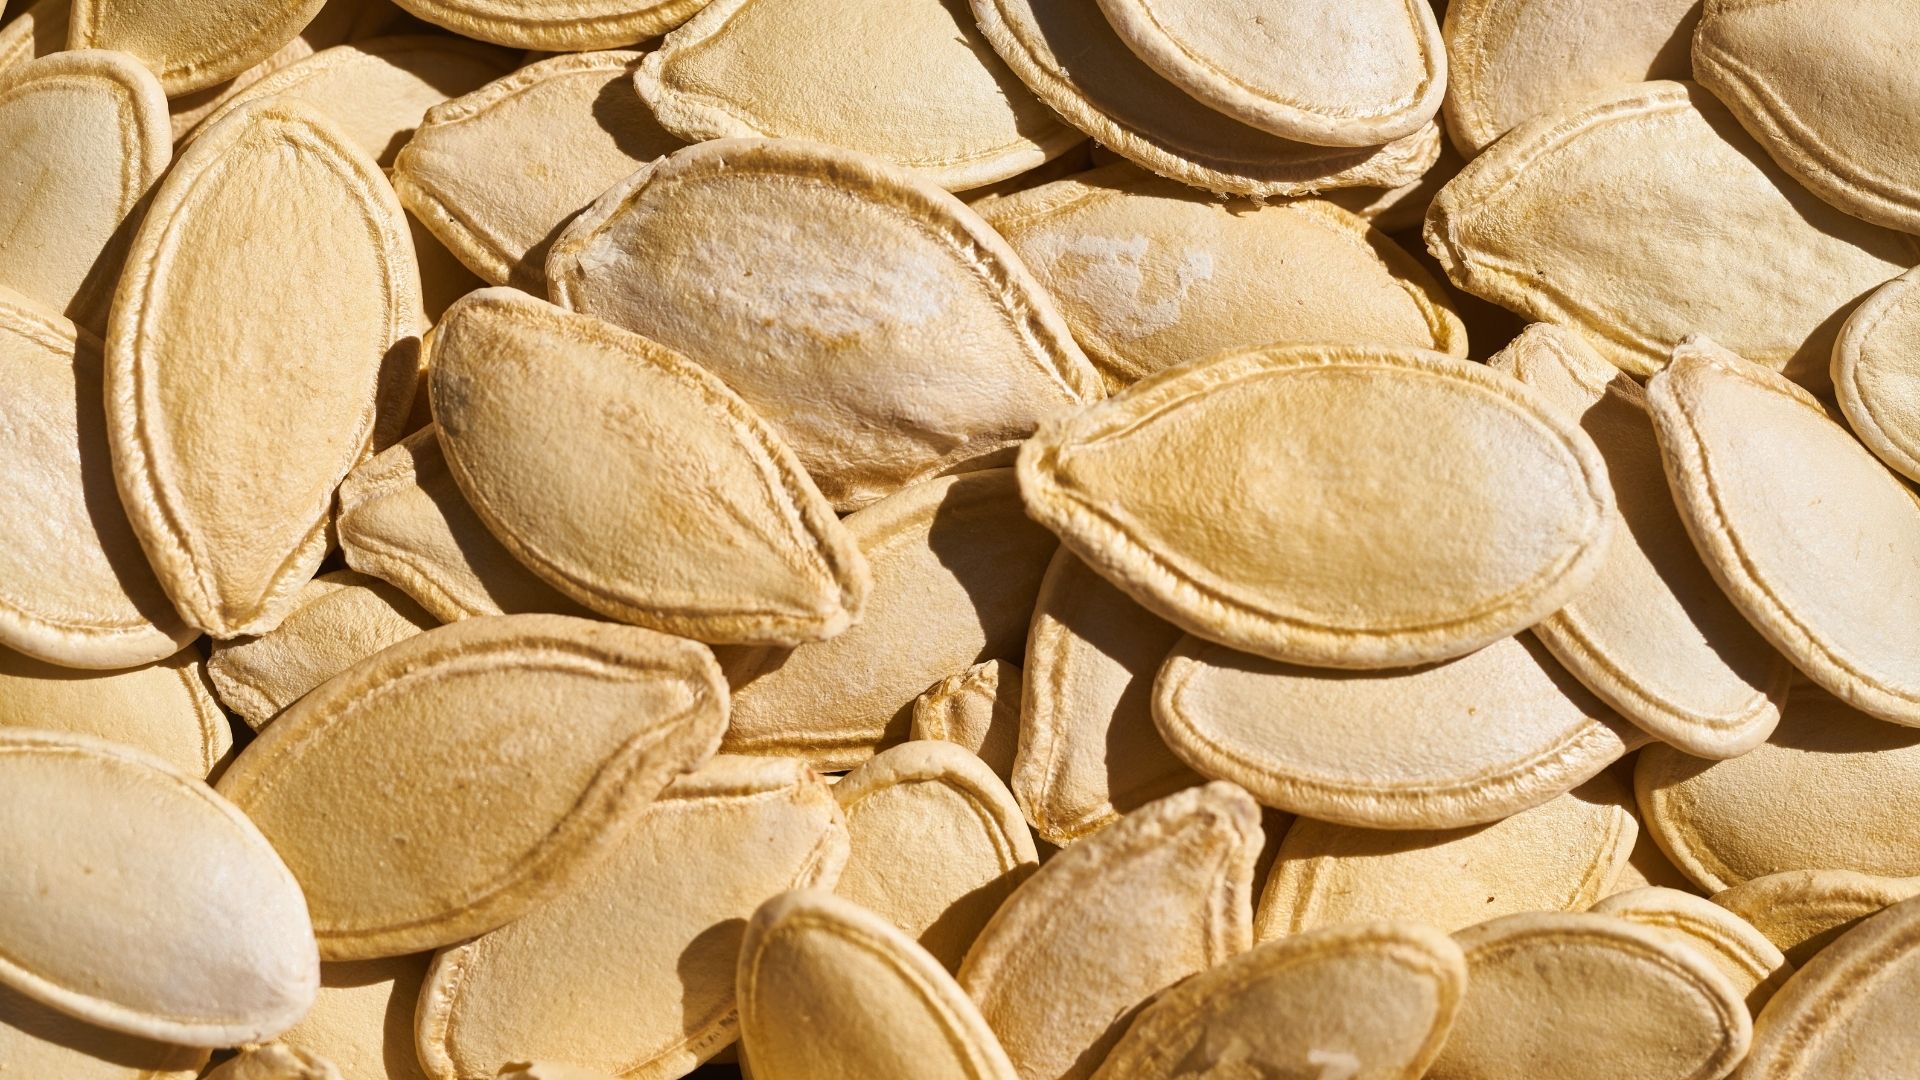
Saving Pumpkin Seeds
Thoroughly Clean the Seeds – Clean any clinging pulp from the seeds. You don’t want any pulp remaining as it will prevent drying and can lead to mold growth, rotting the seeds.
Prepare the Cookie Sheet – Line a cookie sheet with waxed paper. We prefer waxed paper, so the sticky seeds don’t end up stuck.
Place the Seeds on the Sheet – Once all of the pumpkin seeds are clean, place them on the lined cookie sheet in a single layer. Separate the seeds from each other, taking care not to let them clump or touch. This will help them dry thoroughly on all sides.
Allow the Seeds to Dry – Place the sheet in a cool, dry place.
Stir and Turn Them Over – For the first couple of days, stir them often and turn them over, so they dry on each side.
Continue to Monitor as the Seeds Dry – Continue to allow them to dry for three to four weeks. If you see any mold, discard the ones that are moldy. But this is also a sign that your cool, dry place isn’t cool and dry enough.
Put the Dry Seeds in an Envelope – Once your seeds are thoroughly dry, place them in an envelope. Label it with the date and details about the pumpkin.
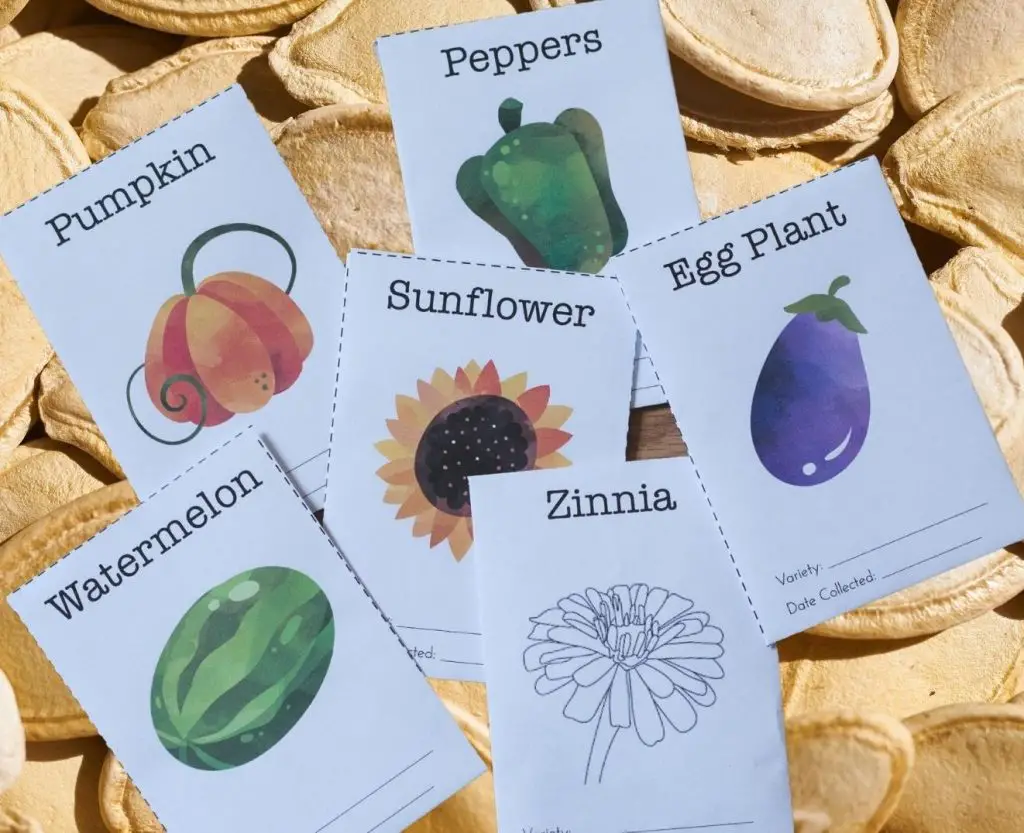
If you need seed-saving envelopes check out my FREE Printable Seed Saving Envelopes. These envelopes are so easy to assembly and quick. Print and cut out the envelope, then fold on the dotted line and tape the seams. That simple and you can get them for FREE.
Printable Seed Envelopes
Save your seeds in these FREE Printable and Easy to Assembly Envelopes that are the same size as your other seed packs.
Tasty Roasted Pumpkin Seeds
Supplies
- Fresh Pumpkin Seeds
- Sea salt
- Water (enough to soak the seeds in a bowl)
- Seasonings of choice
- Mixing bowl and strainer
- A baking sheet
Directions
Gather your fresh pumpkin seeds. Separate the seeds from the pumpkin flesh as much as possible. Rinse the seeds well in a colander. Then, transfer the pumpkin seeds to a clean bowl to soak in.
Soak the Pumpkin Seeds
Next, create a mild salt water brine to pour over the seeds. Combine about 1/2 Tbsp of salt for every 2 cups of water used. The salt provides flavor, but also reduces the ability for any harmful bacteria to develop in the water, similar to a fermentation brine.
Leave the bowl out on the counter and allow the pumpkin seeds to soak for 6 hours minimum, up to 24 hours.
Dry
Before roasting, it is best to let the soaked pumpkin seeds dry out a bit before they go in the oven. They’ll be the most crunchy this way!
First, drain the seeds in a strainer and shake away excess water.
Next, we dry our soaked pumpkin seeds by spreading them out on a clean, lint-free tea towel. Doing this on a baking sheet makes it easy to move them around as needed. If possible, let the seeds air dry for several hours, tossing them on occasion. We’ve also expedited the process by patting them dry and proceeding to the next step sooner.
Season
Now is the time to get creative and season your soaked pumpkin seeds however you see fit! Keep it simple with a sprinkle of sea salt, or go all out and add a tasty mix of several seasonings. In this particular batch, we used coconut oil and salt.
Place the soaked pumpkin seeds (now fairly dry) in a bowl to toss with seasonings and evenly coat them.
At a minimum, I recommend using melted coconut oil, butter, or olive oil plus a sprinkle of sea salt. We don’t usually measure, but about 1 tablespoon of melted oil or butter per two cups of pumpkin seeds is a good ballpark.
Sprinkle salt over as you would when seasoning vegetables or popcorn, but keep in mind they’re already mildly salty from the saltwater soak. You can always add more later!
Roast
Preheat the oven to 325°F.
Spread the pumpkin seeds out in a single layer on a baking sheet. Optional: line the baking sheet with a silicone mat or tin foil for easy clean-up.
Bake the soaked pumpkin seeds for approximately 30 to 45 minutes, until lightly golden and crunchy. Stir and toss the seeds several times throughout the process to promote even roasting, about every 15 minutes.
Keep in mind that soaked and roasted pumpkin seeds will be more chewy straight out of the oven, but will crisp up as they cool!
Once your roasted pumpkin seeds have fully cooled, transfer them to an airtight container with a lid for storage like this glass flip-top jar.
Pumpkin is so yummy and something that I look forward to this time of year. Homemade pumpkin puree is easy to make and a great way to use those pumpkins. You can find our homemade pumpkin puree recipe and others in our Simple Farmhouse Resource Library, enter your name and email below to enter.
Join the Simple Farmhouse Resource Library
Labels | Recipes | Guides | And MORE!!!
