Homemade Apple Cider Vinegar From Scraps
There are so many benefits to making homemade apple cider vinegar! Not only is it a great way to reduce food waste, but it’s also incredibly customizable. You can control the level of acidity, fermentation time, and flavorings, making it the perfect addition to any dish. Plus, it’s packed with probiotics and other health benefits that store-bought versions just can’t match. Read on to learn more about why you should start making your own apple cider vinegar at home.
Disclosure: Some of the links below are affiliate links, meaning, at no additional cost to you, I will earn a commission if you click through and make a purchase.
Why Make Apple Cider Vinegar?
There are several reasons why you might want to start making your own apple cider vinegar at home. For one thing, it’s a great way to reduce food waste. Every year, millions of pounds of perfectly good fruit go to waste because they’re not considered “perfect” enough for sale in stores. By making your own apple cider vinegar, you can use up all those imperfect apples and turn them into something delicious and healthful.
Another reason to make your own apple cider vinegar is that it’s much cheaper than buying it at the store. A quart of homemade apple cider vinegar costs just pennies to make, while the store-bought version can set you back $5 or more.
Finally, when you make your own apple cider vinegar, you have complete control over the flavor and fermentation process. This means you can tailor it to your own taste preferences and needs. For example, if you want a vinegary kick in your salad dressing, you can ferment your apple cider vinegar for a shorter time period. Or if you prefer a milder flavor, you can ferment it for longer. The sky’s the limit!
How to Make Apple Cider Vinegar from Scraps
Making apple cider vinegar at home is easy and doesn’t require many ingredients or supplies. All you need is some water, sugar, apples, and a jar or bottle for fermentation. You can use any type of apple you like, but sweeter varieties will result in a sweeter finished product.
Supplies Needed
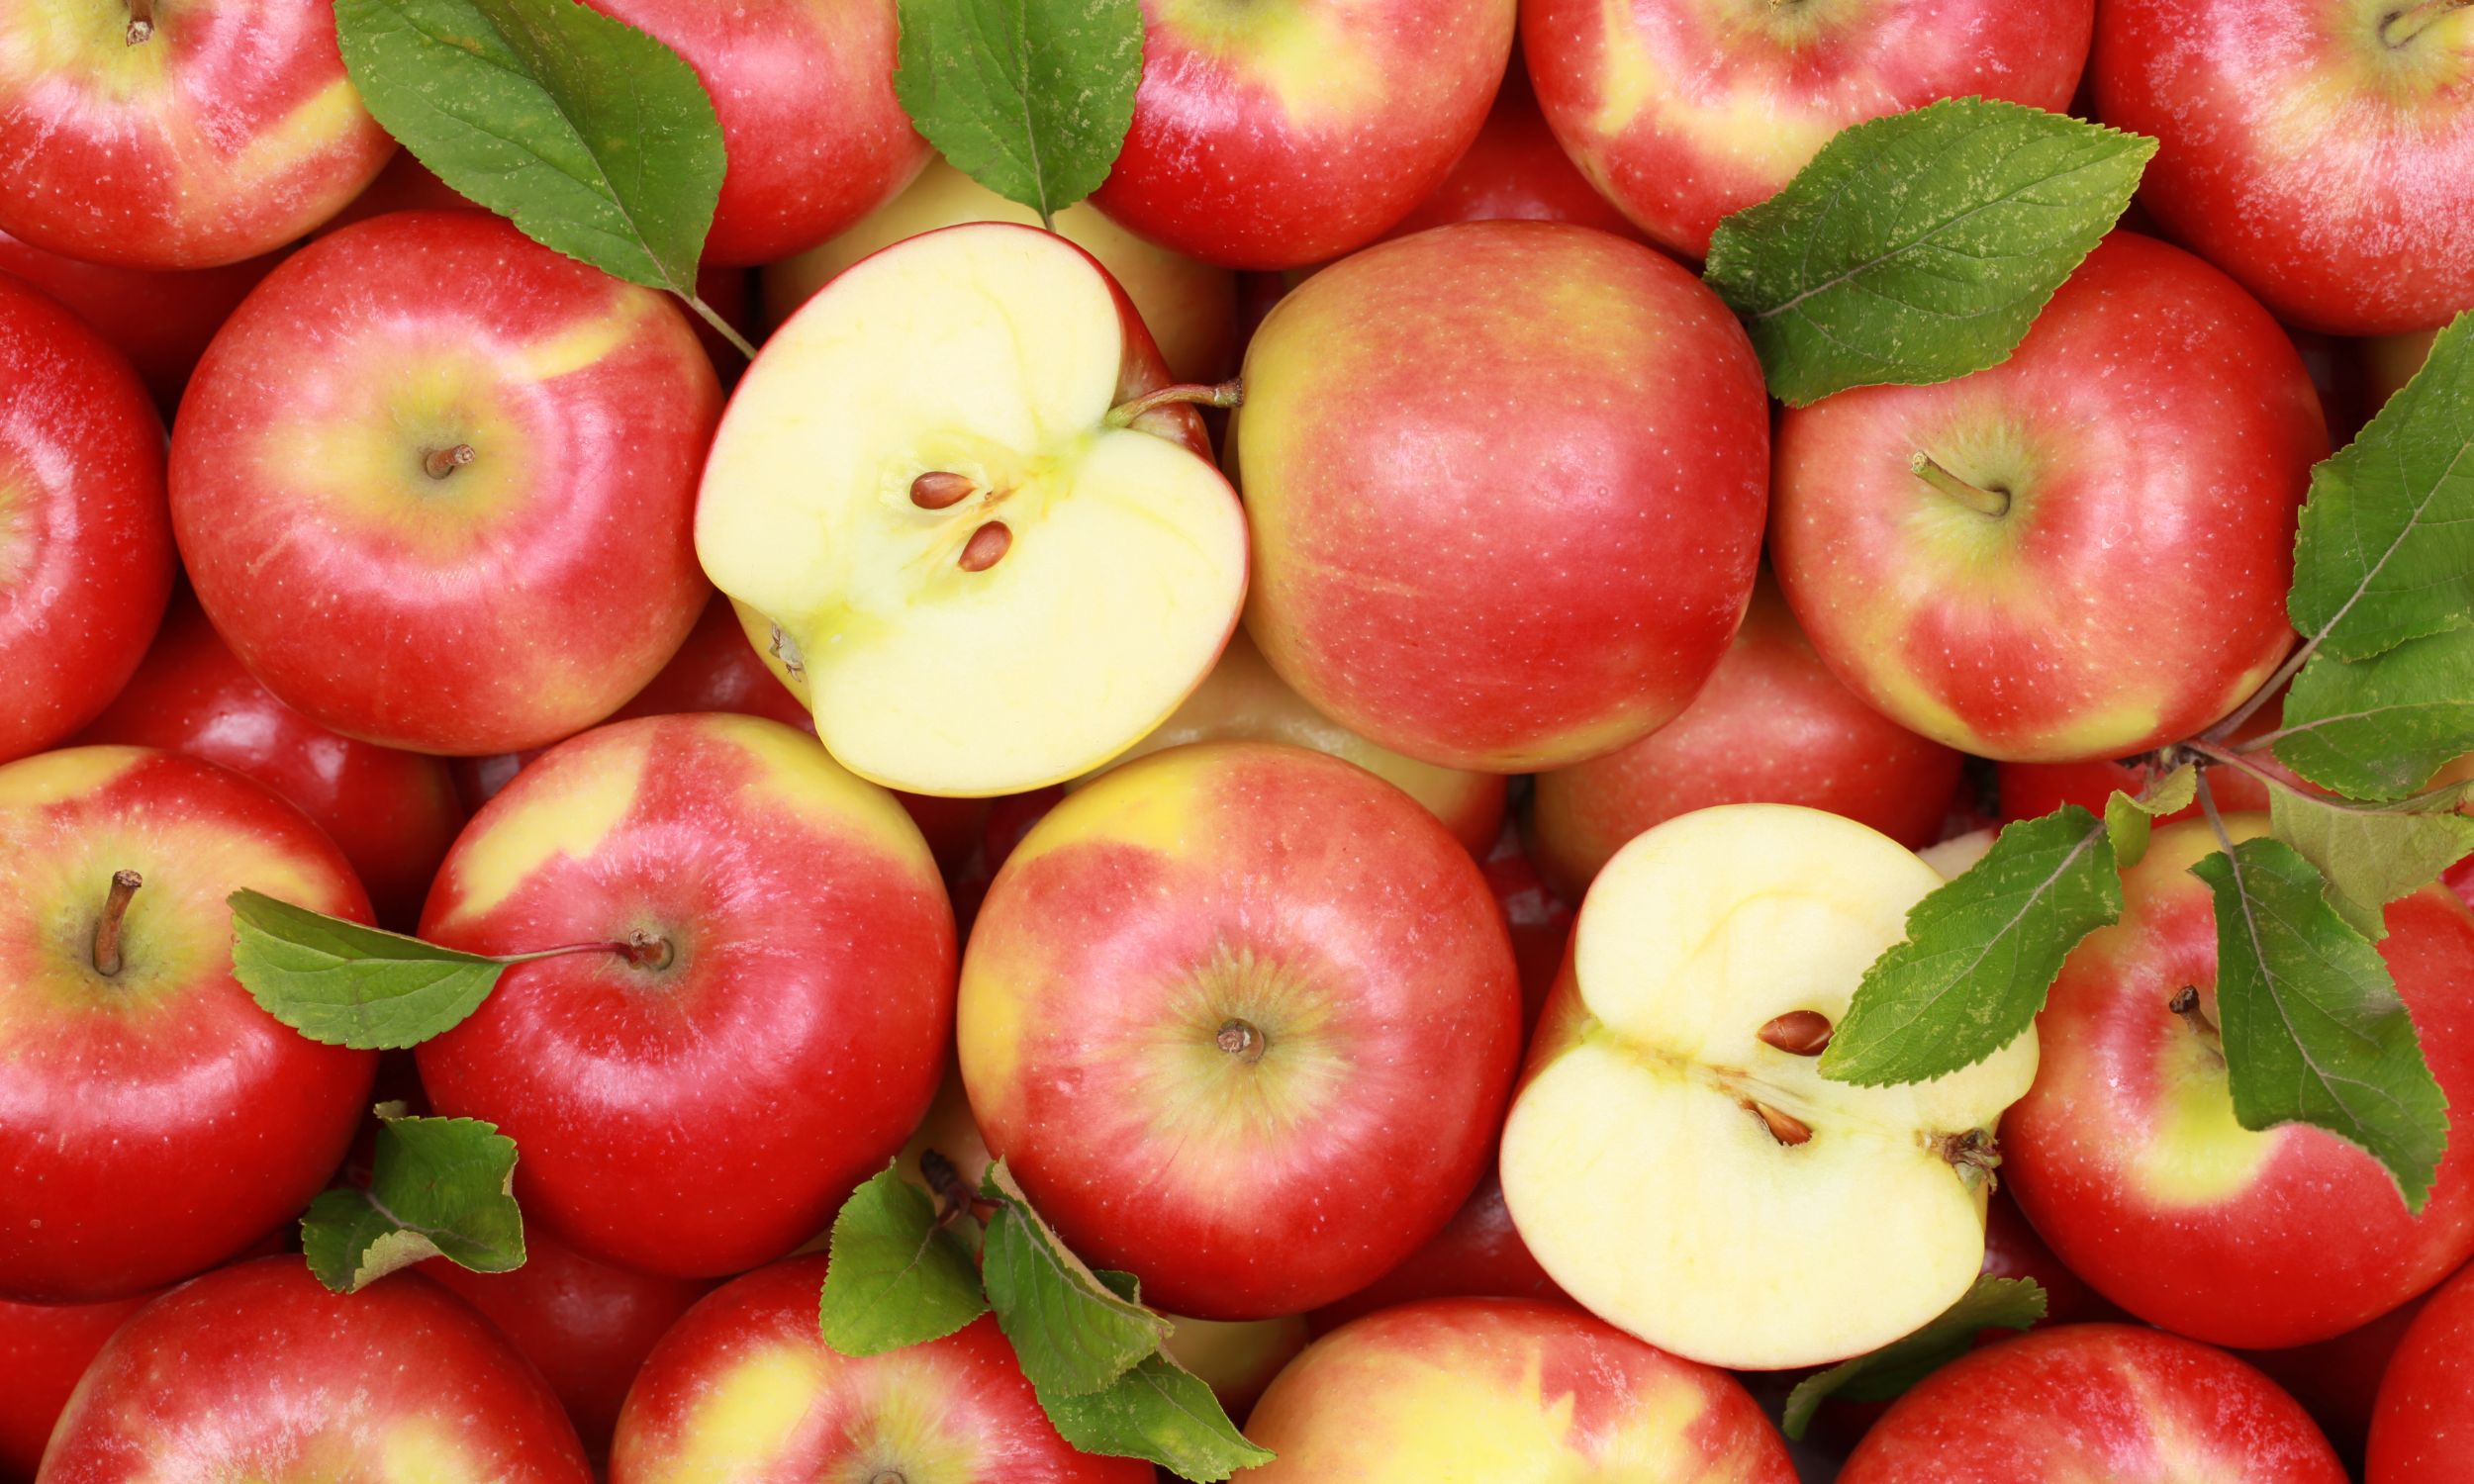
Organic apples, or apple scraps – For this recipe, you can use whole apples or apple scraps. A great time to make apple cider vinegar is after creating another apple dish, like baking apple pie, when you have a lot of cores and skins at once! If you cannot collect fresh scraps at one time, store them in the freezer as you continue to add to your supply. Organic produce is always the best choice, especially when it comes to fermenting!
The amount of apples needed is totally flexible. As you’ll see in the recipe section below, you can scale the portions up or down as needed.
The best apple cider vinegar will result from using a variety of apple types, if possible. Using a combination of sweet and tart apples creates a well-balanced finished flavor. A good goal is to use about two-thirds sweet apple varieties like Gala or Fuji and one-third tart, such as Granny Smith. Pink Lady would fall somewhere in between.
Filtered Water or other un-chlorinated water is best for making living, fermented things like homemade apple cider vinegar. Do your best with what you have! We simply run ours through a basic carbon filter (in the fridge).
Organic cane sugar
A large glass vessel, your choice of size. We make large batches in half-gallon mason jars, but many people use far smaller containers – like quart mason jars!
Bottles to store your finished apple cider vinegar in. You won’t need these for a few months, so you have time to collect some.
Directions
Step 1- Gather & Prepare Apples
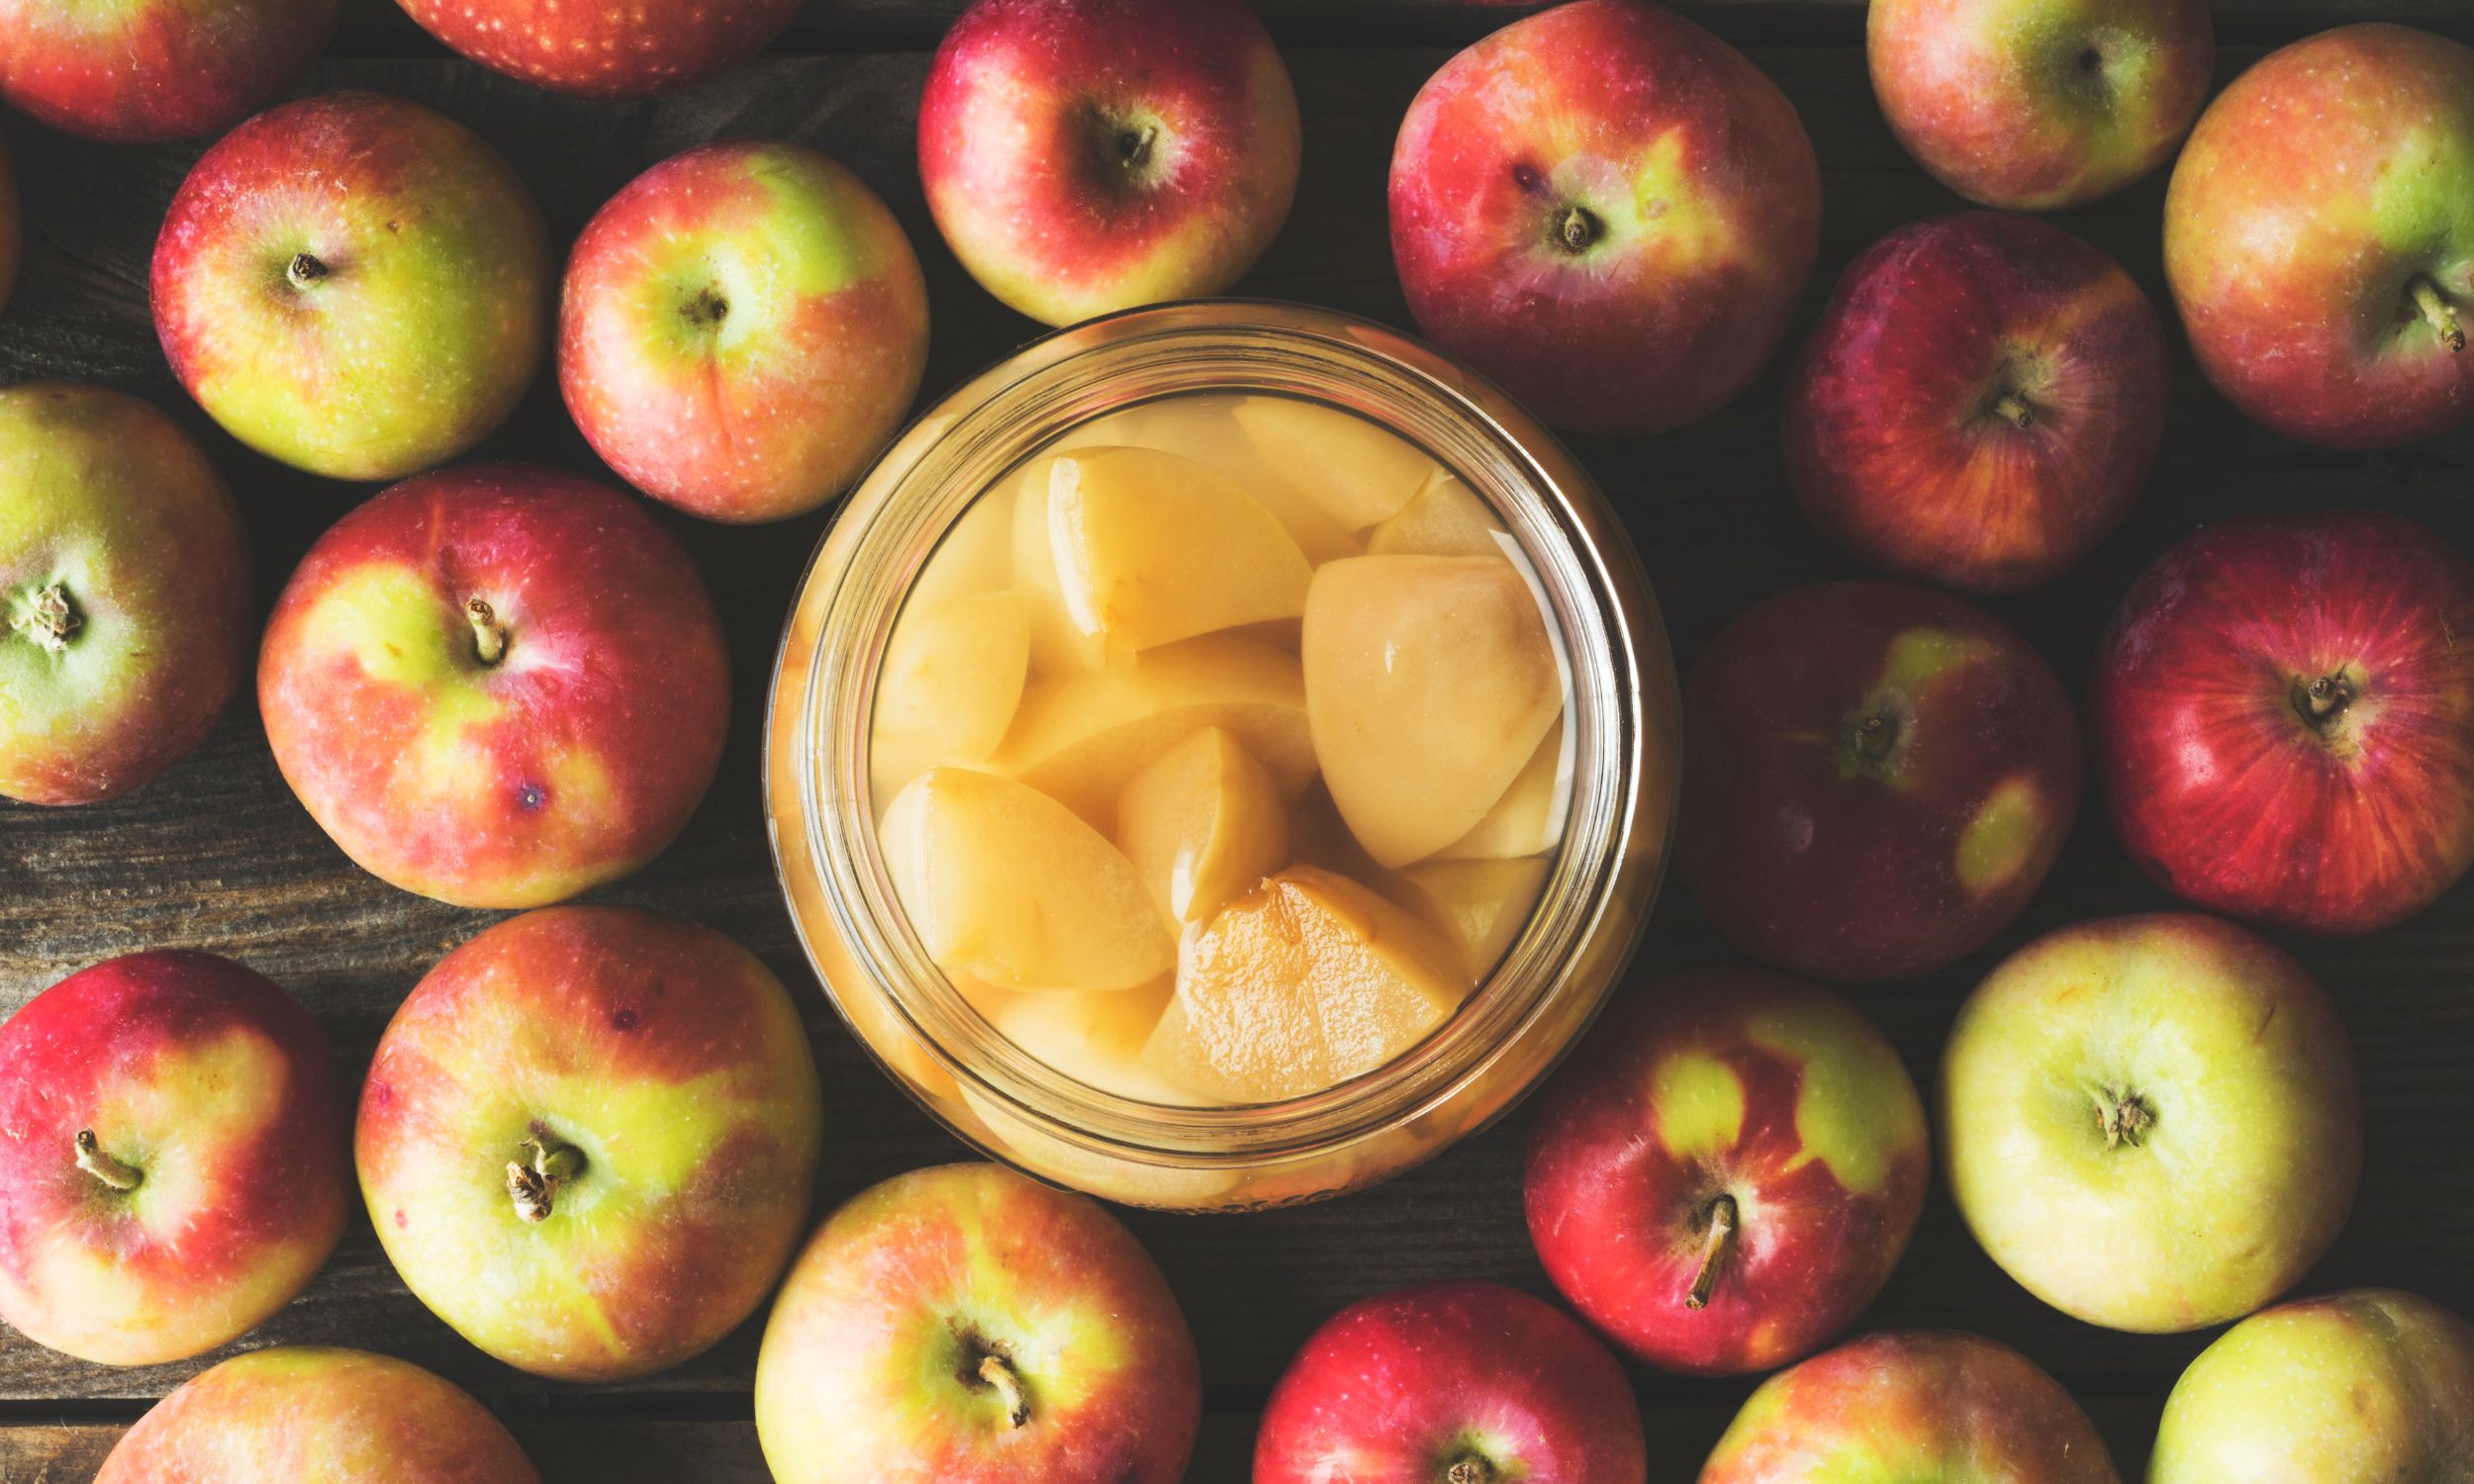
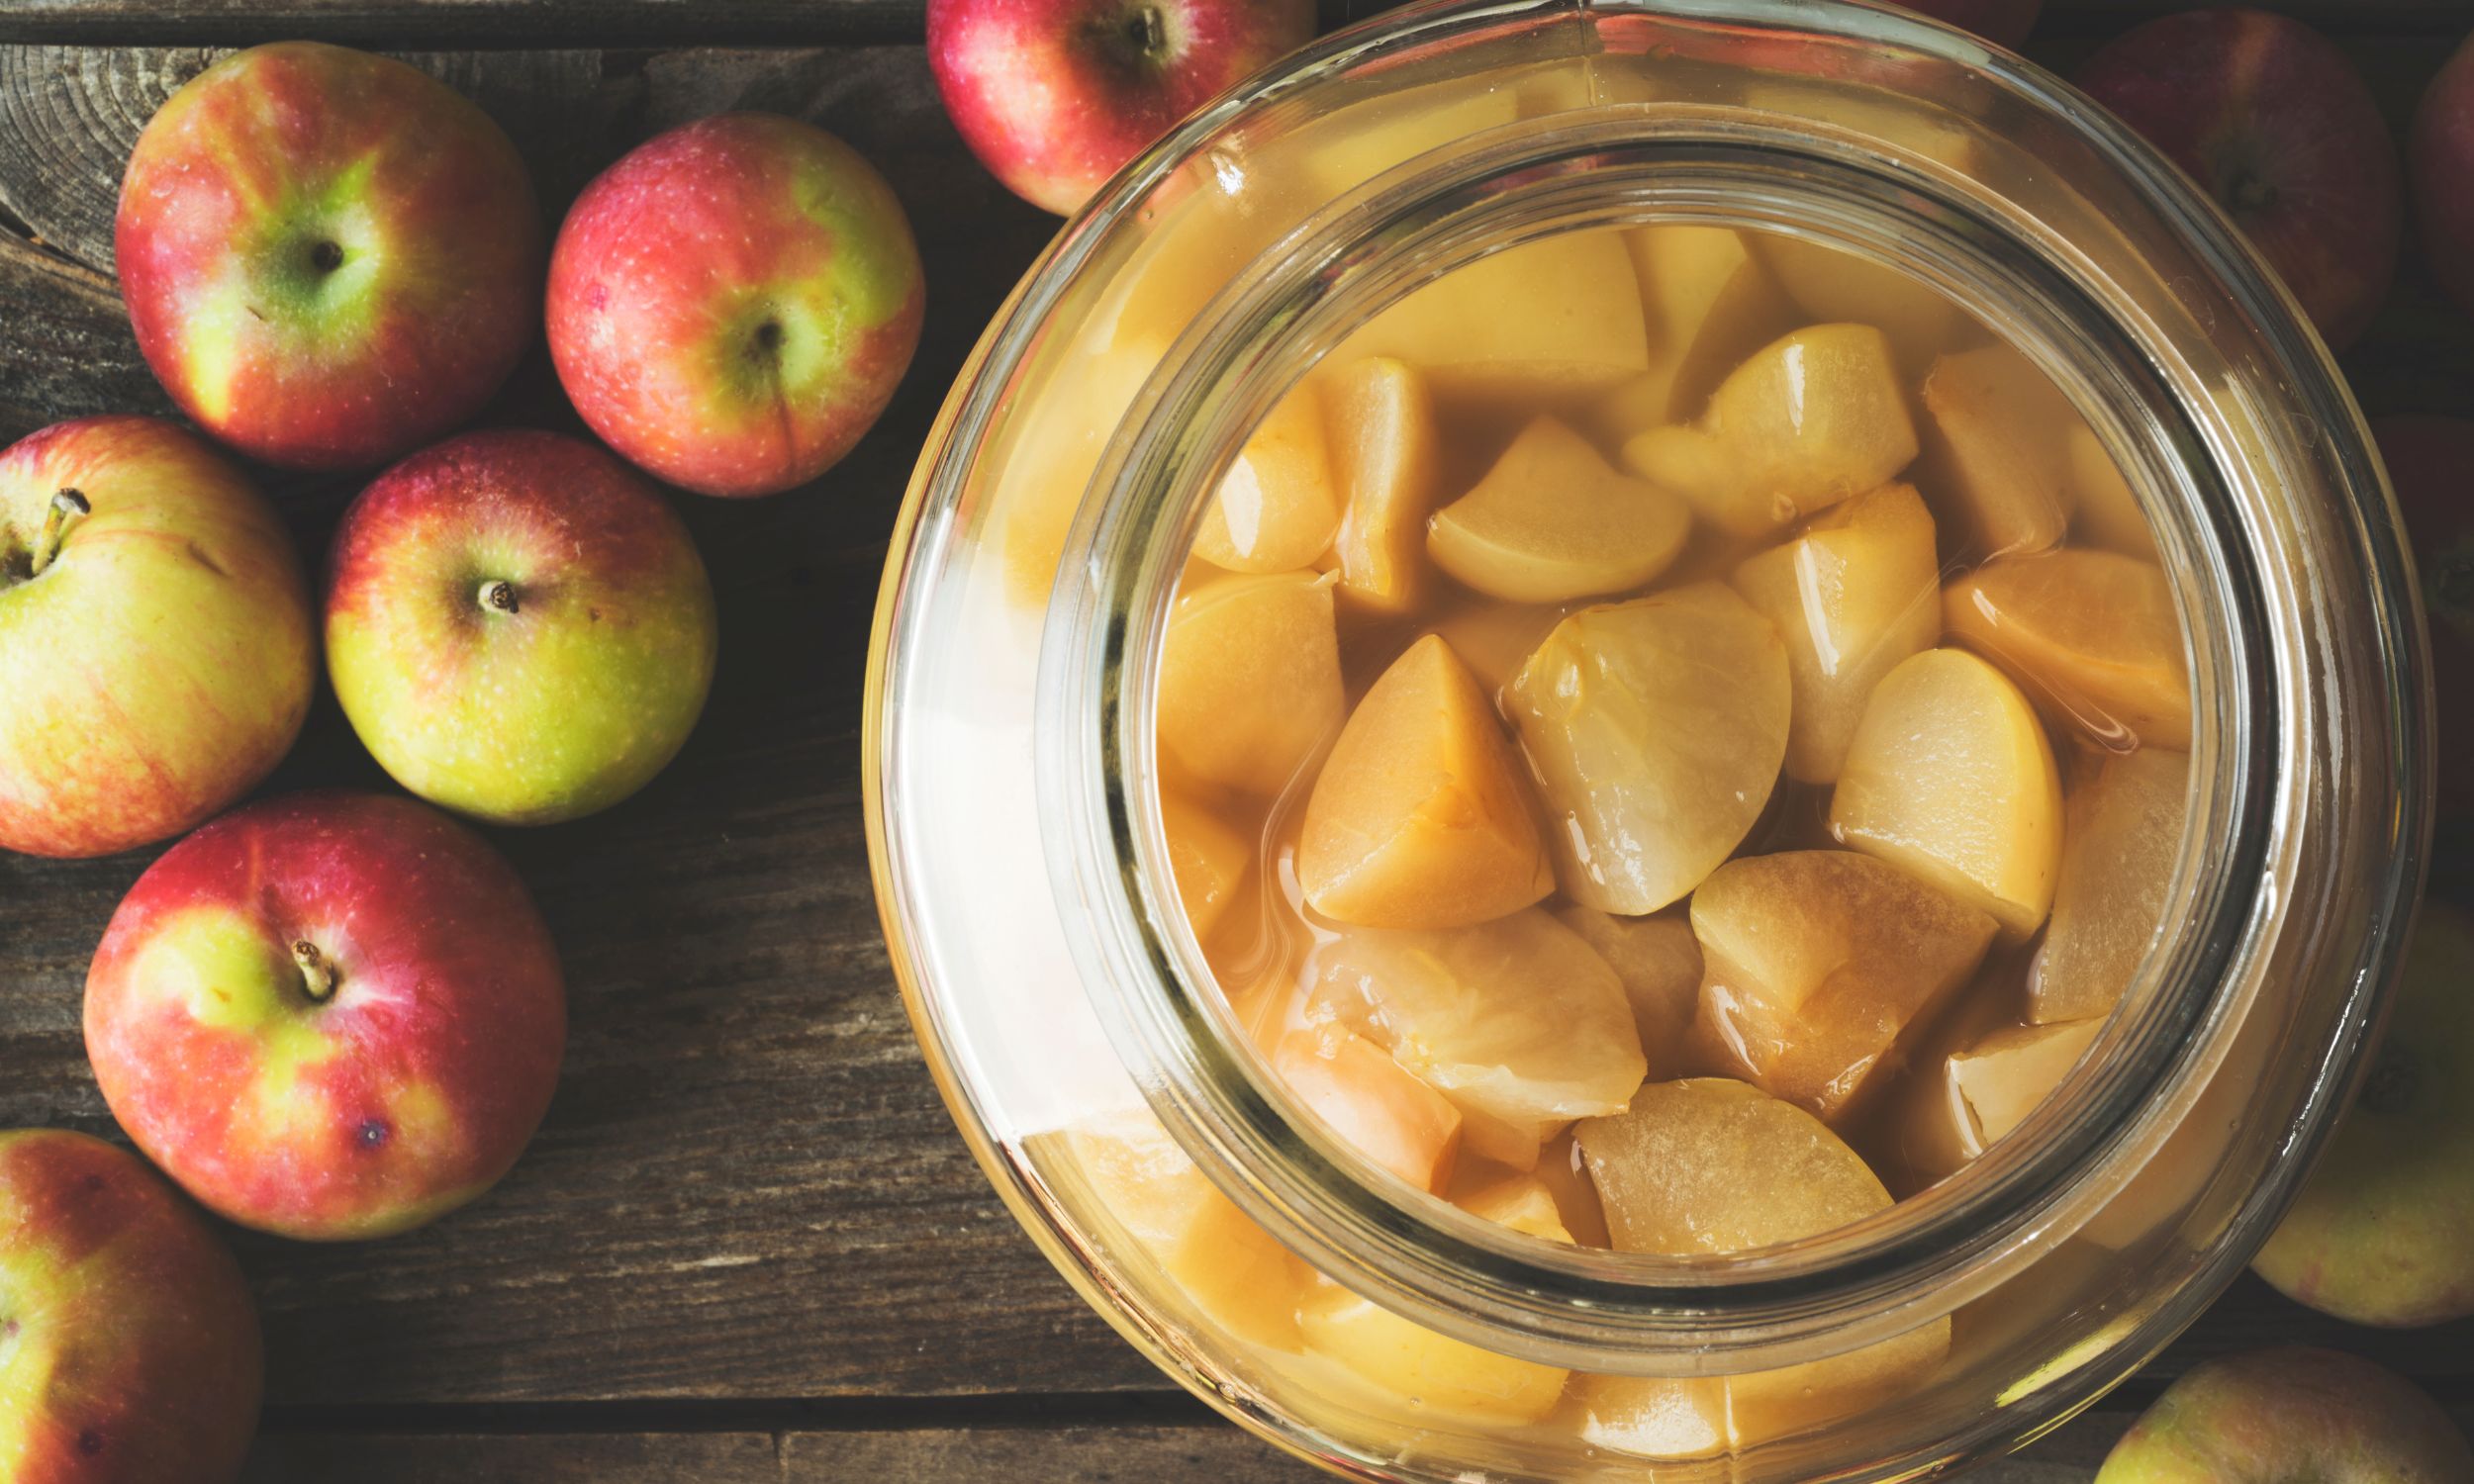
If you are using collected apple scraps, this part is extra easy! There is no prep needed. If your apple scraps were frozen, let them thaw out before starting. A cold ferment is not a happy ferment! I do suggest adding at least some fresh scraps with your frozen ones, if possible. This will ensure your brew is inoculated with live bacteria. When making apple cider vinegar with whole apples, the prep is pretty dang easy too. Simply wash the apples well with water (no soap!) and chop them up into smallish chunks. You can leave the skins, cores, seeds, and even stems in there!
Add the apples to your glass container of choice, filling it about halfway full with apples. We use this 2-gallon container, but many people make much smaller batches! Ensure the container is nice and clean, but doesn’t have any soap residue present – which can cause off-flavors. We clean all of our fermentation supplies with plain white vinegar and hot water.
2- Add Water & Sugar
Next, it is time to get wet and feed the bacteria! Pour room-temperature to lukewarm filtered water over the apples until the container is completely full. Keep track of how much water you add as you go! To do this, I suggest adding water with a measuring cup, or a jar that you can note the volume of. We need to know the water volume to determine how much sugar to add.
Unfortunately, it isn’t as simple as half of your container. For example, when we fill a 2-gallon crock “half full” of apples, that doesn’t mean it is taking up a true half of the volume – because of the air space between the apples. We can generally still fit 1.5 gallons of water inside.
Now, scaling up or down as needed, add 1 tablespoon of sugar per one cup of water used, or 1 cup of sugar per one gallon of water. Stir thoroughly until all of the sugar appears to have dissolved into the water. Here is where the “lukewarm” water helps out!
To inoculate and kick start our batch, we usually add a few glugs of finished apple cider vinegar. This step isn’t necessary, but may help prevent the formation of mold – especially if you are attempting to do this during a cold time of year.
3- Let Sit to Ferment, & Stir!
Once the apples, water, and sugar are all combined, cover your container with a breathable material, such as a lint-free tea towel, old pillow case, or coffee filter. I do not suggest using cheesecloth or any looser-knit material – it may allow fruit flies in!
Set this container in a location that is around 70 to 75°F, if possible. This is the ideal temperature range for fermentation. The container of fermenting apples should also be kept in a dark location. Because we need to see and access it daily for the first two weeks (described below), we keep ours out on the kitchen counter, but wrap the crock in a dark towel or pillowcase to block the light.
Now is the most difficult step of them all, and it really isn’t all that difficult at all! For the first two weeks, your fermenting apples should be stirred every day. The purpose is to ensure the sugar doesn’t settle on the bottom, and also rotate which apples are floating on top. If the same apples are left to float, exposed to the air, there is a chance of mold developing on them. Stirring prevents mold. If you miss a day here or there, it isn’t the end of the world! However, I suggest making a concerted effort stirring daily during the first week especially.
During this time, you’ll notice the apples will turn more brown, and the liquid becomes cloudy. Small bubbles should also appear, and it will start to smell a bit like hard apple cider. A layer of yellowish-white sediment may also collect on the bottom. This is all normal and good! Any obvious, fuzzy, green or white raised mold on the surface is not. In all the years making AVC, we have never had ours mold!
Step 4- Strain Apples
After two weeks of daily stirring, it is time to strain the apples to separate them from the liquid. To accomplish this, we set a fine-mesh strainer on top of a large bowl and slowly pour the contents of the crock through it. You can also use cheesecloth, or whatever else works! The collected apples can now be composted. Return the captured liquid to a clean glass container of the appropriate size, and cover in the same manner it was before.
Step 5- Continue to Ferment
This is where the waiting game begins… Store your covered crock in a temperate, dark location for at least one month, or longer! The bacteria will keep working to convert more and more of the sugar or alcohol to acetic acid, creating vinegar. The rate at which your partially fermented apple cider turns into full-blown vinegar will vary, depending on the storage conditions and apples used. Our apple cider vinegar usually sits for about 2 to 3 more months before we bottle it.
After a month has passed, you can give your vinegar a taste-test. If it tastes plenty vinegary for your liking, move on to the next step. If not, allow it to ferment longer. When it doubt, you can check the pH of your apple cider with these simple pH test strips! Finished apple cider vinegar should have a pH in the range of 2-3.
Note: During this time, sometimes the vinegar develops a layer of SCOBY on the top – sort of like kombucha does! It is a thin, smooth, off-white membrane made up of accumulated beneficial bacteria and yeast. It is normal and harmless. We discard it once we are ready to bottle the vinegar. Our chickens love to eat SCOBY, but make sure to chop it up well for them!
Step 6- Bottle & Enjoy
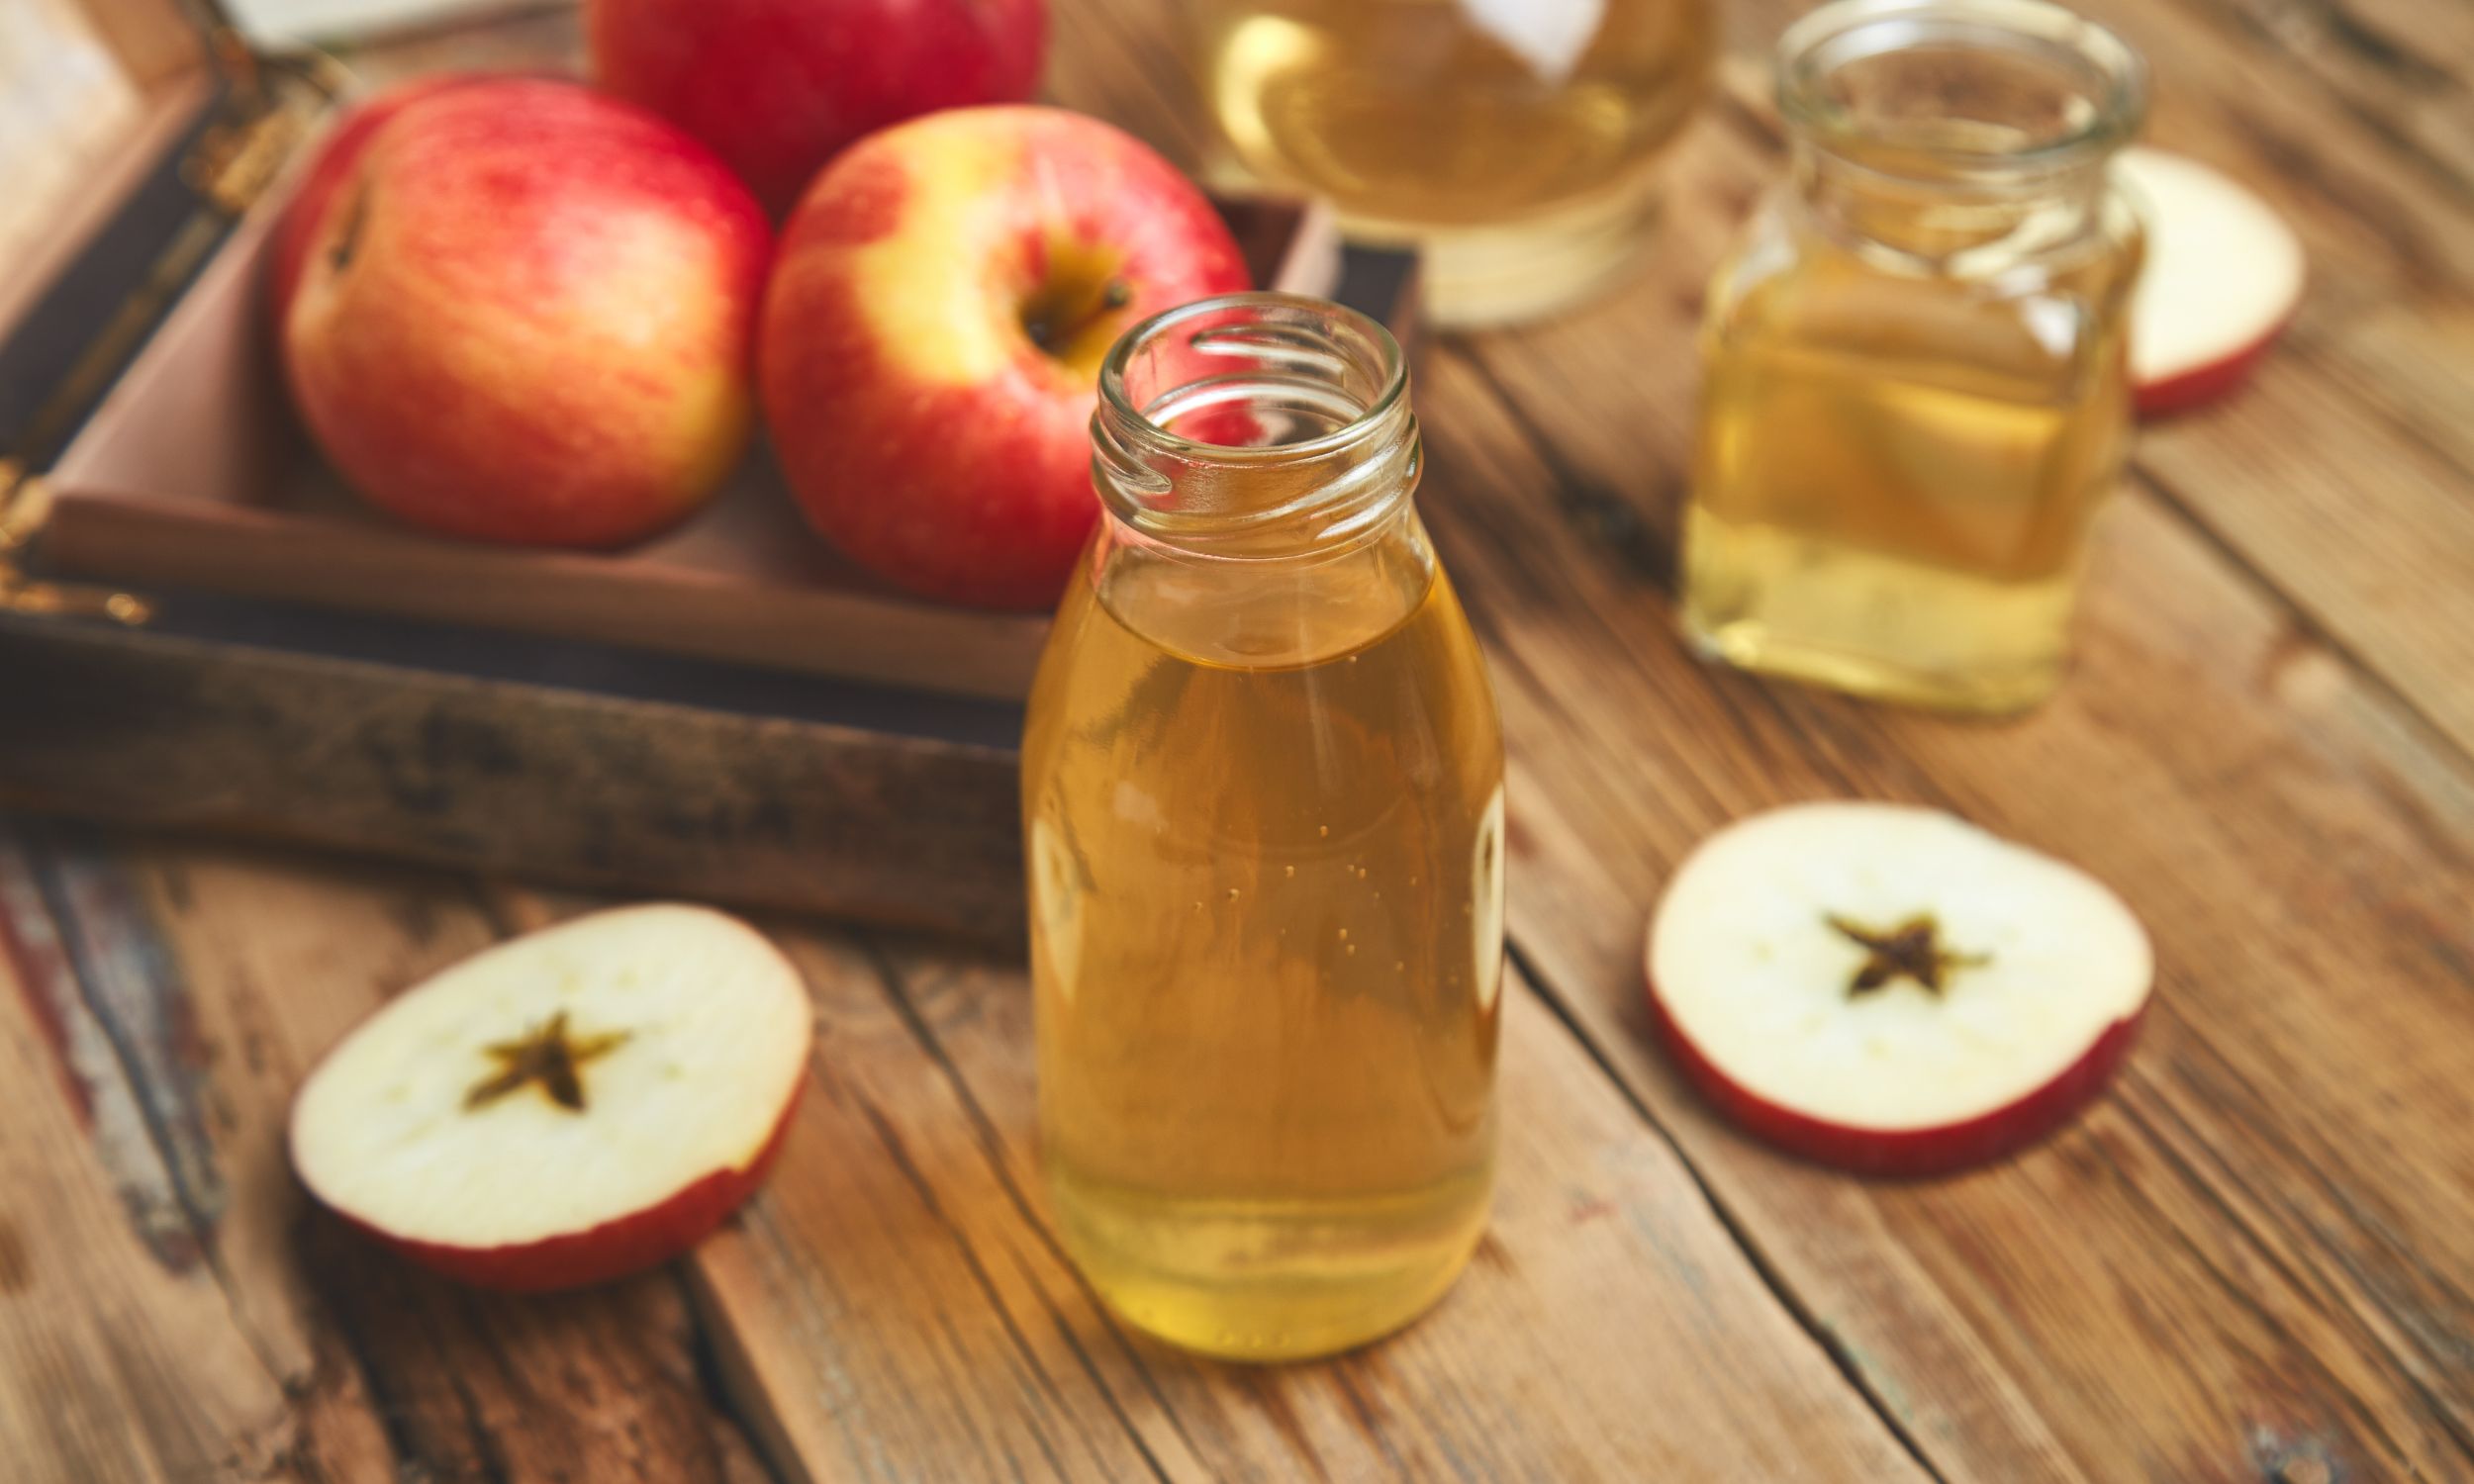
Once it reaches that perfect fermentation level, transfer the apple cider vinegar into bottles with tight-fitting lids for storage. We re-use old ACV bottles, or store it in our swing-top kombucha bottles. As an acidic concoction, homemade apple cider vinegar does not have to be refrigerated for safety-sake! It is best to store it in a relatively cool, dark place.
If we have the space, we typically refrigerate at least some of our bottles at this point. Why? Well, once they’re refrigerated, the bacteria activity will slow way down and prevent the vinegar from fermenting beyond the point we enjoy it. Plus, most people like to enjoy their AVC cold anyways! I know we do.
Even stored at room temperature, homemade apple cider vinegar will stay good for up to five years! However, the quality and flavor will likely be best within the first two years.
Uses for Homemade Apple Cider Vinegar
Now that you know how easy it is to make homemade apple cider vinegar, let’s talk about all the ways you can use it! Here are just a few ideas:
- Salad dressing recipes
- A substitute for plain vinegar in any recipe
- Use instead of lemon juice in homemade mayonnaise
- Homemade Ketchup
- Homemade Stock or Broth (basic broth recipe)
- Fruit Fly Traps
- Homemade Natural Cleaning Products (like a DIY shower cleaner)
- Homemade Hair Rinses
- DIY Facial Toner recipes
- Foot Soak recipes
Making homemade apple cider vinegar is easy, cheap, and customizable! Not only that, but it also reduces food waste and is packed with probiotics and other health benefits. So what are you waiting for? Give it a try today!