Growing Garlic in Containers is Easy
Garlic is one of the easiest crops you can grow. In most regions of the country, garlic is planted in the fall. By that time, many summer crops have already been harvested, leaving some free garden space. Just remember that the garlic bed won’t be available for another crop until late next summer when it’s time to harvest the garlic you planted the previous fall. This is why we love growing garlic in containers.
Growing garlic in containers is very similar to growing garlic in the ground. The biggest thing you need to ensure is that your soil doesn’t dry out for a long period of time.
Disclosure: Some of the links below are affiliate links, meaning, at no additional cost to you, I will earn a commission if you click through and make a purchase.
Choosing What Kind of Garlic to Plant
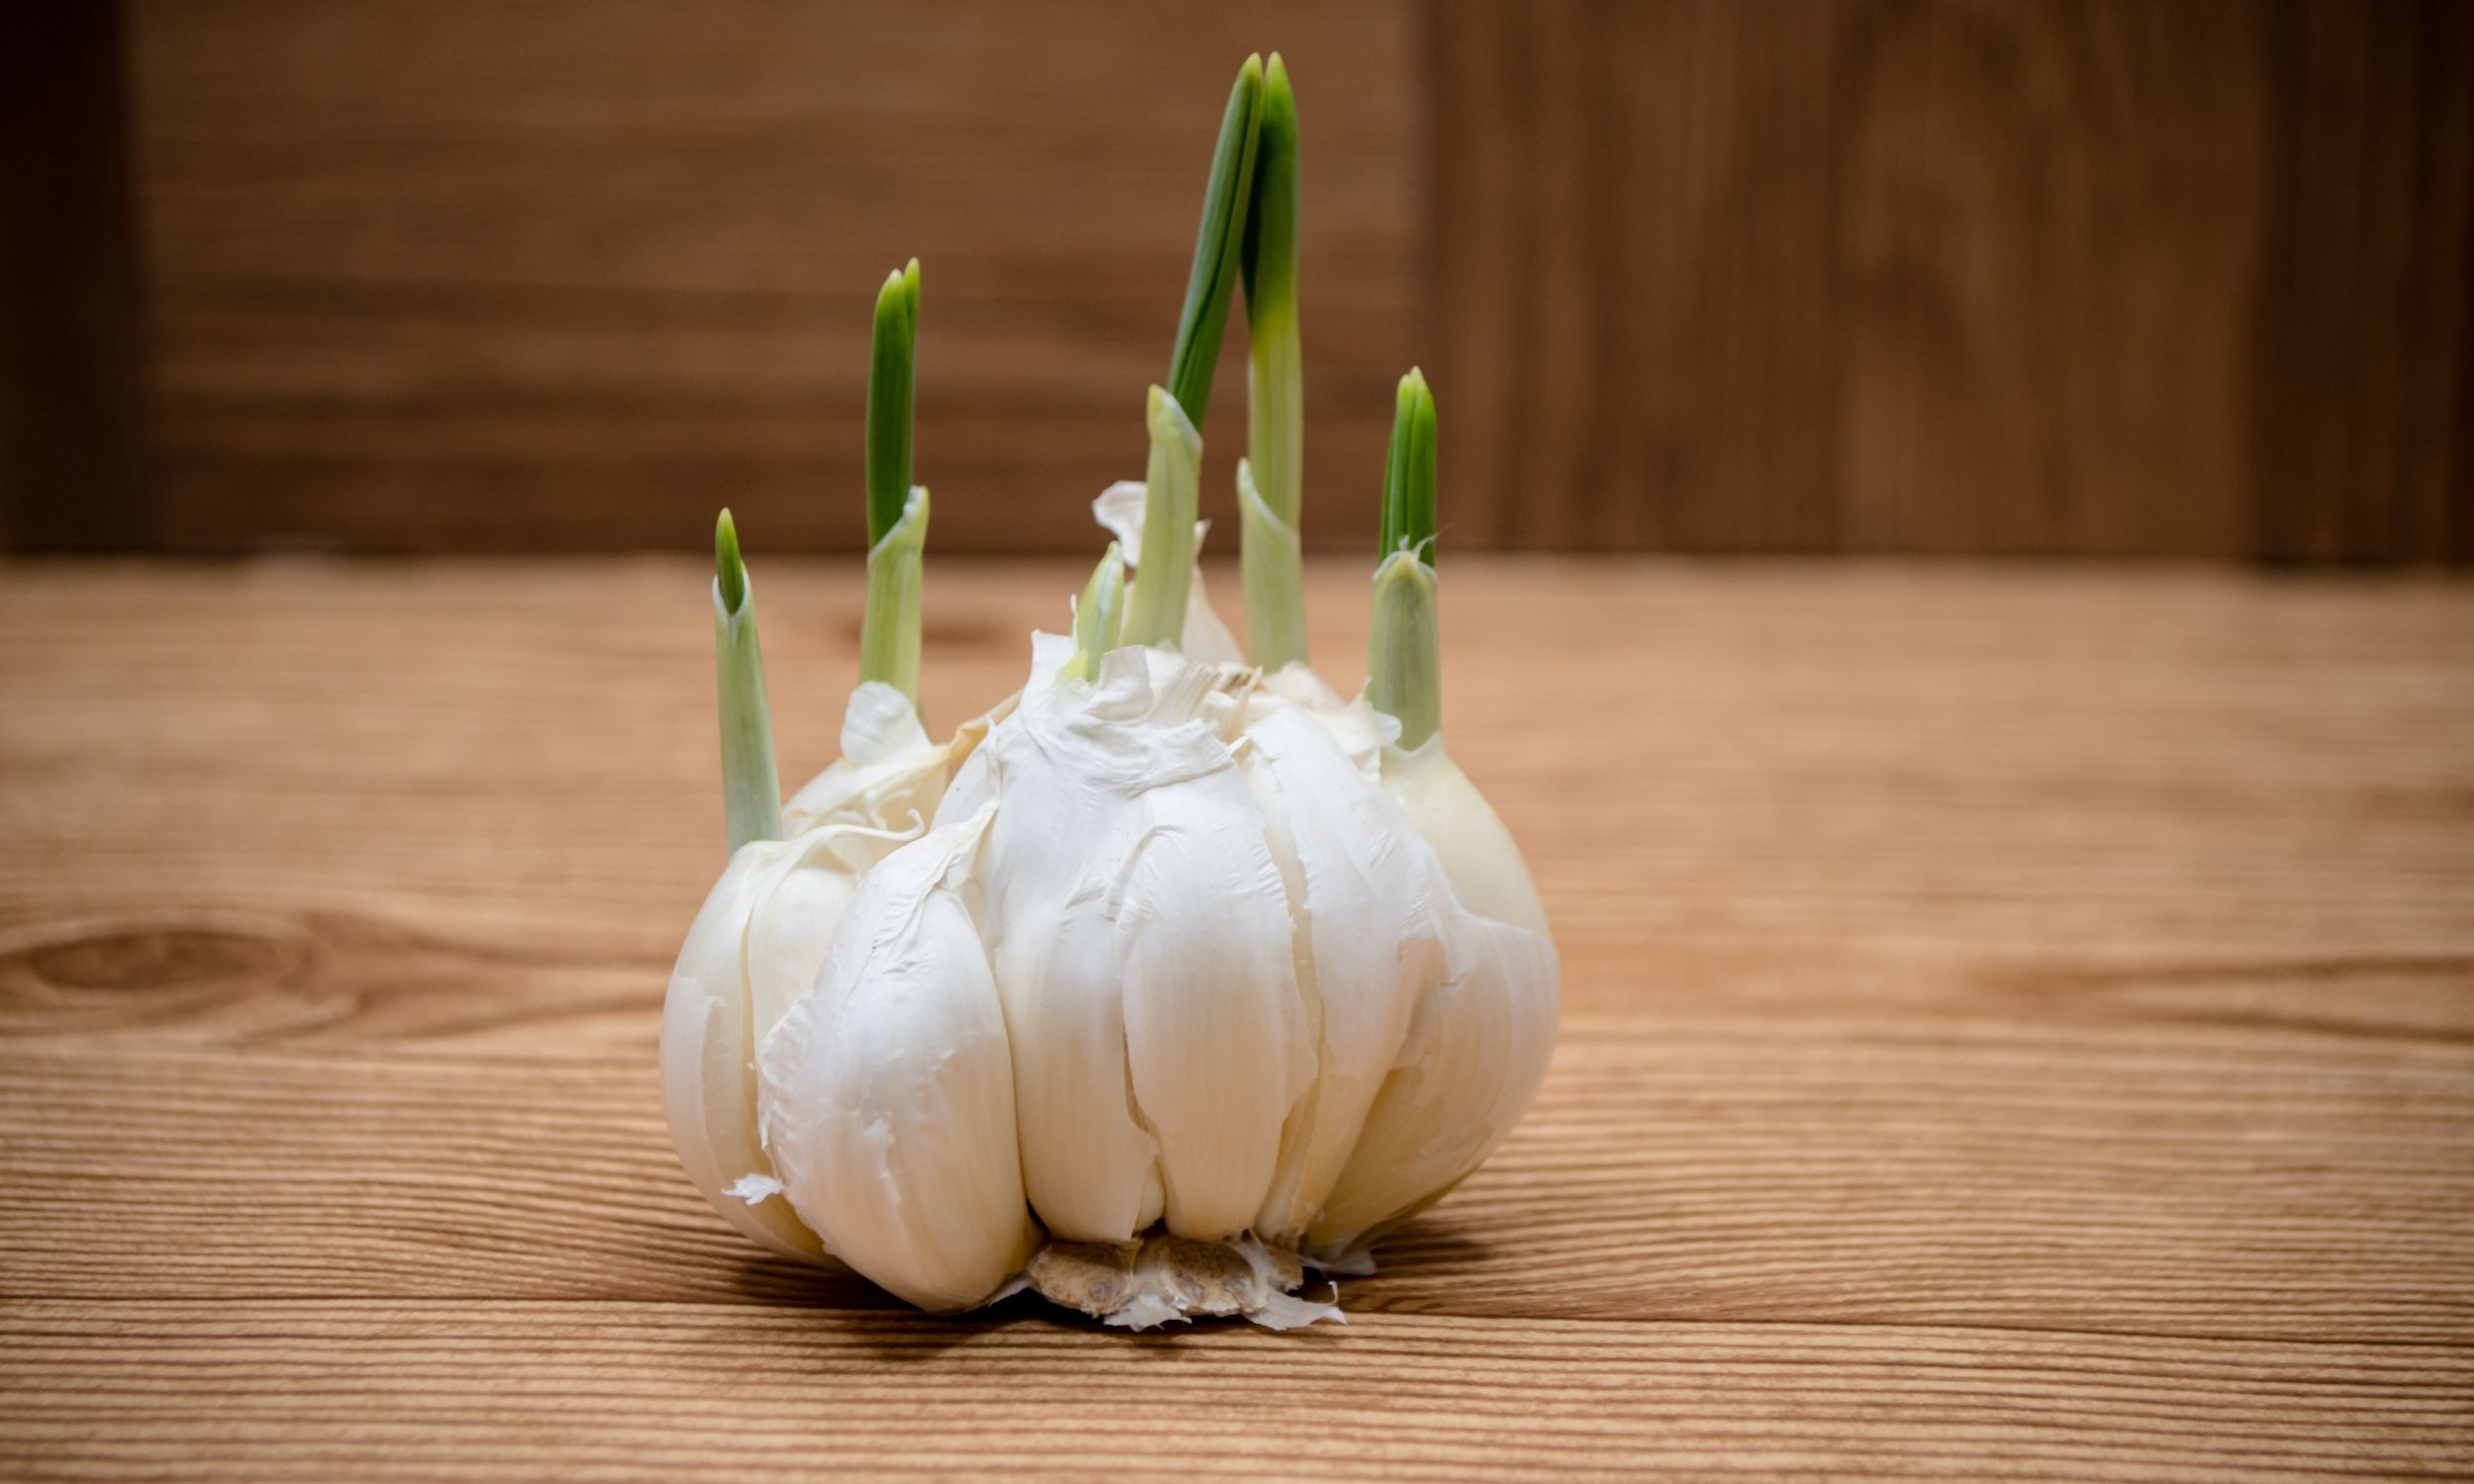
If you’re replanting garlic from your own stock, choose the biggest and best heads from the summer’s harvest. If purchasing, look for garlic sold specifically for planting. Garlic from the produce section at the supermarket may have been treated with a sprout inhibitor to prevent it from growing.
There are Several Types of Garlic
Hardneck garlic varieties produce a stiff stem that grows up through the center of the bulb. Compared to softneck varieties, hardneck varieties tend to have a sharper flavor, with more variation in flavor among the varieties. They’re hardier, too, making them a good choice for regions with very cold winters. Once harvested, the bulbs have a somewhat shorter shelf life than softneck varieties.
Softneck garlic varieties don’t produce a stiff central stem. This is the type of garlic you’ll find at most supermarkets. It has a relatively mild flavor. Softneck garlic is the best choice for regions with mild winters, and it’s the type to grow if you want to make garlic braids.
Elephant garlic resembles a giant head of garlic and, indeed, it does belong to the same genus, Allium. However, it isn’t a “true” garlic but rather is more closely related to the leek.
The Best Soil for Garlic
Garlic grows best in well-drained, moisture-retentive soil with pH between 6.0 and 7.0.
Improve your soil’s organic matter content by adding well-rotted manure or compost in spring or fall.
Do not use fresh manure as it may contain harmful bacteria and may increase weed problems.
Learn more about compost by reading Composting for Beginners.
Prior to planting, till your soils to provide a loose growing bed for bulb growth.
Garlic has a moderate to high demand for nitrogen, so you can incorporate urea fertilizer before planting.
Top dress as soon as shoots emerge, then again two to three weeks afterwards.
Avoid applying nitrogen after the first week in May, or you may delay bulbing.
You may not need additional nitrogen in the spring if you incorporated enough compost in the fall.
Selecting a Container for Growing Potted Garlic
Once you know which type of garlic to grow in your containers, it’s time to choose a pot. While terra cotta pots are a popular choice, they are not the best option for growing garlic. Their porous nature means you’ll be watering like crazy for 8 to 9 months – no gardener I know wants that. In addition, water often gets into those pores and freezes in the winter, causing the pots to flake and crack.
Instead of terra cotta, I recommend using either a plastic, glazed ceramic, fiberstone, or plasti-stone pot. Since the pot will sit outdoors all winter long, make sure the pot is frost-proof and will not crack. This is especially important if you choose a glazed ceramic pot.
Your selected container needs to have a drainage hole in the bottom, and it should be at least 8 inches deep to allow ample room for the roots to grow.
How wide the pot should be depends on how many cloves of garlic you intend to grow. My garlic-planting pot is 22 inches in diameter, and I plant 8 to 10 cloves inside. The larger the container, the more cloves you can plant (and the less frequently you have to water – bonus!)
The Best Fertilizer for Garlic Planted in a Pot
After you’ve filled your container with a mix of potting soil and compost, it’s time to add the right fertilizer. Garlic is a bulb plant, just like daffodils and tulips, and in order for it to produce top-sized heads of garlic, the plants require a good bit of phosphorous.
Mix 2 to 3 tablespoons of a granular organic fertilizer that’s formulated specifically for bulbs into the pot. I like Epsoma BulbTone, but there are other brands on the market, too. Use a trowel to stir in the fertilizer and distribute it evenly throughout the pot.
Stay Connected and Get the Latest
Sign up with your email address to receive access to our FREE farmhouse living resources.
Six Steps for Planting Garlic
- Plan to plant garlic in fall about four to six weeks before the ground freezes.
- Prepare the soil by loosening it to a depth of at least 8″ and mix in some slow-release, granular organic fertilizer.
- Just prior to planting, break up the garlic heads into individual cloves, leaving as much of the papery covering on each clove intact as possible.
- Plant cloves 3″ to 4″ deep, orienting them so the pointy ends face up.
- Water gently to settle the soil, and then cover the bed with a 4″ to 6″ layer of straw. Even as air temperatures drop, the soil will stay warm enough for the newly planted cloves to establish roots before the ground freezes. Sometimes you’ll see some green shoots form in fall; that’s fine and won’t harm plants. They’ll begin growing in earnest in spring.
- Next spring and summer, keep the bed weeded and watered.
How to Keep your Garlic Plants Healthy and Productive
- Watering
- Proper watering will help growth of your garlic plants.
- Soak the soil thoroughly when watering, to a depth of at least one inch each week during the growing season.
- Sandy soils require more frequent watering.
- Stop watering two weeks before harvest to avoid staining bulb wrappers and promoting diseases.
- Controlling Weeds
- Control weeds early, they can easily overtake young garlic plants.
- Use mulch to reduce annual weed growth. Use straw free of weed seed as mulch.
- A thorough, shallow cultivation before reapplying straw mulch in the spring will reduce annual weed populations.
- Insects
- Insects are not a major problem with garlic
- Disease
- Garlic is vulnerable to several types of rot.
- Fusarium basal rot is the most common.
- To avoid these diseases, plant only healthy cloves, manage weeds in the garden and take care not to injure garlic bulbs while working in the garden.
- Plant garlic in an area where you have not planted onions, chives, leeks, shallots or garlic for the past four years.
What to do with Pots of Garlic in the Winter
Place your pot of garlic in a sunny location that receives at least 6 to 8 hours of full sun per day. If you live in a mild climate, you can let the pot sit in this same location all winter long, but if you live in a cold climate, when winter arrives, move the pot to a sheltered spot next to your house.
To help insulate the soil and bulbs, pile fall leaves or straw up around the sides of the container. Don’t pile them on top of the pot; just around its exterior. Alternatively, I’ve wrapped the pot in a few layers of bubble wrap to give it some added insulation.
You can skip this step if you don’t mind risking the bulbs freezing out. In most years, they will be fine. But, if a good old “polar vortex” decides to show up, all bets are off.
How to Care for Container Garlic in the Spring and Summer
When spring arrives, move the pot of garlic back out into the sunshine and continue to regularly water it. Sprinkle another 2 tablespoons of granular organic bulb fertilizer on top of the soil’s surface.
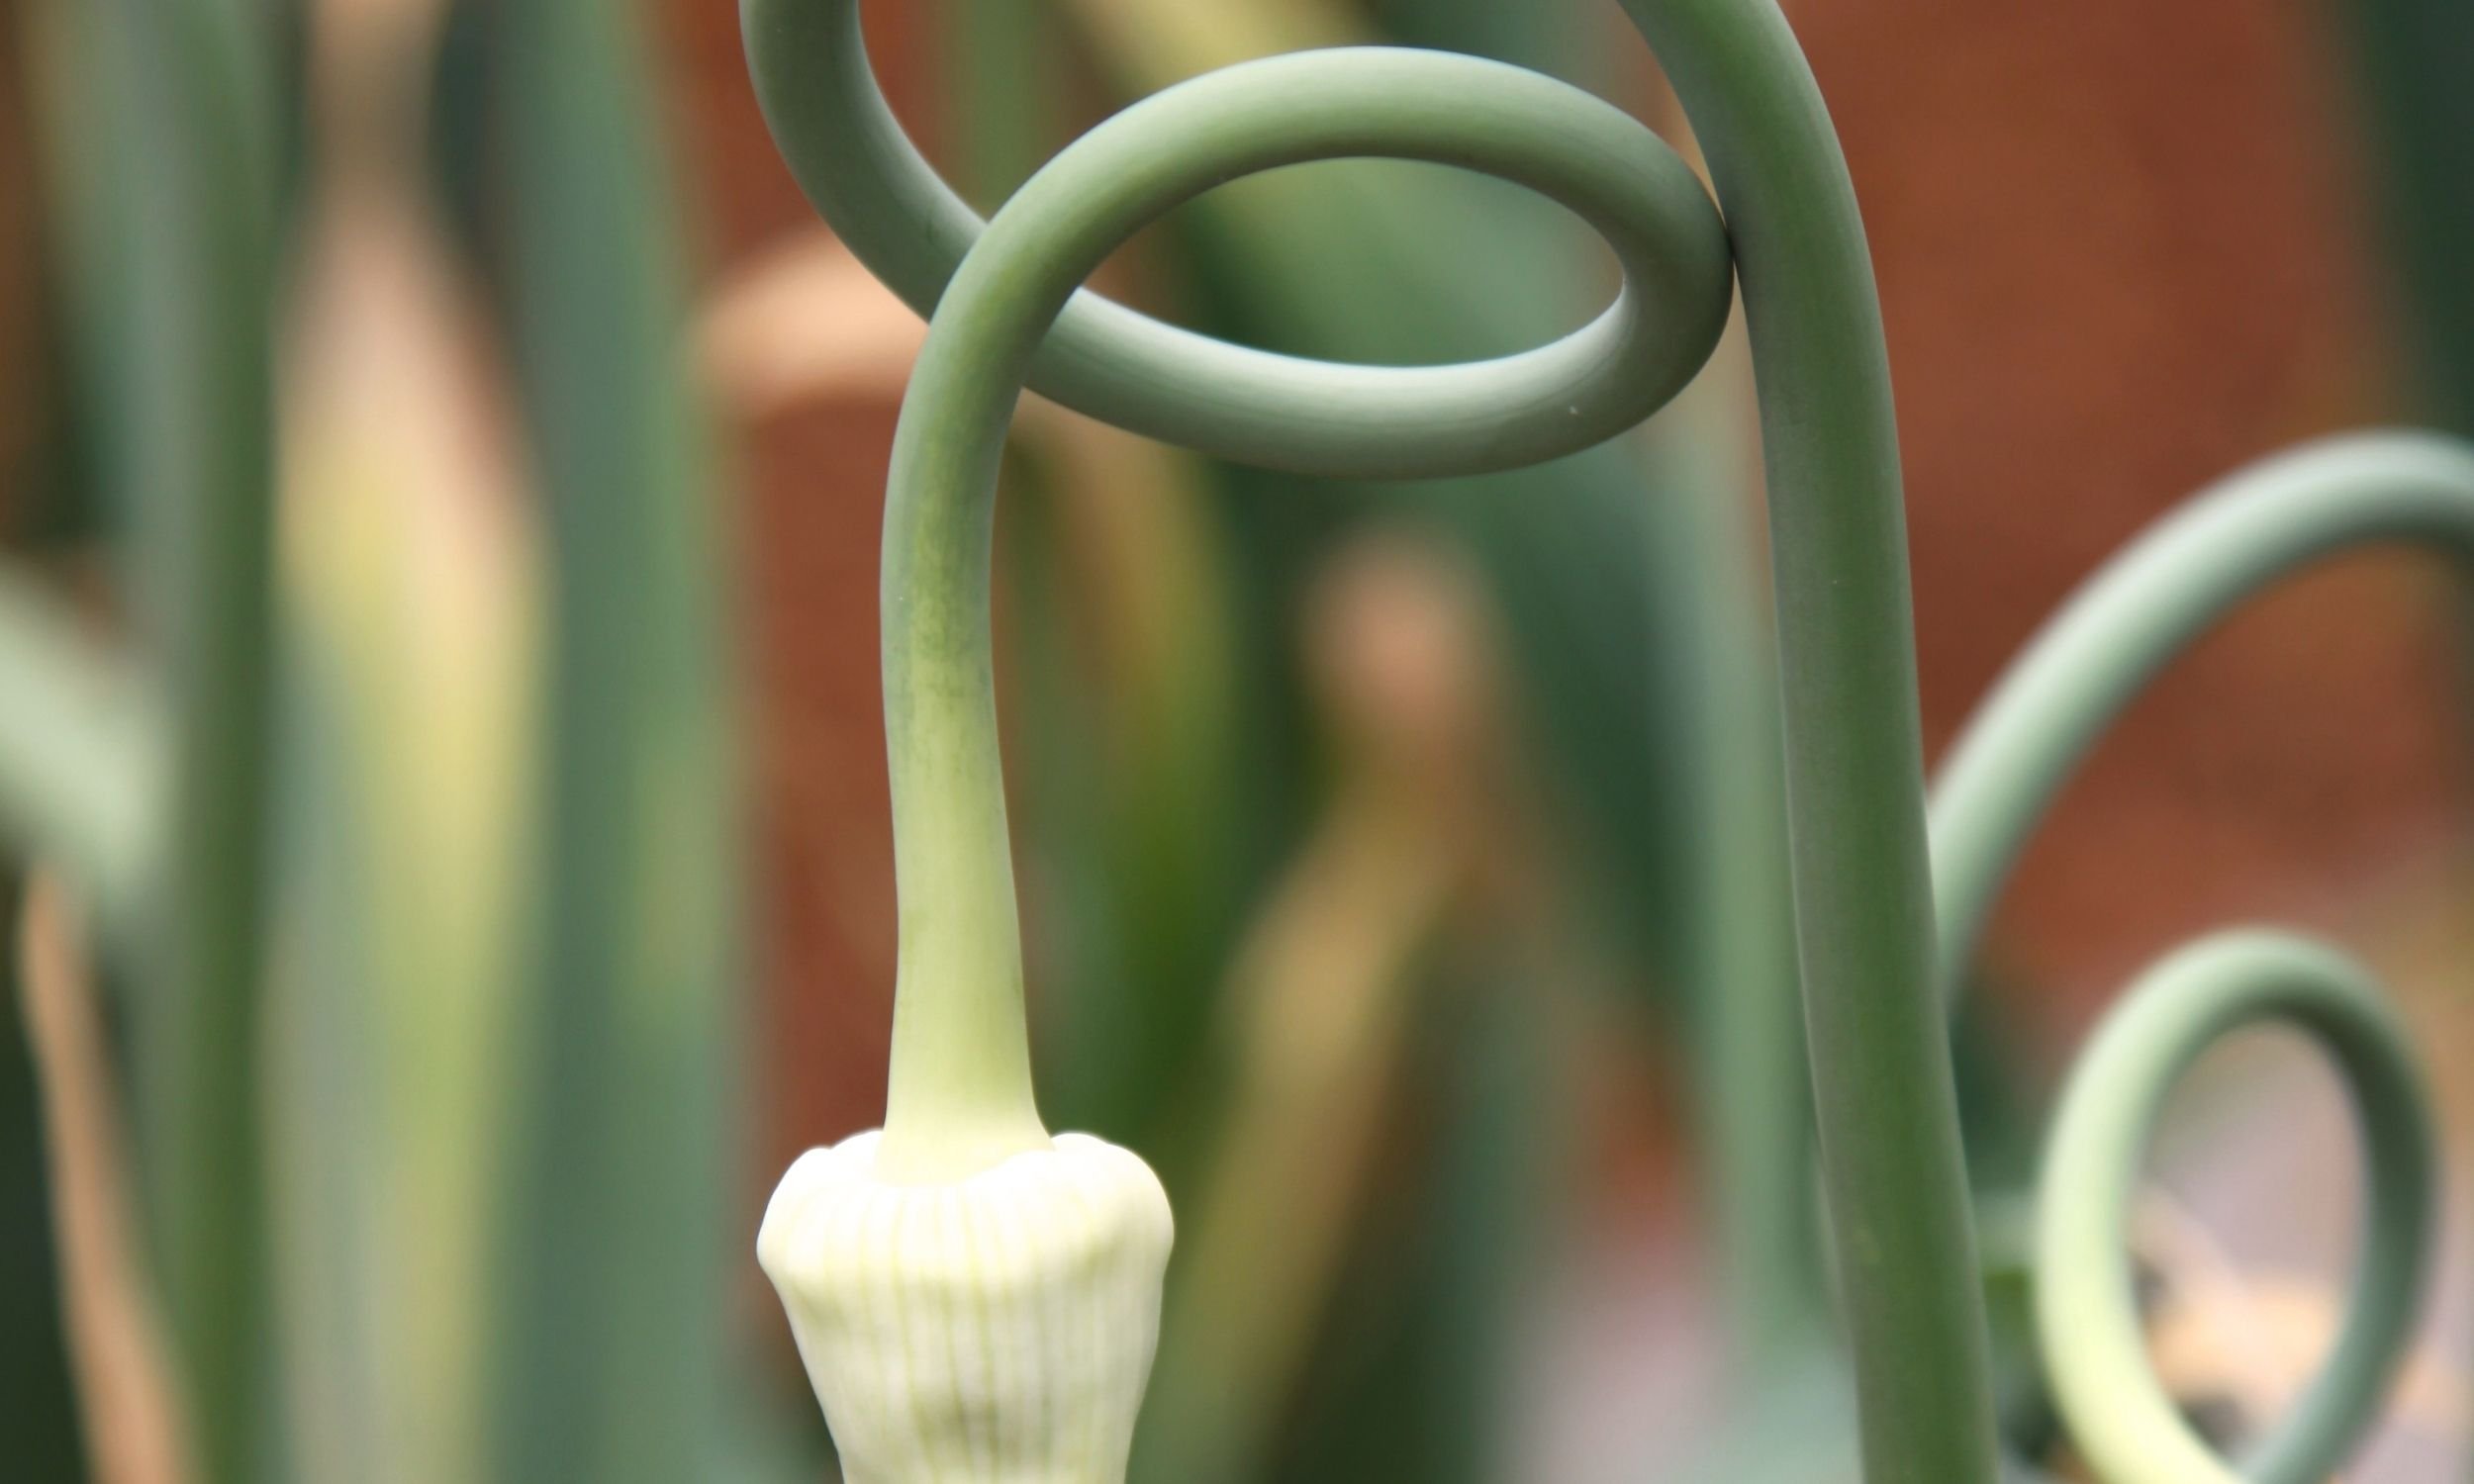
In early spring, tiny green shoots will emerge from the soil. Soon, they’ll grow into large green stalks. If you’ve grown hardneck garlic in your pot, they’ll produce a scape (curly flower stalk) in early summer. Snap the scape off to divert the plant’s energy into growing a bigger bulb.
Then, let the plants grow until the foliage is about 50% yellow. When that happens, it’s time to harvest!
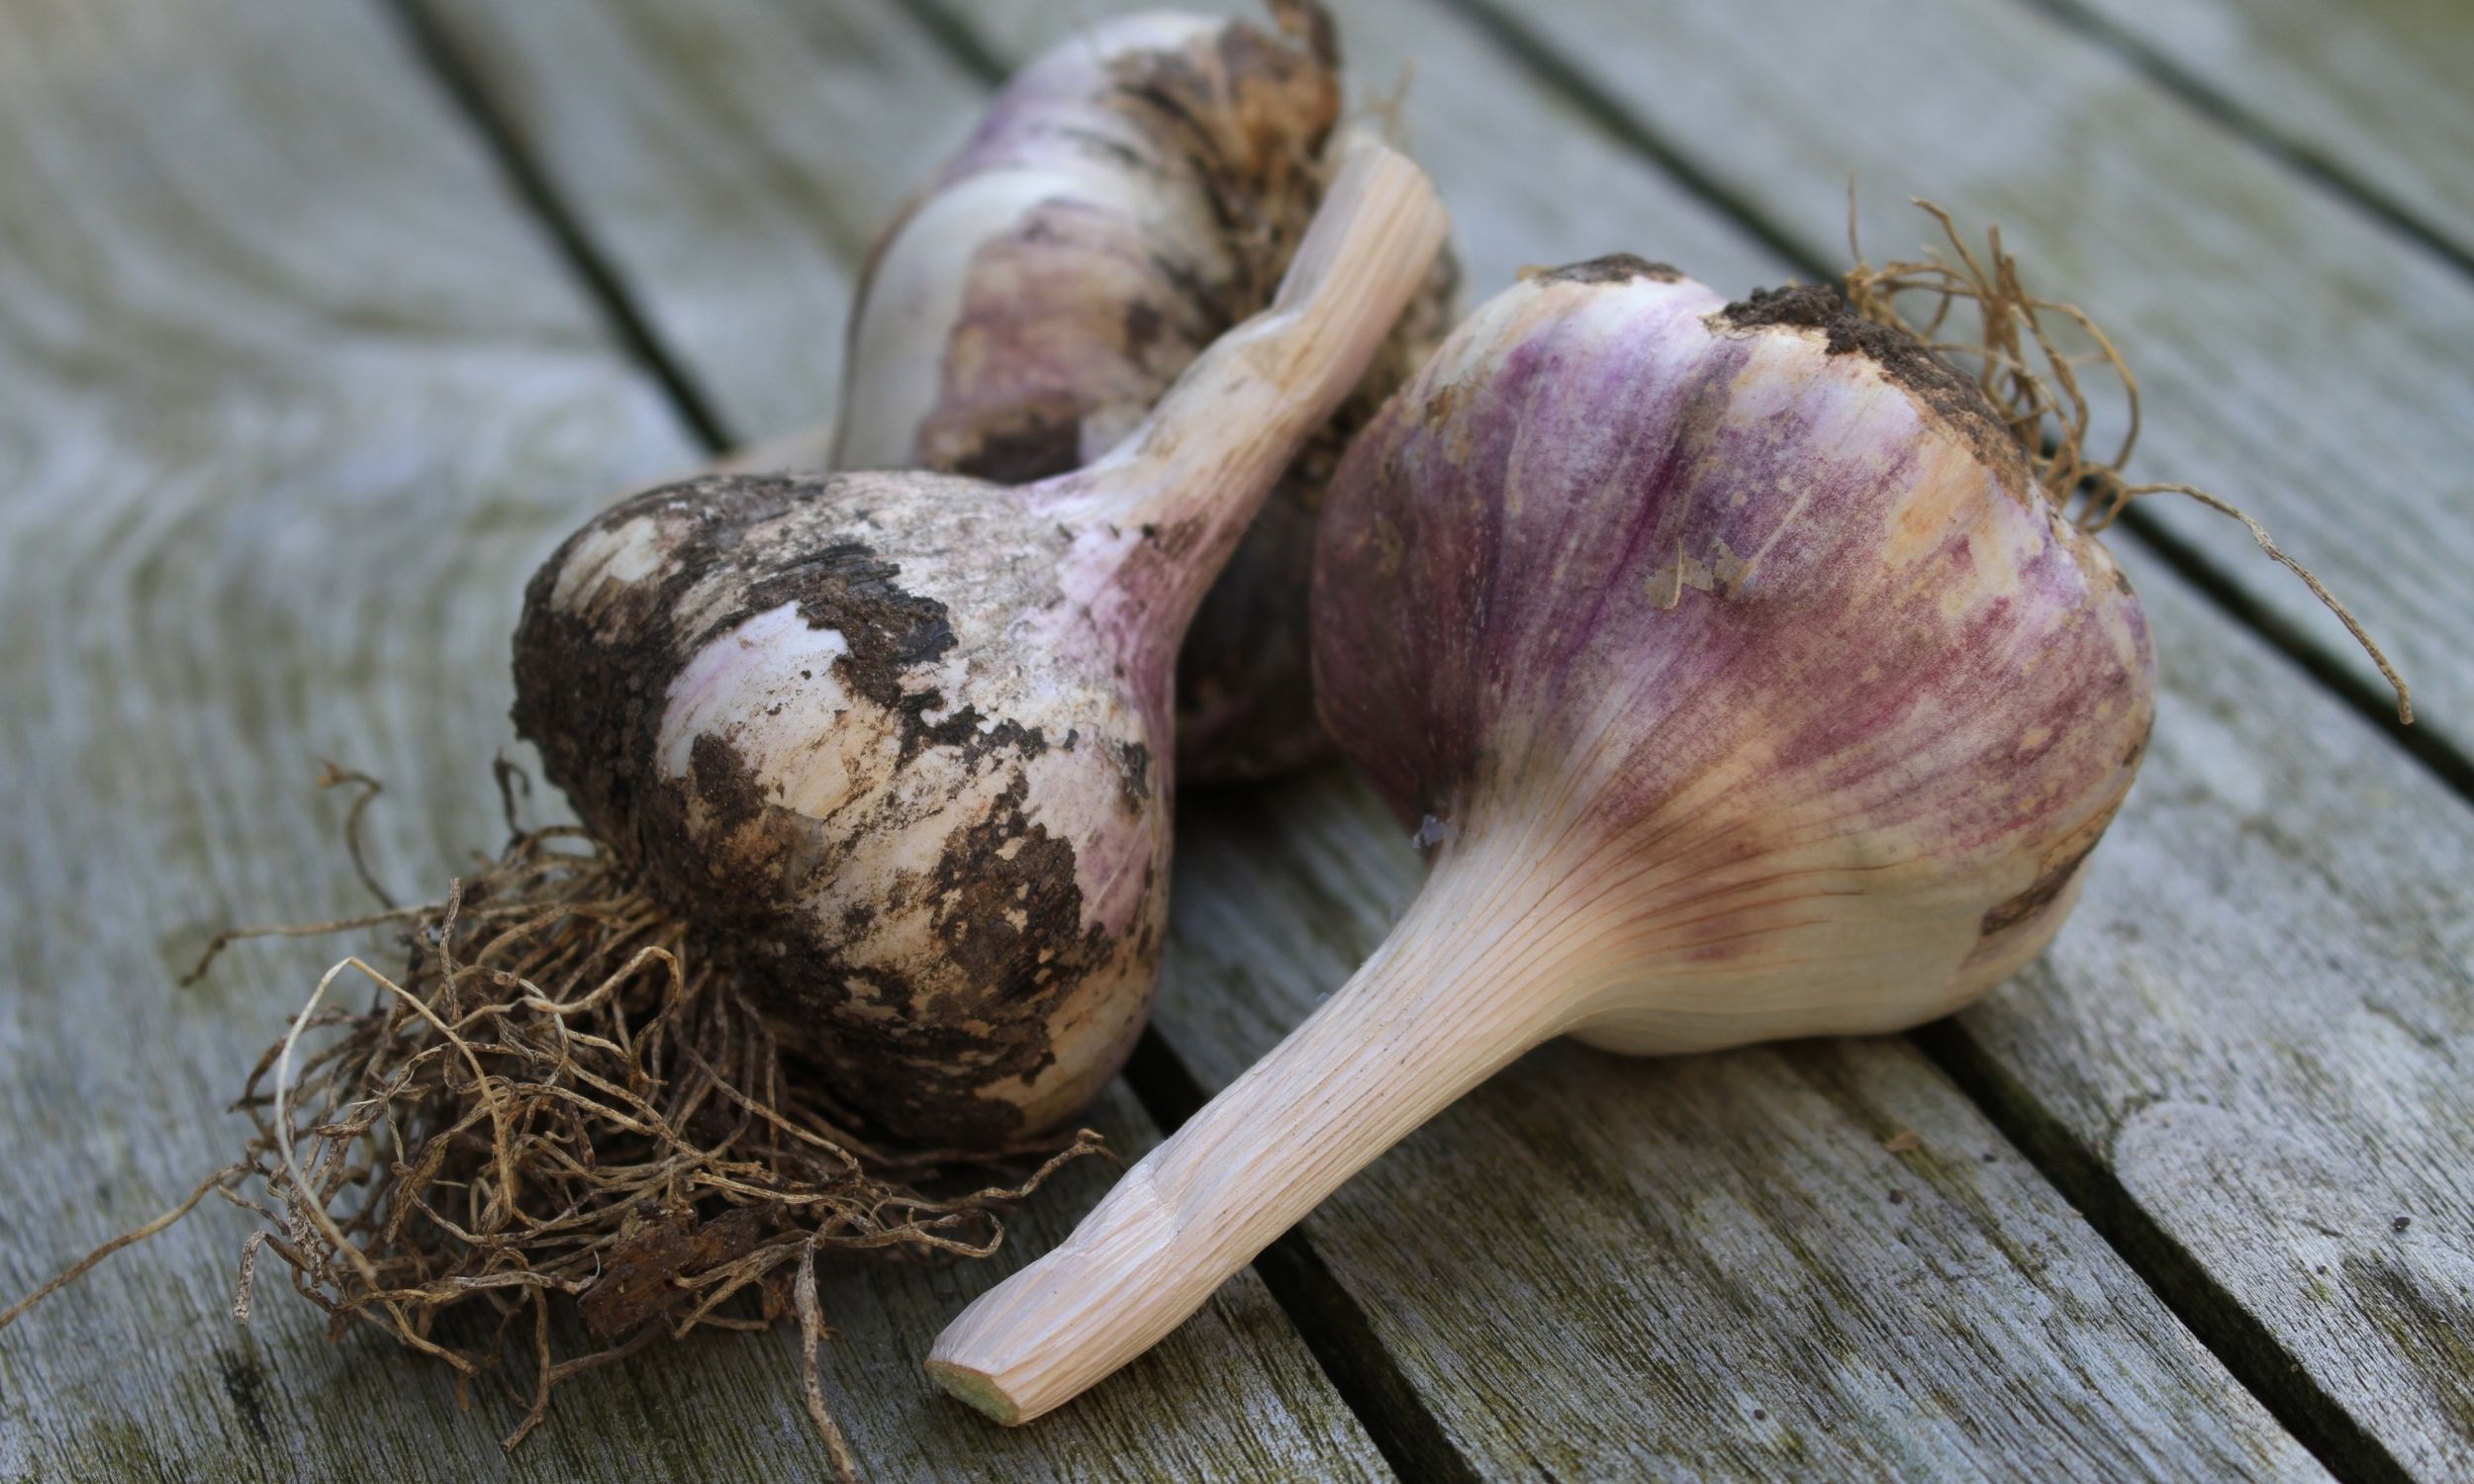
Harvesting Garlic
DETERMINING when garlic is ready to harvest is one of the trickiest parts about growing it. If you harvest too soon the cloves will be small and underdeveloped (certainly usable but not as big and plump as possible). If you wait too long, as the heads dry the cloves will begin to separate and the head won’t be tight and firm (also not a disaster, but the cloves will be more vulnerable to decay and drying out so they won’t store as long).
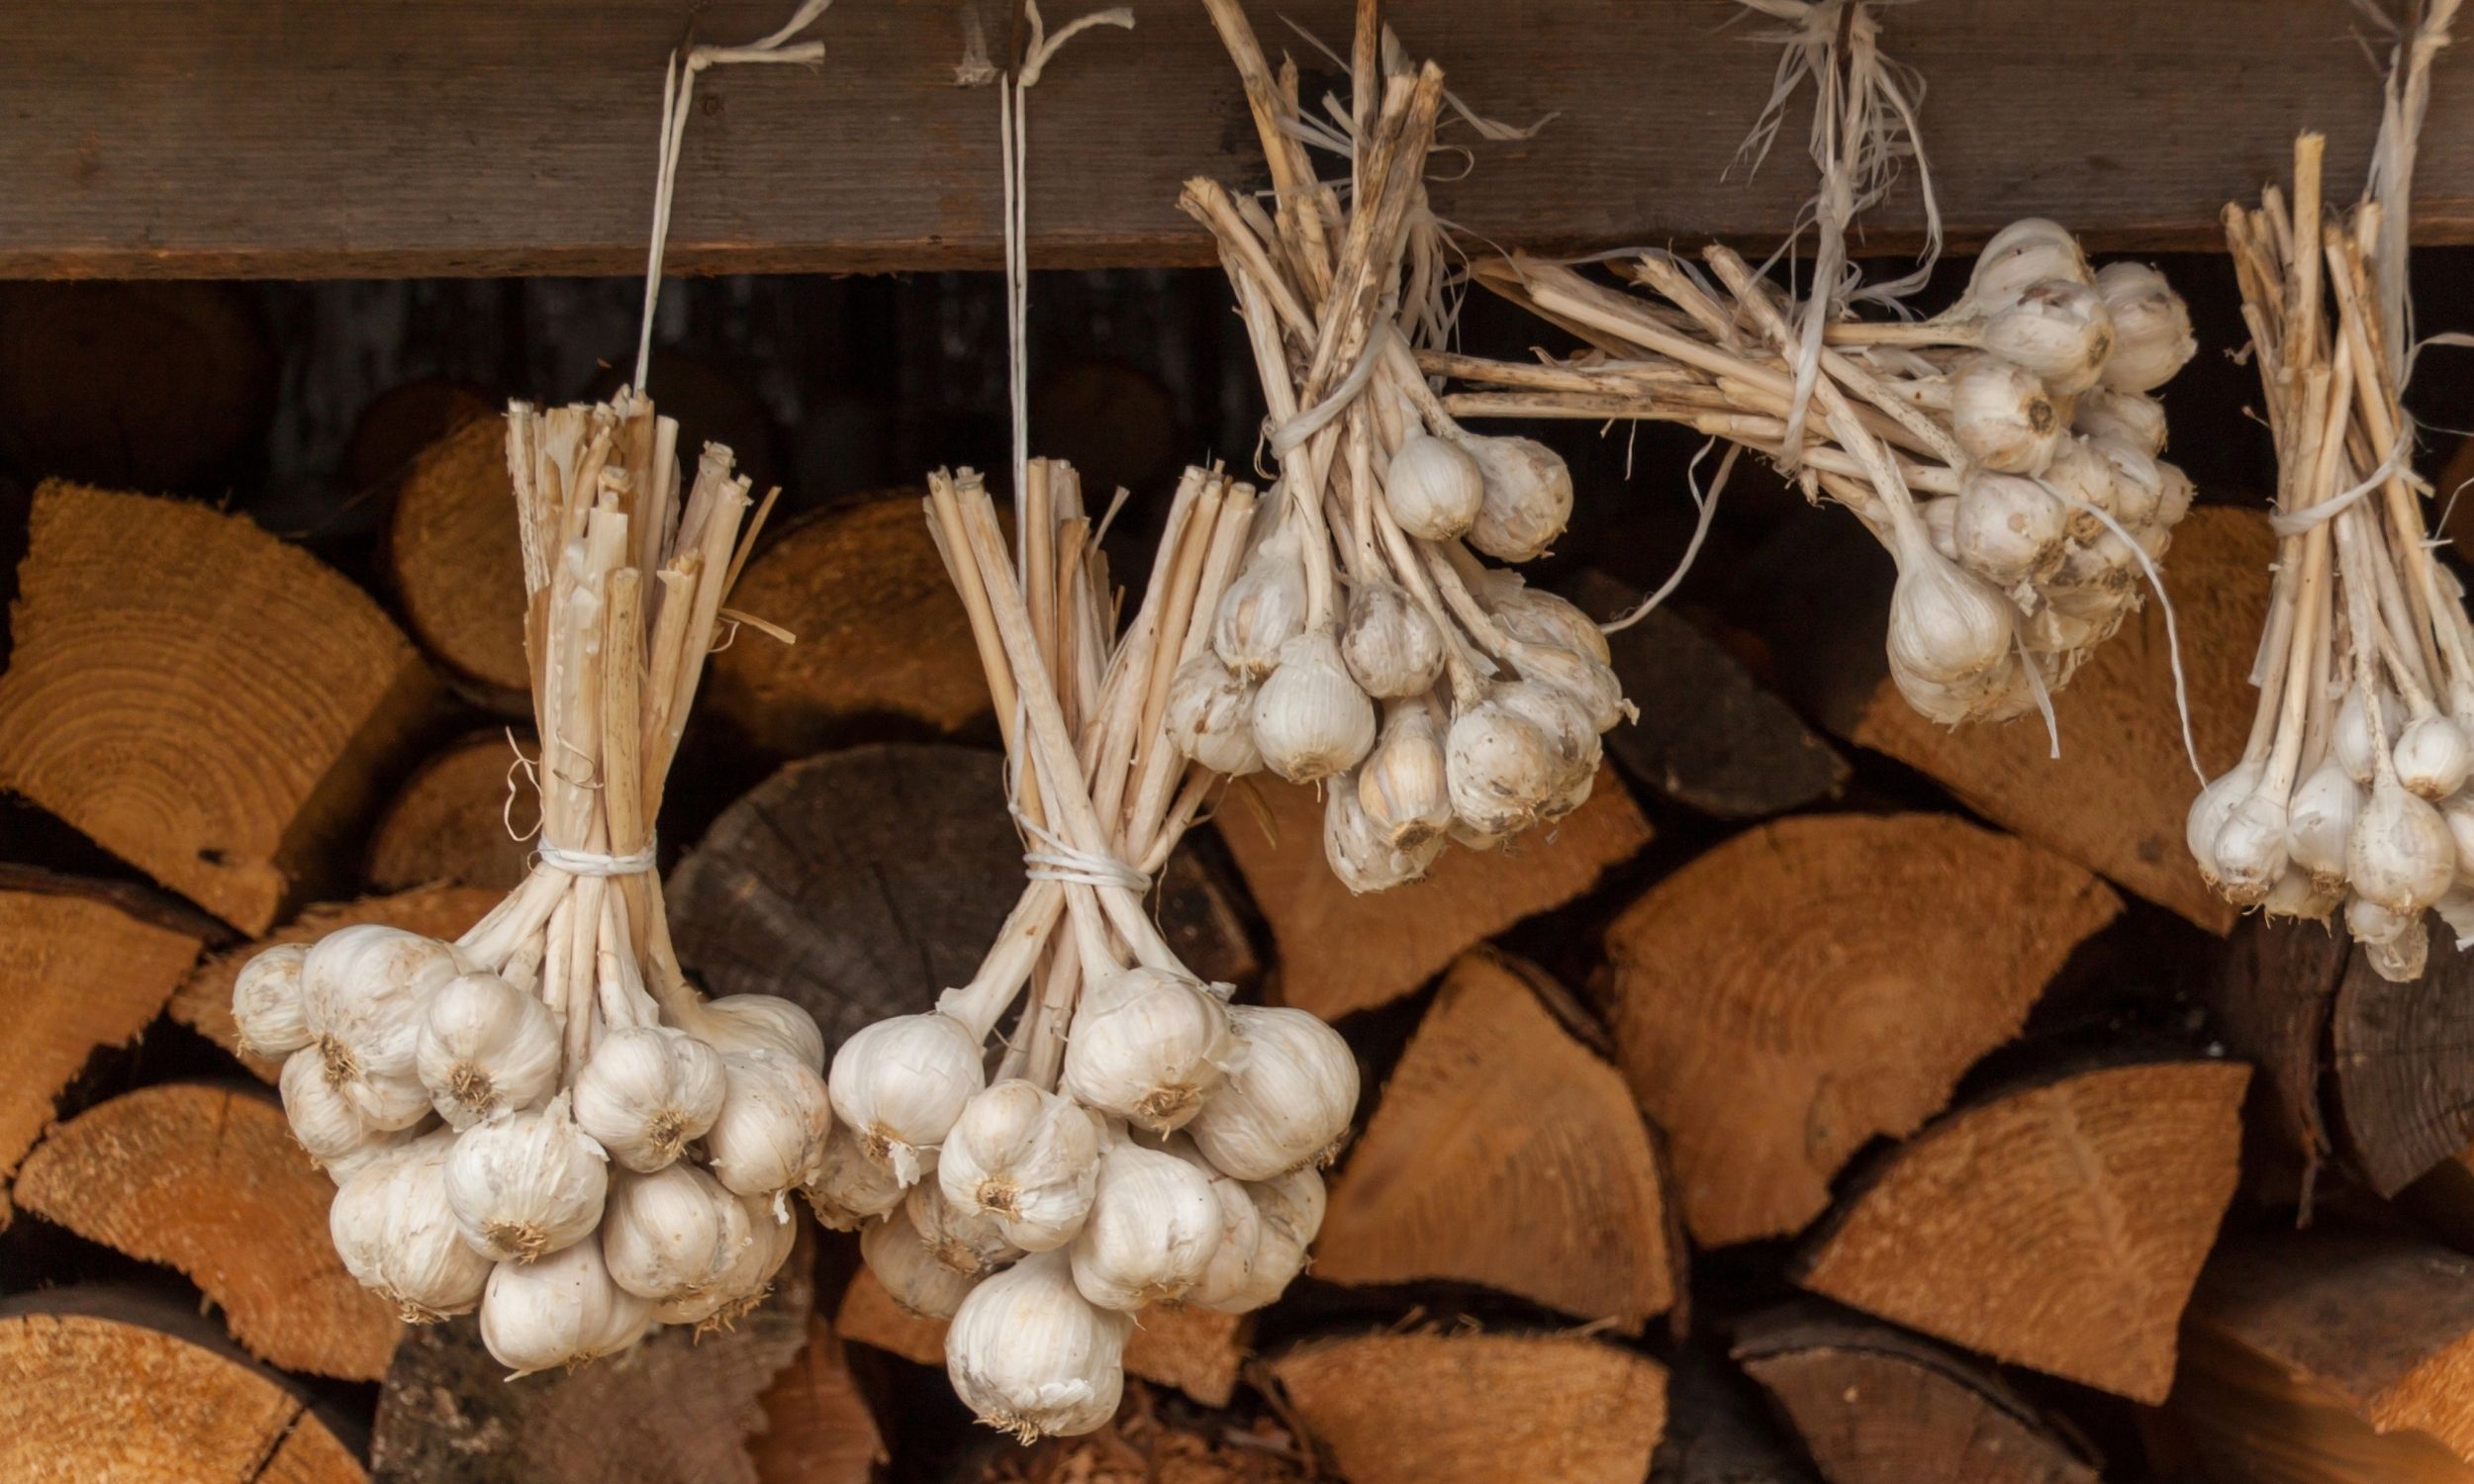
Though it depends somewhat on the growing season and where you live, garlic is usually ready to harvest in late July. Properly curing the heads is also important.
How to Store Garlic
- The bulbs are cured and ready to store when the wrappers are dry and papery and the roots are dry.
- The root crown should be hard, and the cloves can be cracked apart easily.
- Once the garlic bulbs are dry, you can store them. Trim off any roots or leaves. Keep the wrappers on—but remove the dirtiest wrappers. Remove the tops and roots.
- Bulbs should be stored in a cool (40°F / 4°C), dark, dry place, and can be kept in the same way for several months. Don’t store in your basement if it’s moist! Do not store garlic in the refrigerator, either.
- The flavor will increase as the bulbs are dried. Properly stored, garlic should last until the next crop is harvested the following summer.
- If you plan on planting garlic again next season, save some of your largest, best-formed bulbs to plant again in the fall.
Garlic is one of the easiest crops you can grow. This is why we love growing garlic in containers. And if you decide that you want to grow garlic in the ground the process is the same!!