The Reason your Sweet potato slips Fail and How to Solve it
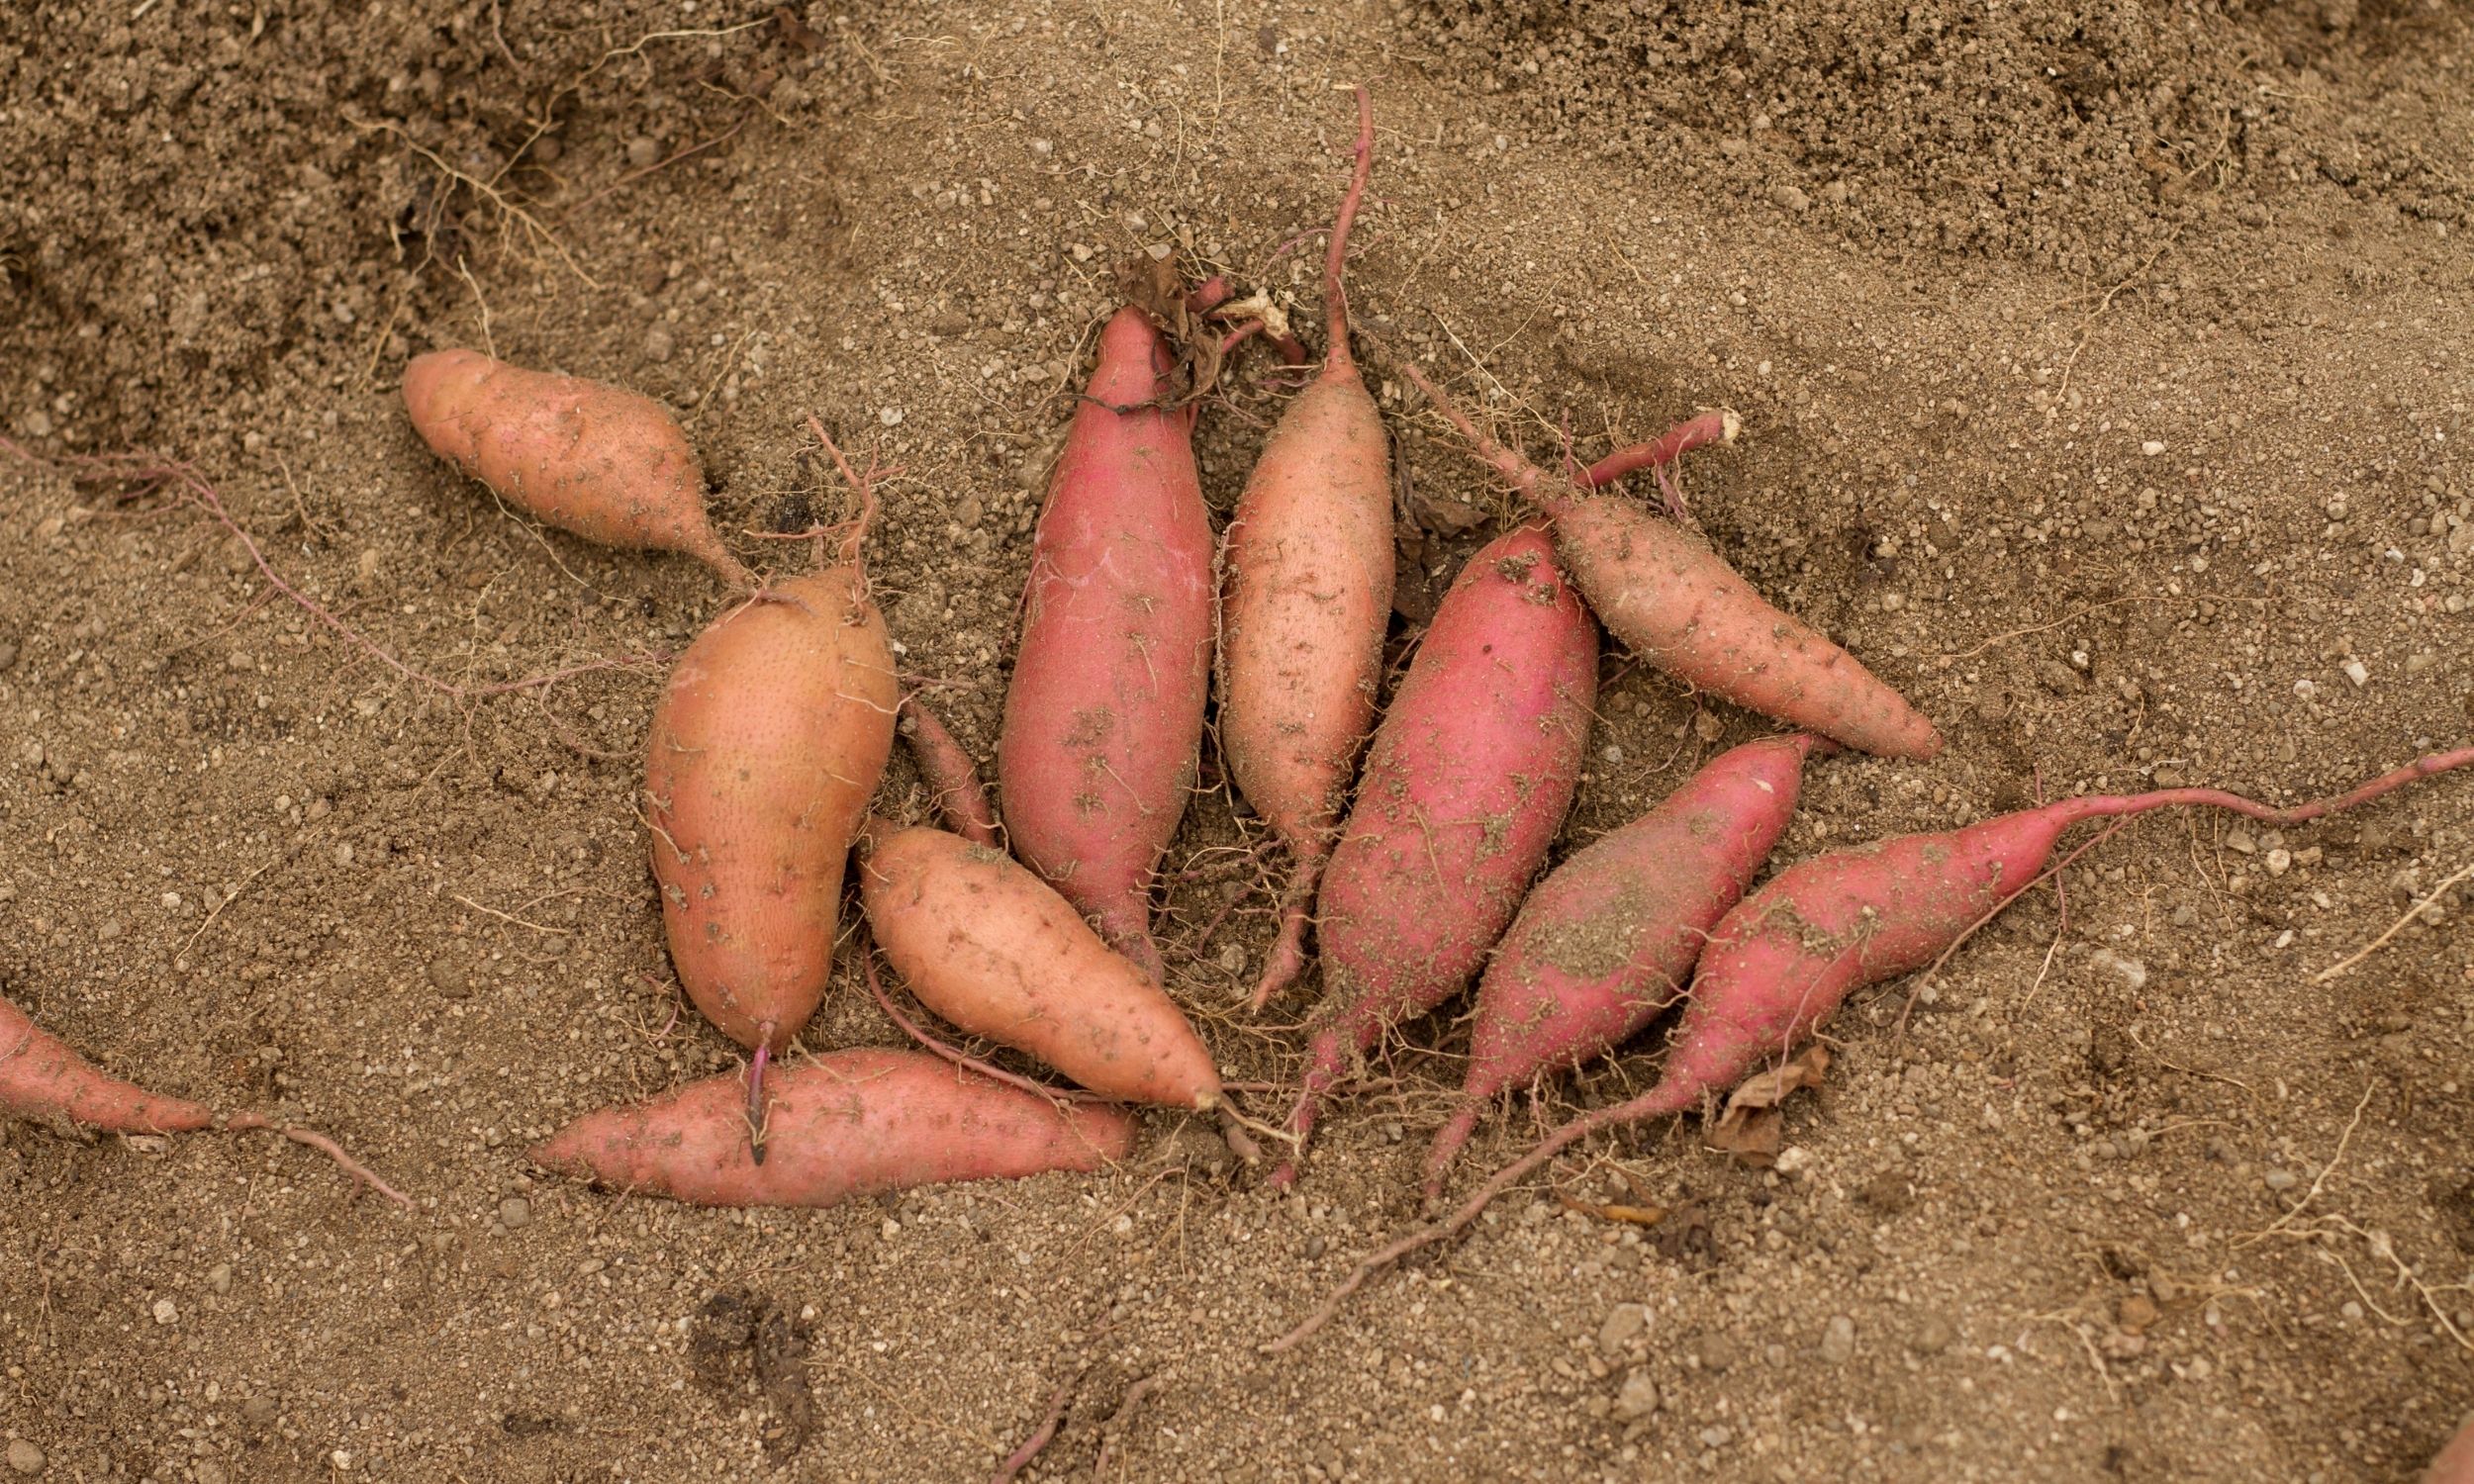
Sweet Potatoes are a staple in our household. The kids call them “orange potatoes”!! Well, sweet potato slips, aka sweet potato seeds are also super easy to grow and a great way to help cut costs at the grocery store.
There are actually two ways that you can start sweet potato slips the first way is to place the root end of a potato in a jar of water, in a sunny window and let it do it’s thing. I never have much luck with this way… the water becomes cloudy and moldy and then the sweet potato doesn’t grow.
Now I “plant” sweet potatoes in soil in a shallow try. I get upwards of 5-6 sweet potato slips when I start them this way. Once the slips have two sets of true leaves I cut them off and place them in water if I am not ready to plant them in the garden or I will plant them right in the garden.
This has become our NO FAIL WAY of starting sweet potato slips. Want to know more about how I do this each year and have success? Keep reading.
What is a sweet potato slip?
Sweet potatoes are planted as “slips.” They aren’t seeds, and they aren’t really transplants. A slip, instead, is a small, rooted piece that develops from the previous year’s sweet potato crops.
Sweet potato slips are comprised of leaves growing up and roots growing down. When it’s time to plant, you plant them like you would any other transplant. But how do you obtain sweet potato slips?
You have two options: You can grow your own slips or you can buy them. I did both my first year, and my second year I grew out slips from my previous year’s harvest. Before we talk about growing your own slips, let’s consider the easiest route: buying slips.
Buying from your local garden center is not as expensive as buying specialty sweet potatoes you may find in seed catalogs, and it’s one of the easiest ways to start.
Another benefit to buying slips locally is that your local store will have the right type(s) to grow in your region — and this is very important if you live in a shorter-season area.

How do you make slips from sweet potatoes?
It’s so fascinating to start your own slips and watch them grow, but it wasn’t exactly the easiest process to figure out early on. There are two primary ways to grow out sweet potatoes — starting them in jars of water and starting them in soil. As I’ll share below, I highly recommend starting them in soil. However, if you want to try the mason jar method, here’s how you do it.
When I started sweet potato slips my first year, I used an organic sweet potato that I purchased from my local store because I didn’t have a previous harvest to draw from. If you choose this method, I recommend buying organic.
Take a mason jar and fill it about halfway up with water. Poke toothpicks into your sweet potatoes and keep them suspended over the mouth of your jar, with the roots submerged into the water. From there, put the jars in a south-facing window sill or under a grow light. A humid bathroom is ideal. Change your water every few days.
Start this process about 3 months before you plan to plant the potatoes in the garden.
I did not have much success growing sweet potato slips this way. They molded before any slips would grow.
After not getting any slips and having to buy from the garden center, I decided to try a different method.
Starting sweet potato slips in potting soil
After having very little success with my mason jar slips that second season, I tried something new. I took a large container, filled it with a few inches of very moist soil, took my sweet potato and laid it on its side in the moist soil. I then added more moist soil where it wasn’t quite covered and put it under my grow lights.
I started this process two months before my planting-out date, and that timing worked out perfectly.
I do want to mention that you don’t have to choose the largest sweet potato; in fact, I’d recommend you choose a smaller one. A sweet potato with a 2″ diameter is perfect; save your baking-size potatoes to eat!
From here, the leaves started growing fairly quickly. I let them grow until they were about 4″ long and snapped off the slip — leaves and roots in one clump. (It’s easier than it sounds.)
How to cut sweet potato slips for planting?
To remove a slip, grasp it at its base where it emerges from the potato and twist. 5b) Alternately, you can let the slips grow on the potato until quite long, 12″ or more. Then a couple of weeks before you want to plant in the garden, remove each long slip by its base and cut it into sections of 2-3 leaves each.
If the roots were long (like in the photo above), I planted the slips into deep seed starting trays with more potting soil. But if they were short (less than an inch), I placed them in jars of water to continue to root before placing in soil. This step didn’t prove necessary, though I liked knowing the roots were more developed when I placed them in the container.
From this point, I kept the slips growing indoors under grow lights until they grew large enough and the weather was warm enough to plant directly in the garden — after a sufficient hardening off period.
How long does it take to grow sweet potatoes from slips?
One sweet potato will produce between three and five slips.
Can you plant a whole sweet potato with the slips on it?
Now, you can just bury whole sweet potatoes very shallowly if you like, but many gardeners prefer to grow slips from the tubers and then plant the slips.
How many sweet potatoes will you get from one slip?
When presented with the ideal growing conditions, you can harvest many potatoes in each plant. Every plant can give about 5 to 10 sweet potatoes to reward your gardening efforts. Yields are based on how much care you give your plants in their growing season and the type of potatoes you choose to grow.
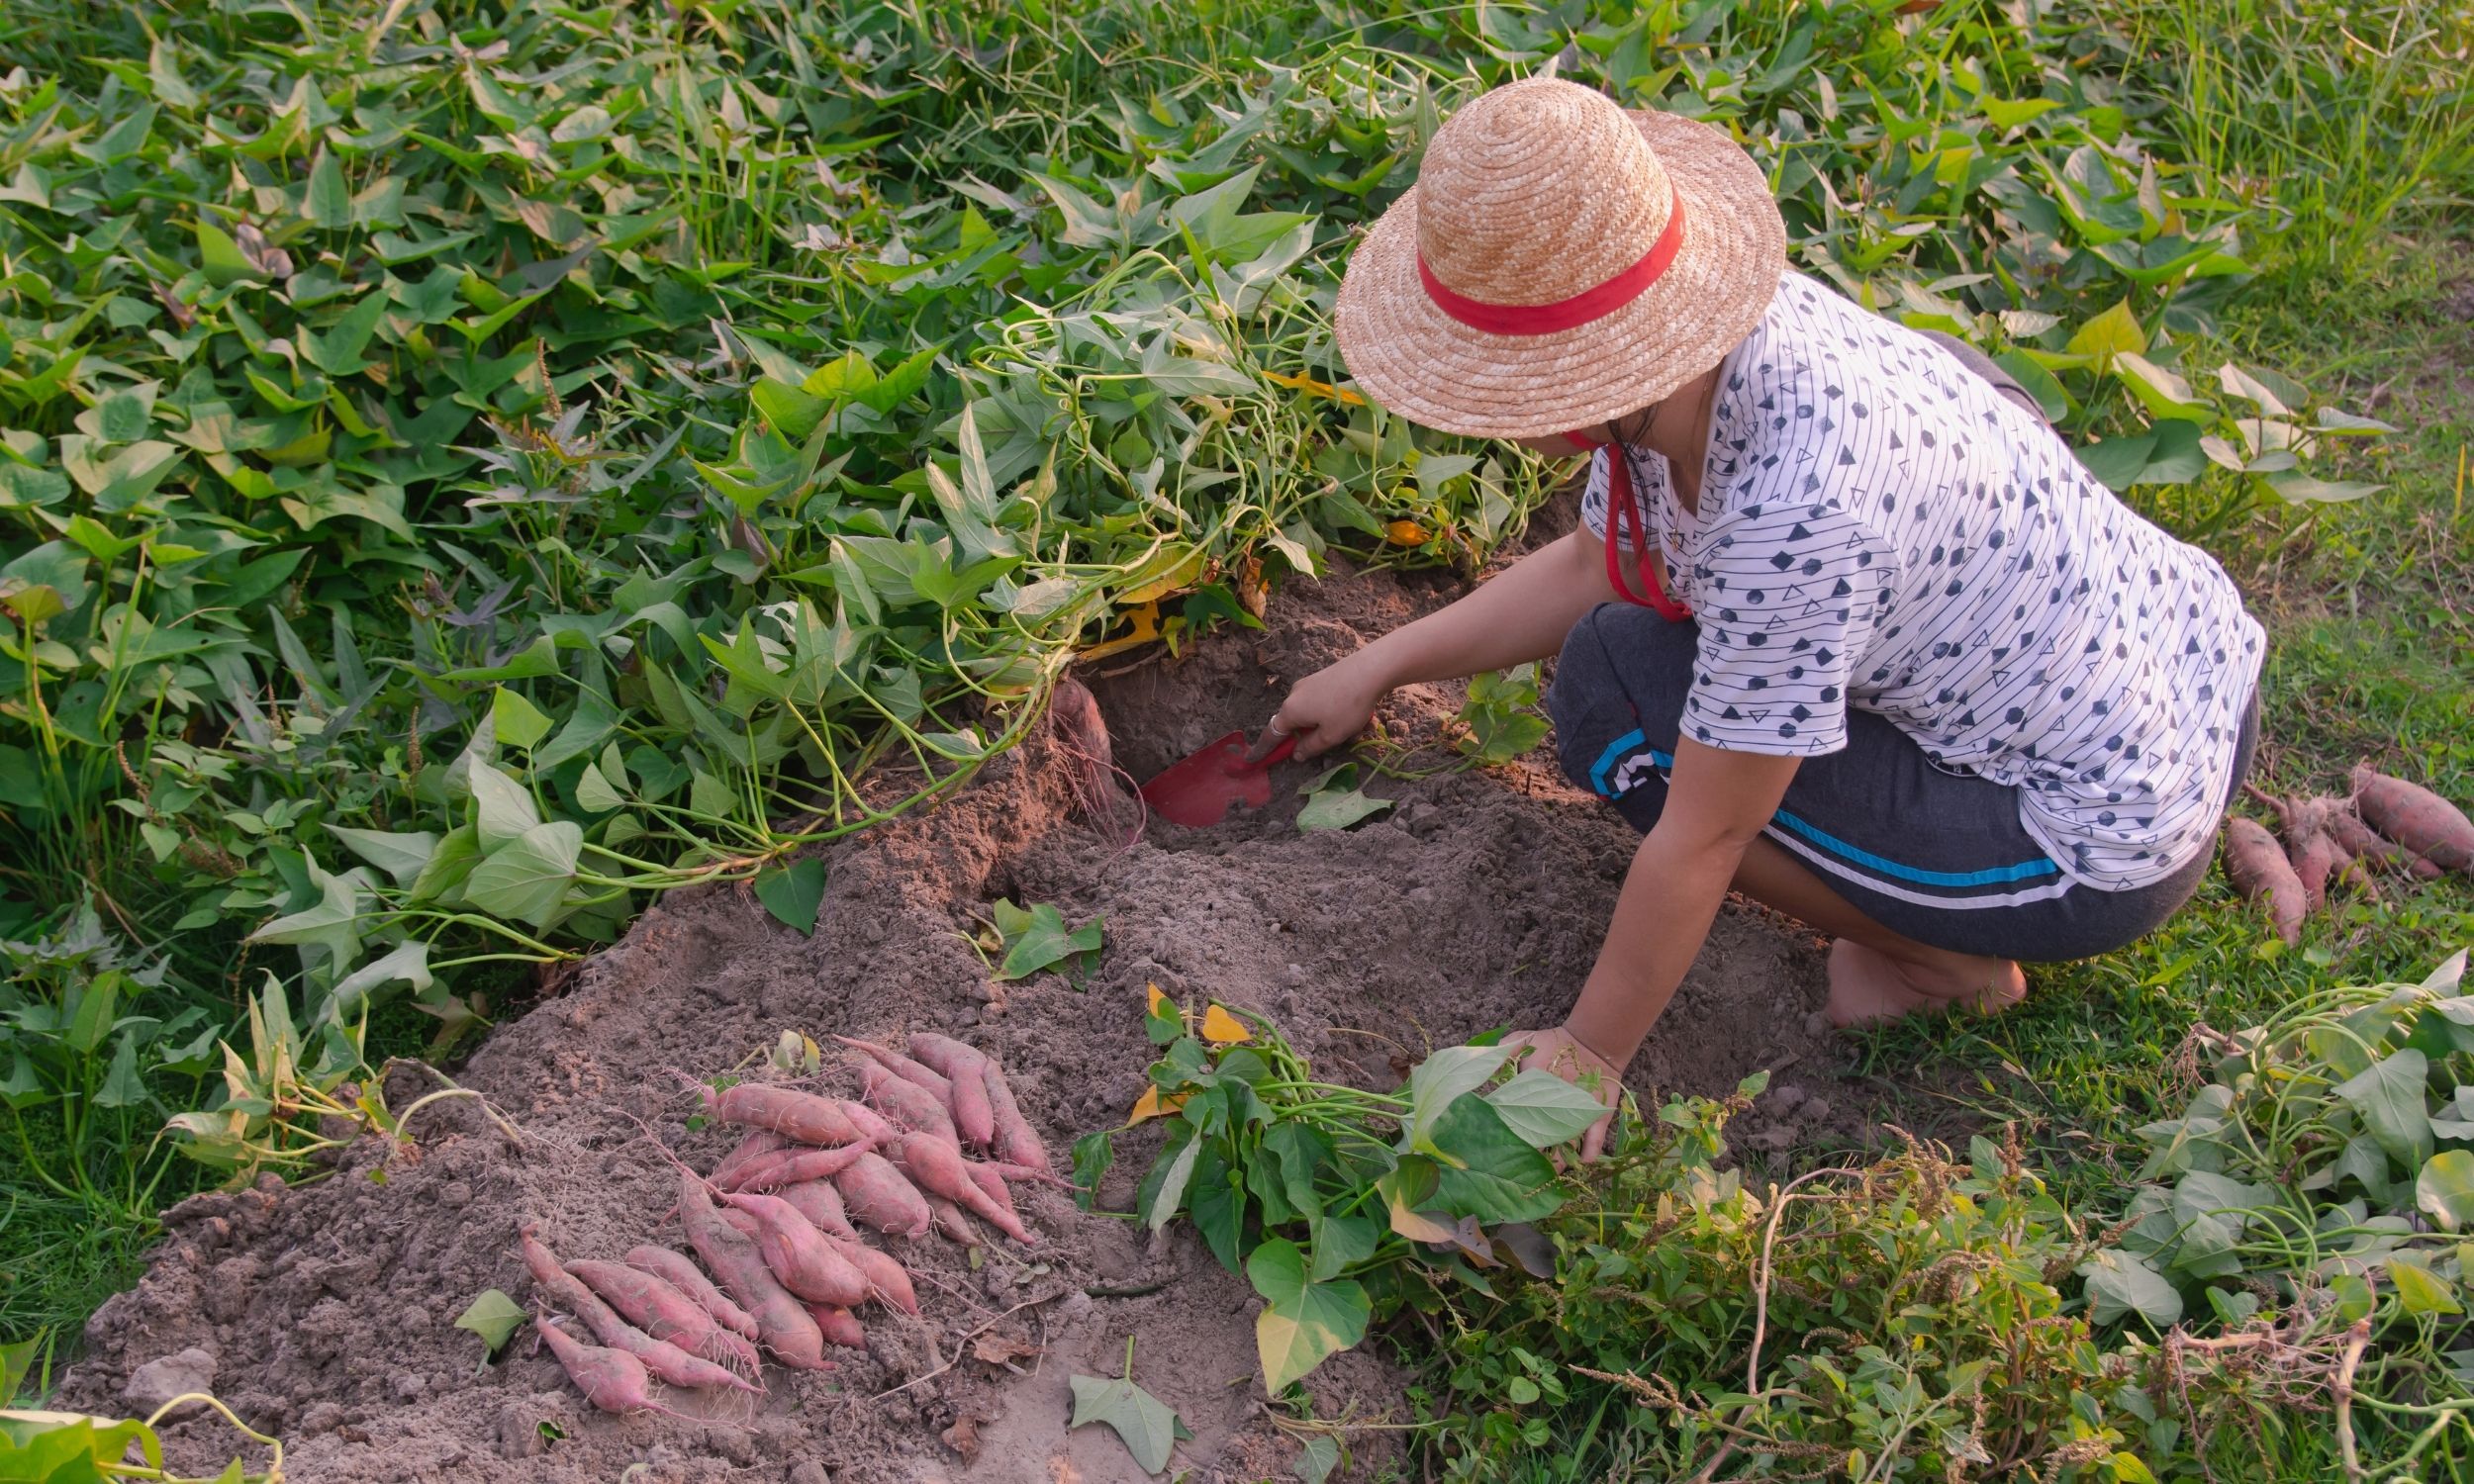
Planting Your Sweet Potato Slips outside
When do I plant sweet potatoes?
Sweet potato slips (which we’ll discuss below) need to be planted when the soil has reached a temperature above 70 degrees. In my area, this is 4-6 weeks after my last frost. They are more than likely going to be the last crop you plant in your garden and they need a solid 10 hours of sun.
They also need a good amount of space. Some varieties grow over 25 feet long! If you have space, consider growing these in a place where you don’t risk smothering another crop (or, companion plant them with tall-growing okra — another heat-loving crop!).
If you don’t have a large space, there are more compact, semi-bush-type varieties you can grow.
A couple of well-known bush varieties are Porto Rico, Vardaman, Jewel, O’Henry, Carolina Bunch, and Georgia Jet. Note that these will still spill out, but they won’t grow as long of vines as your traditional sweet potatoes.
What kind of spacing do sweet potatoes need?
After your soil has warmed up to over 70 degrees and your slips are ready, it’s time to plant! Plant your slips 12-18″ apart, whether you grow in the ground or raised beds. When I plant them directly in the ground, I plant double rows in a 4′ wide garden. Leaving more room is perfectly fine, though I found no competition in planting mine a bit closer together.
Are you growing sweet potatoes? Let us know in the comments and hop on over to Instagram (@hummingbird.acres) to see how our sweet potatoes are growing.
Looking for more articles about growing veggies check out these:
