Starting Seeds Indoors
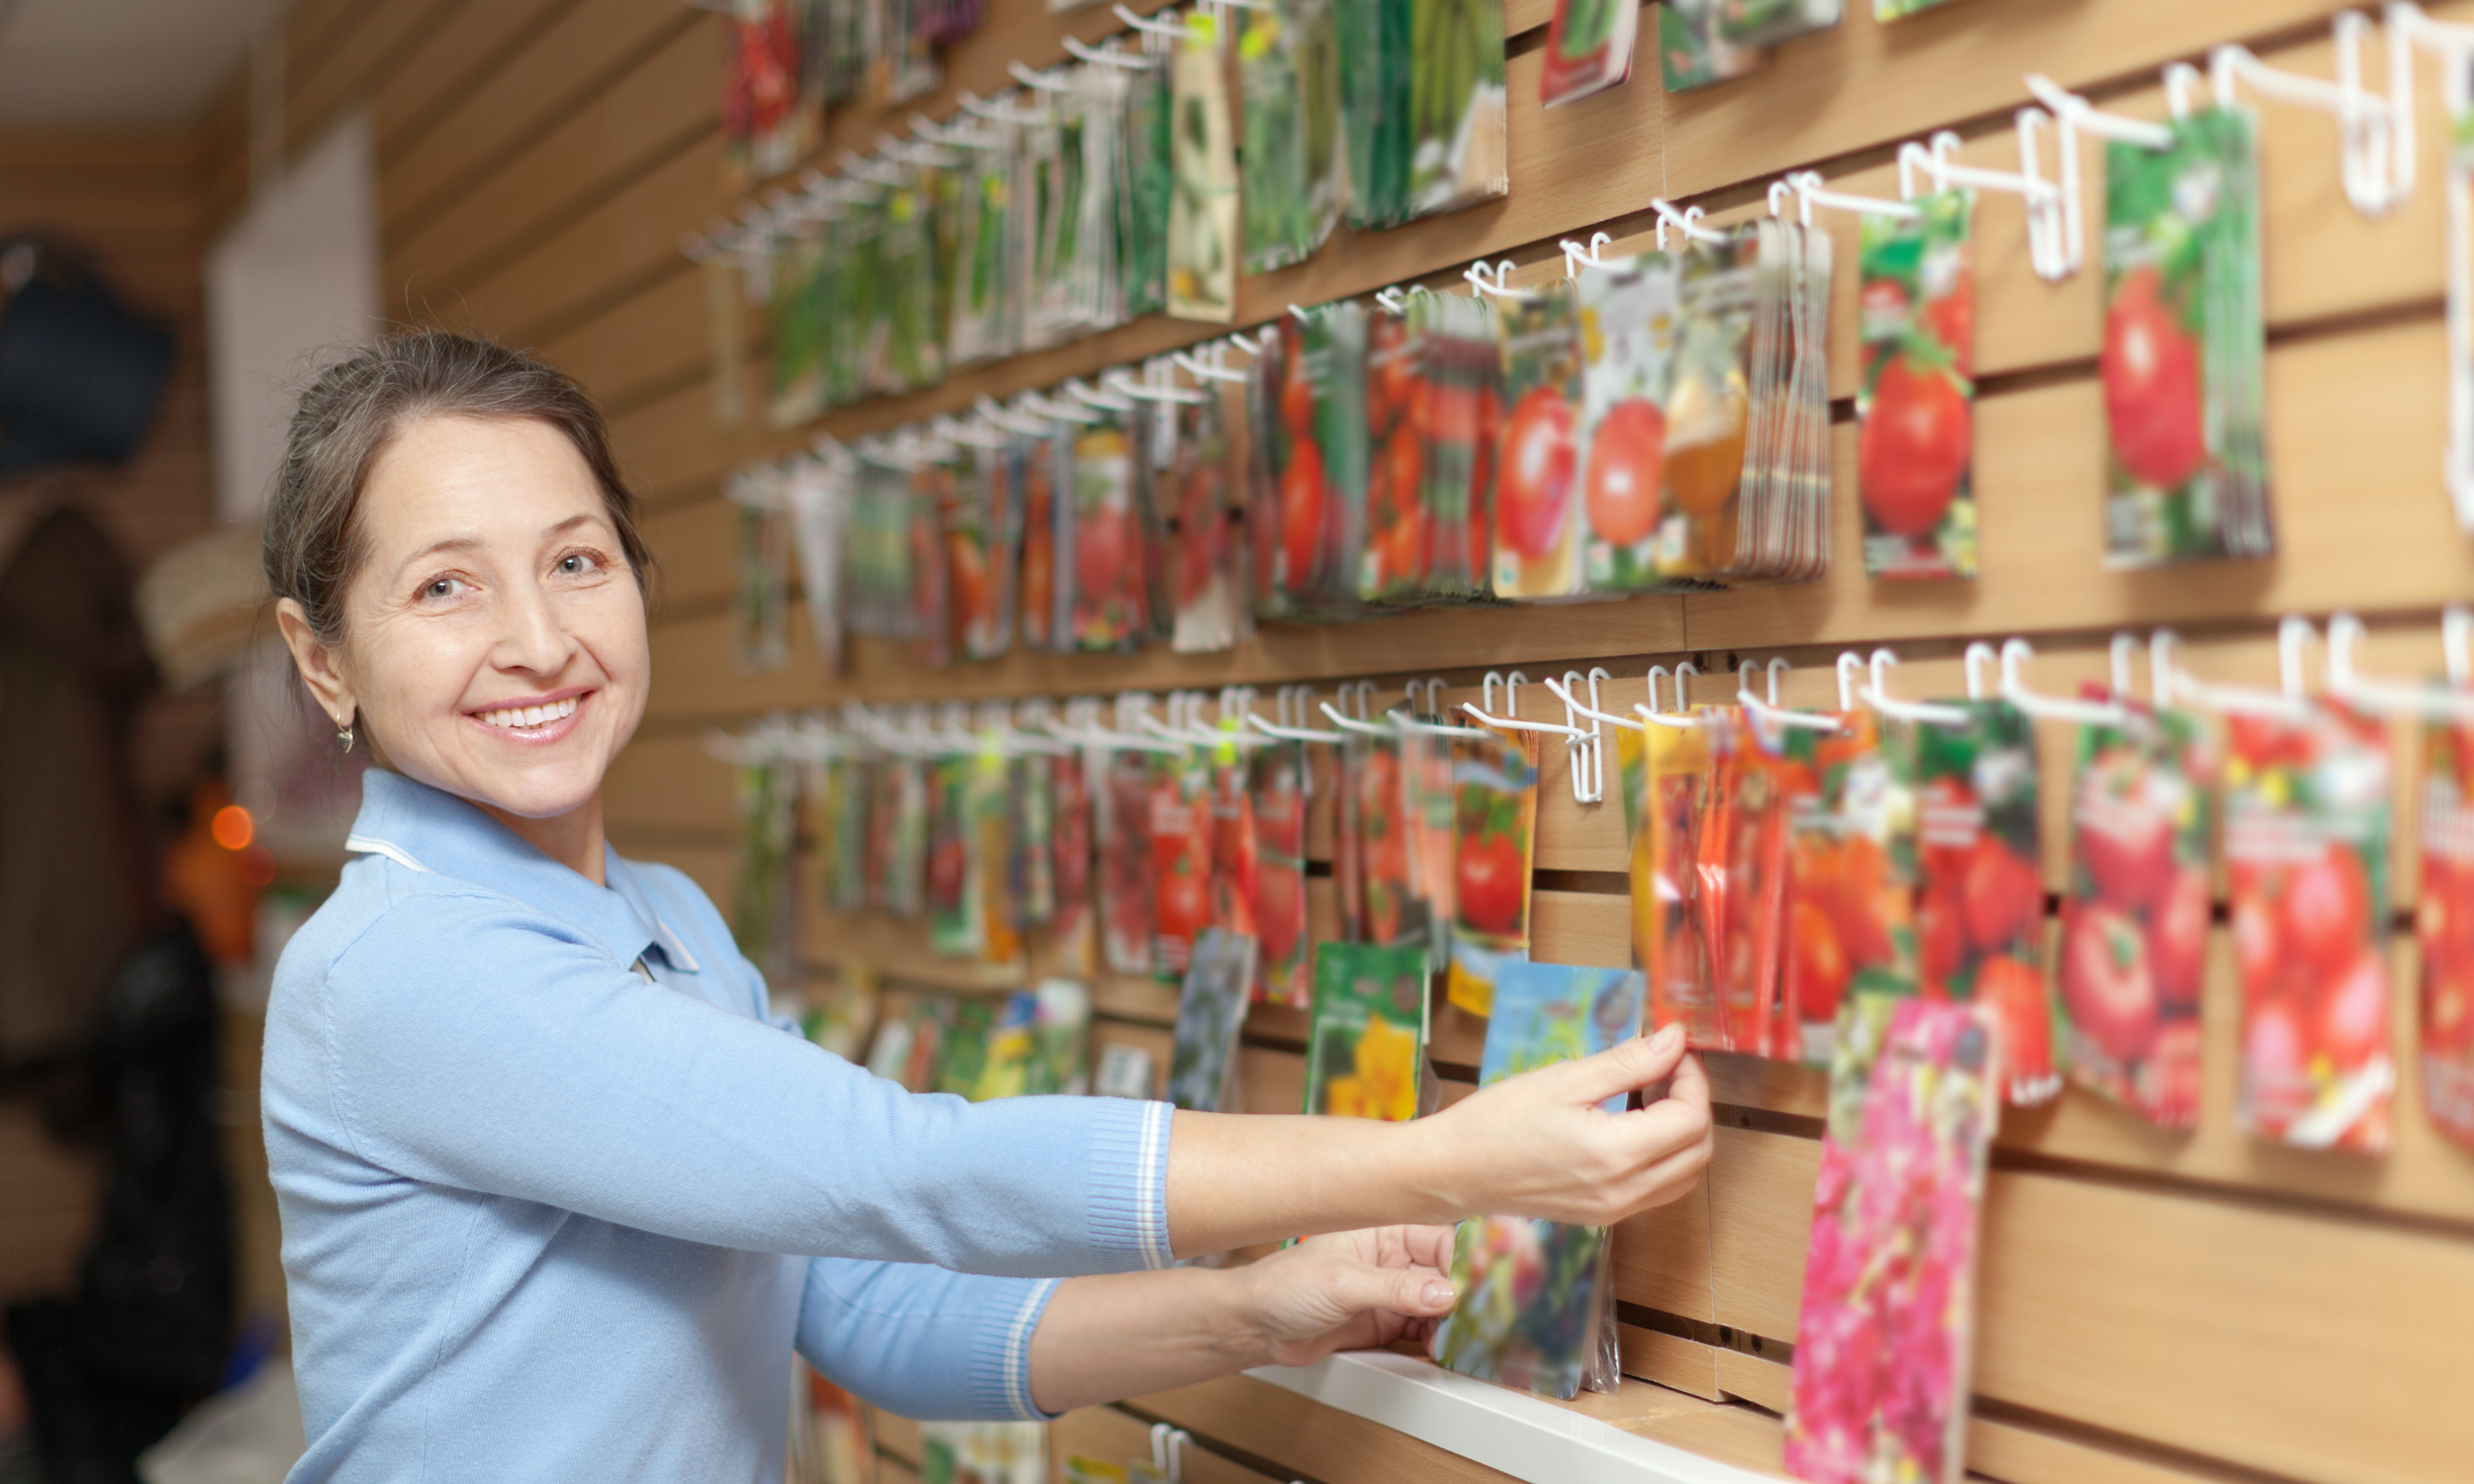
It’s possible to have a fine vegetable garden by buying young plants, but you will have a much wider range of possibilities if you start your own plants from seeds indoors. Not only is it much cheaper, but you can buy seeds for many more varieties than you will find for sale at a nursery. This will allow you to experiment with more different flavors, shapes and colors, and to harvest your favorite edibles over a longer period by planting varieties that mature at different times.
Disclosure: As an Amazon affiliate, I earn from qualifying purchases at no extra cost to you. My blog contains other affiliate links as well for your convenience. To learn more, you may read my Disclosure Policy. Thank you for supporting my blog!
There is something about starting seeds indoors. Maybe it is the idea of warmer days to come or a new life beginning but each year I look forward to starting seeds indoors. Yes, it means that every windowsill in our house is covered and you have to consistently yell at the cats and kids to stop playing with the containers but it is worth it. To be able to put seedlings into the garden means we will be harvesting our crops earlier and longer.
Note that not all plants should be started indoors, some are best sown directly in the garden. Different plants have different needs, so always refer to the directions on the seed packet to tell you when and how to sow your seeds.
Starting Seeds Indoors
For your first experience of starting seeds, it’s wise not to take on too much. Start no more than a couple of dozen plants in three or four varieties while you learn how it all works. Starting seeds is not complicated or difficult, if you understand the process. The basic ingredients are a proper growing medium, containers, light, warmth, water and your attention.
- Decide your approach. You can either sow many seeds within one container and then remove the weaker sprouts as they form, or sow just one seed per container and see if it germinates and becomes a viable plant.
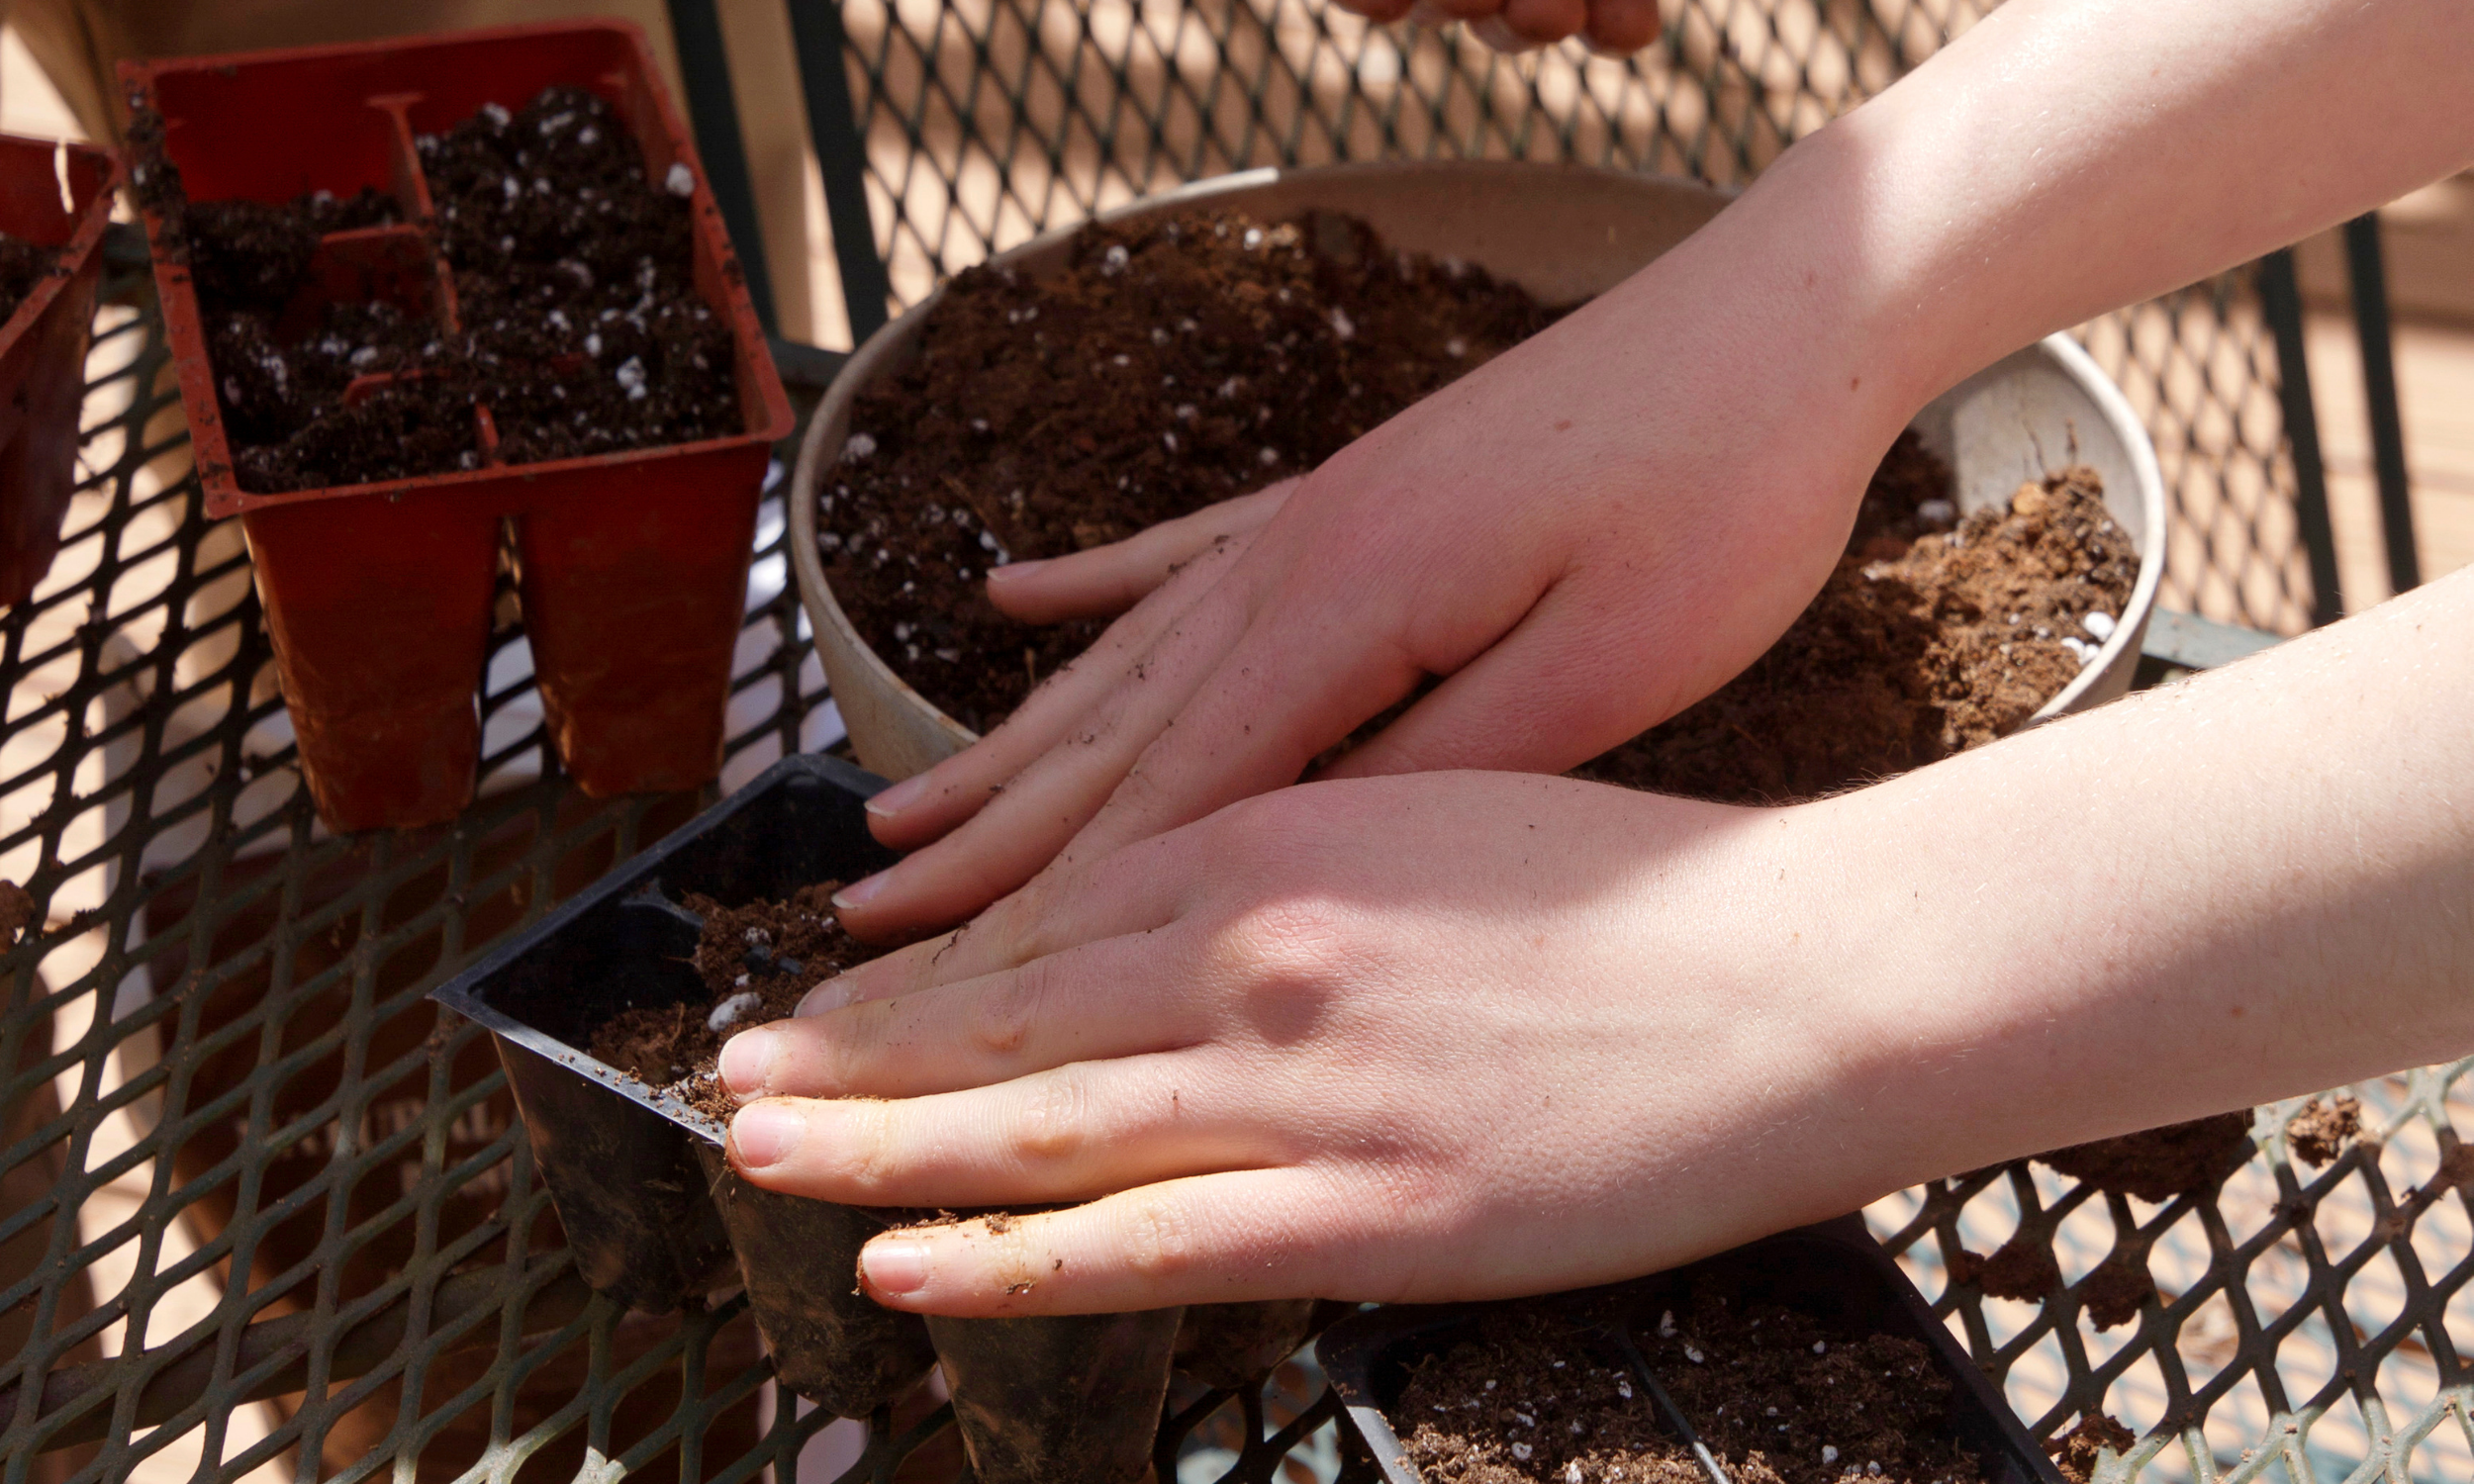
- Choose a container. Be sure it is deep enough for a mature seedling to develop and allows water to pass through permeable material or a hole in the bottom. A shallow container may require you to transplant seedlings more than once, causing stress for your new growth.
- Using good soil or a soilless seed-starting mix. You don’t need compost or fancy fertilizer to start seeds, but be sure to use a quality seed-starting mix that allows for proper airflow and water retention.
- Choose a location. Most seeds need eight hours of sunlight daily and some heat (at least room temperature) to germinate. If you don’t have direct sun, use a grow light.
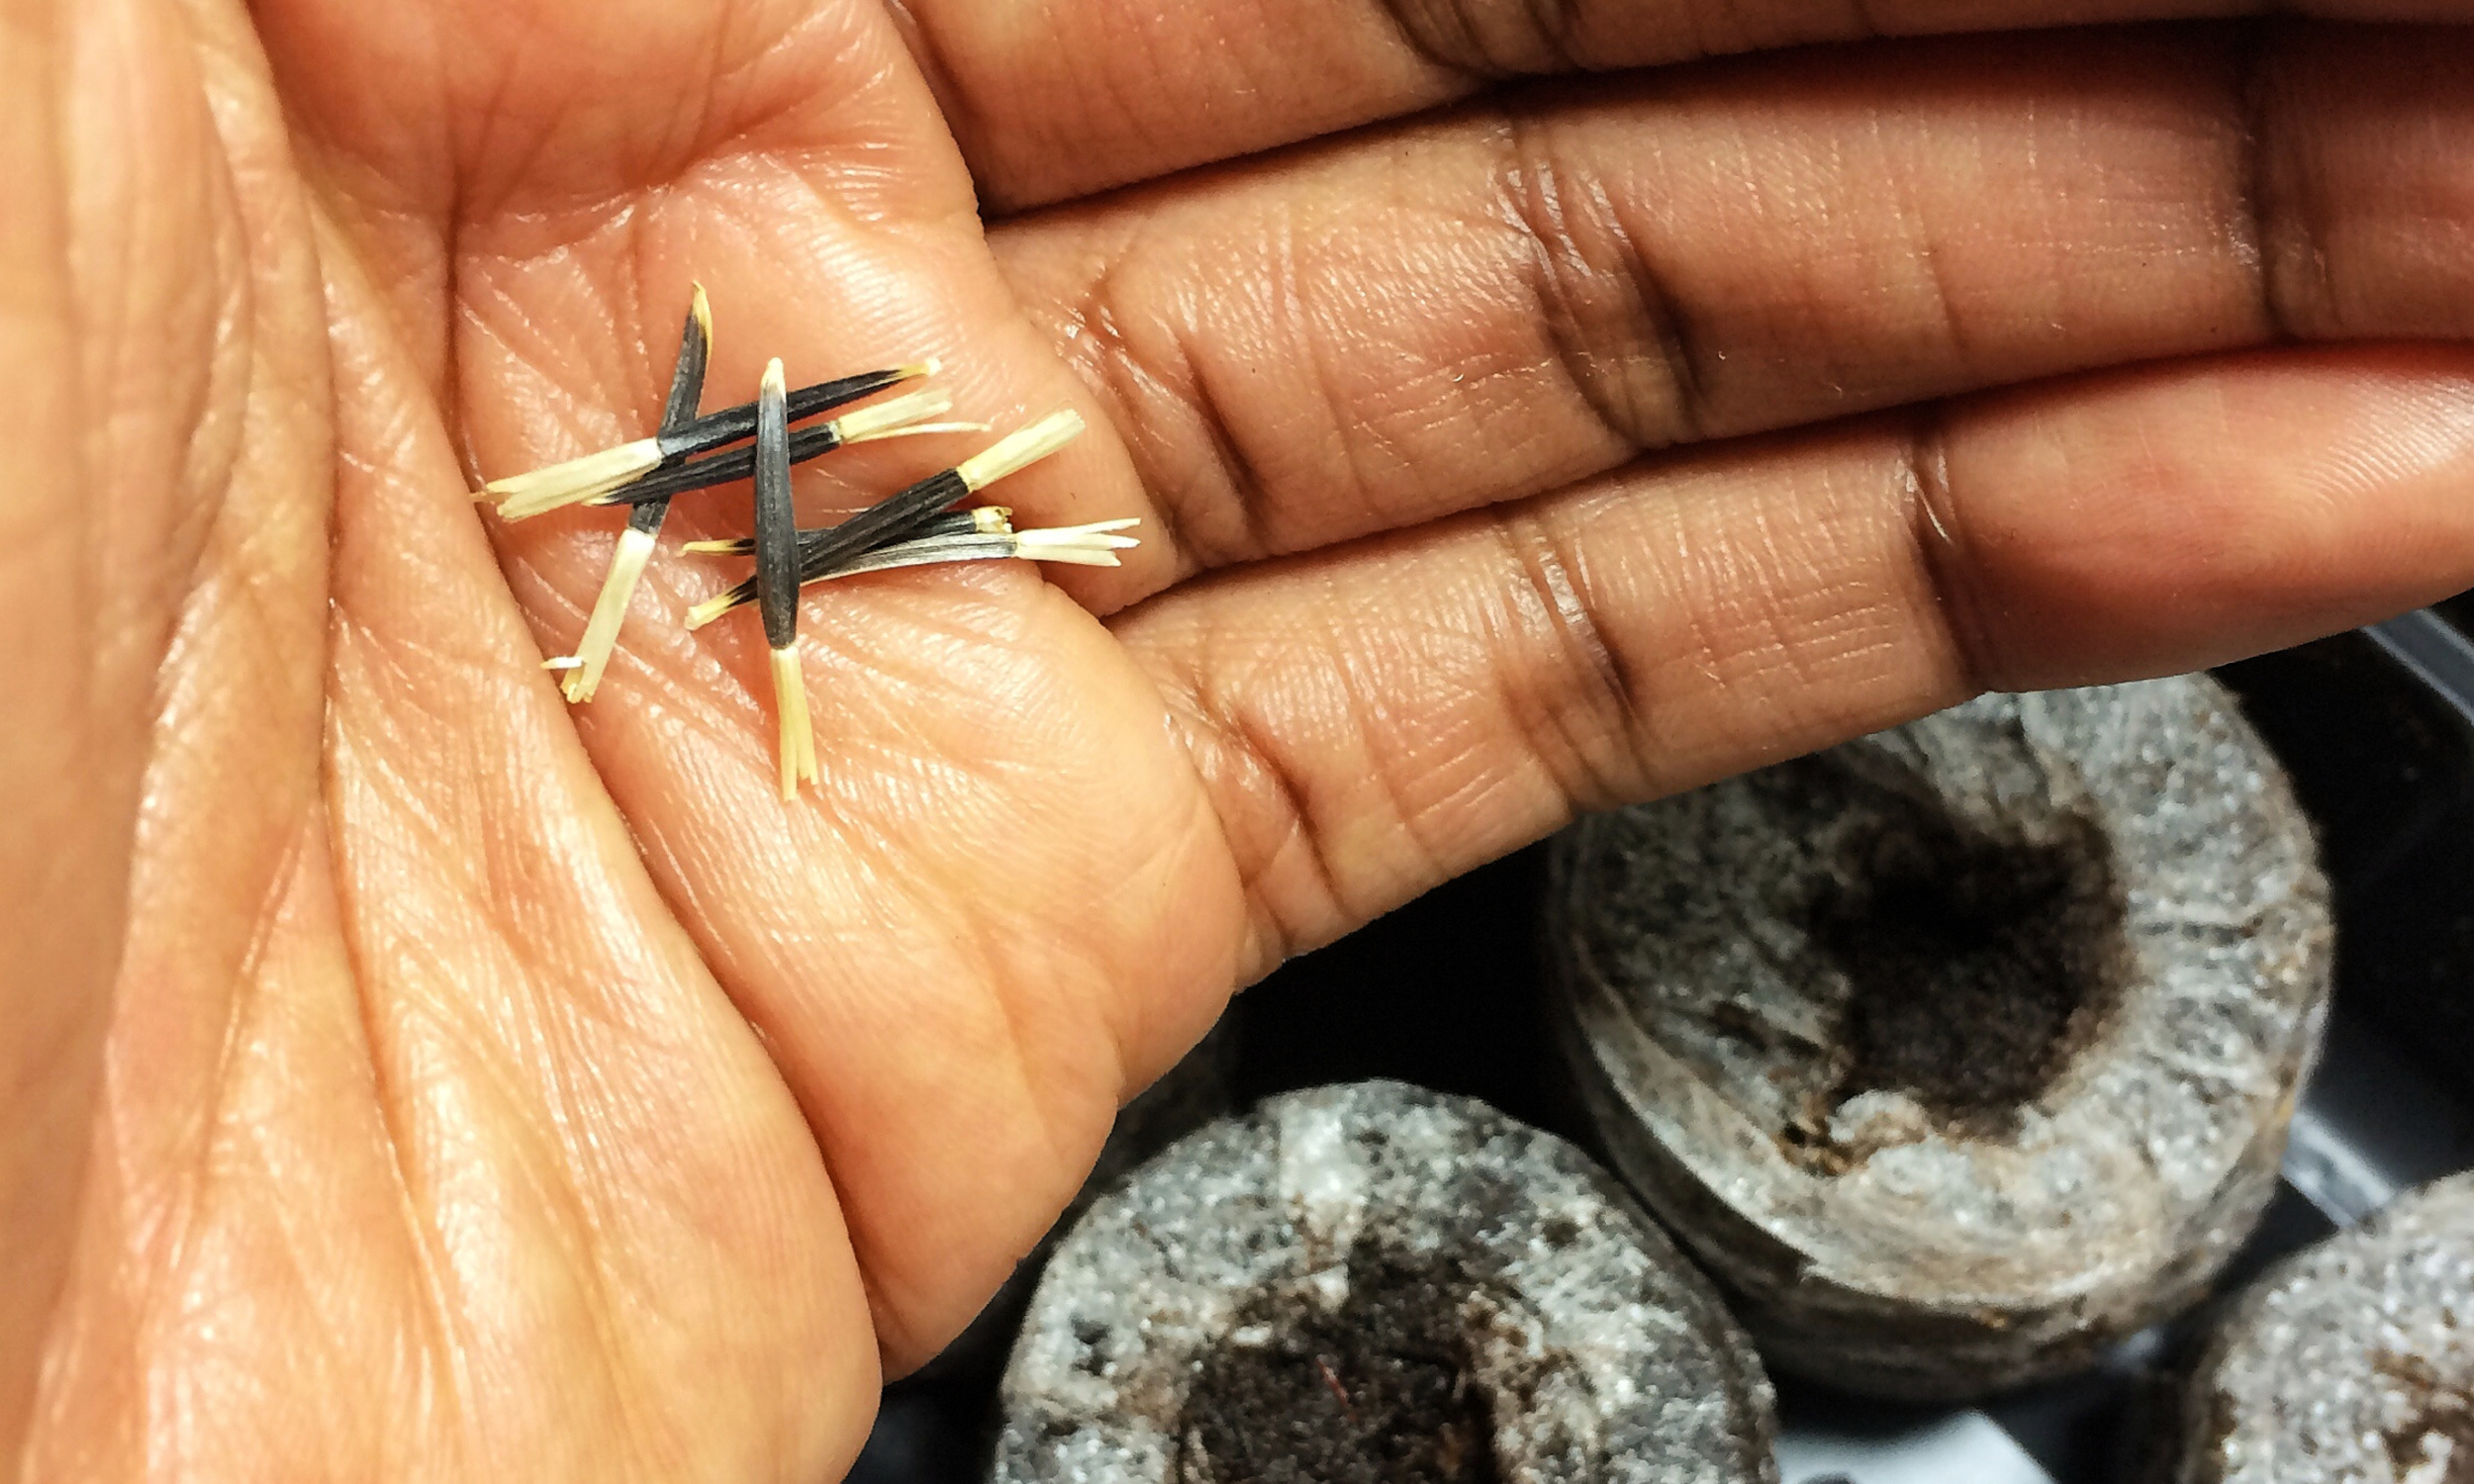
- Follow the planting instructions on the seed packet. Pro tip- mark on a pencil or craft stick the depth you should plant your seed. Then use the pencil tip to push the seed to just the right depth.
- Label your containers once the seeds are snug in their soil beds so you remember what you’ve planted. Include the planting date to keep track of when it’s time to transplant.
- Water on a schedule. A general rule-make sure the soil covering your seeds is moist at all times. However, don’t flood your plants; overwatering can be damaging
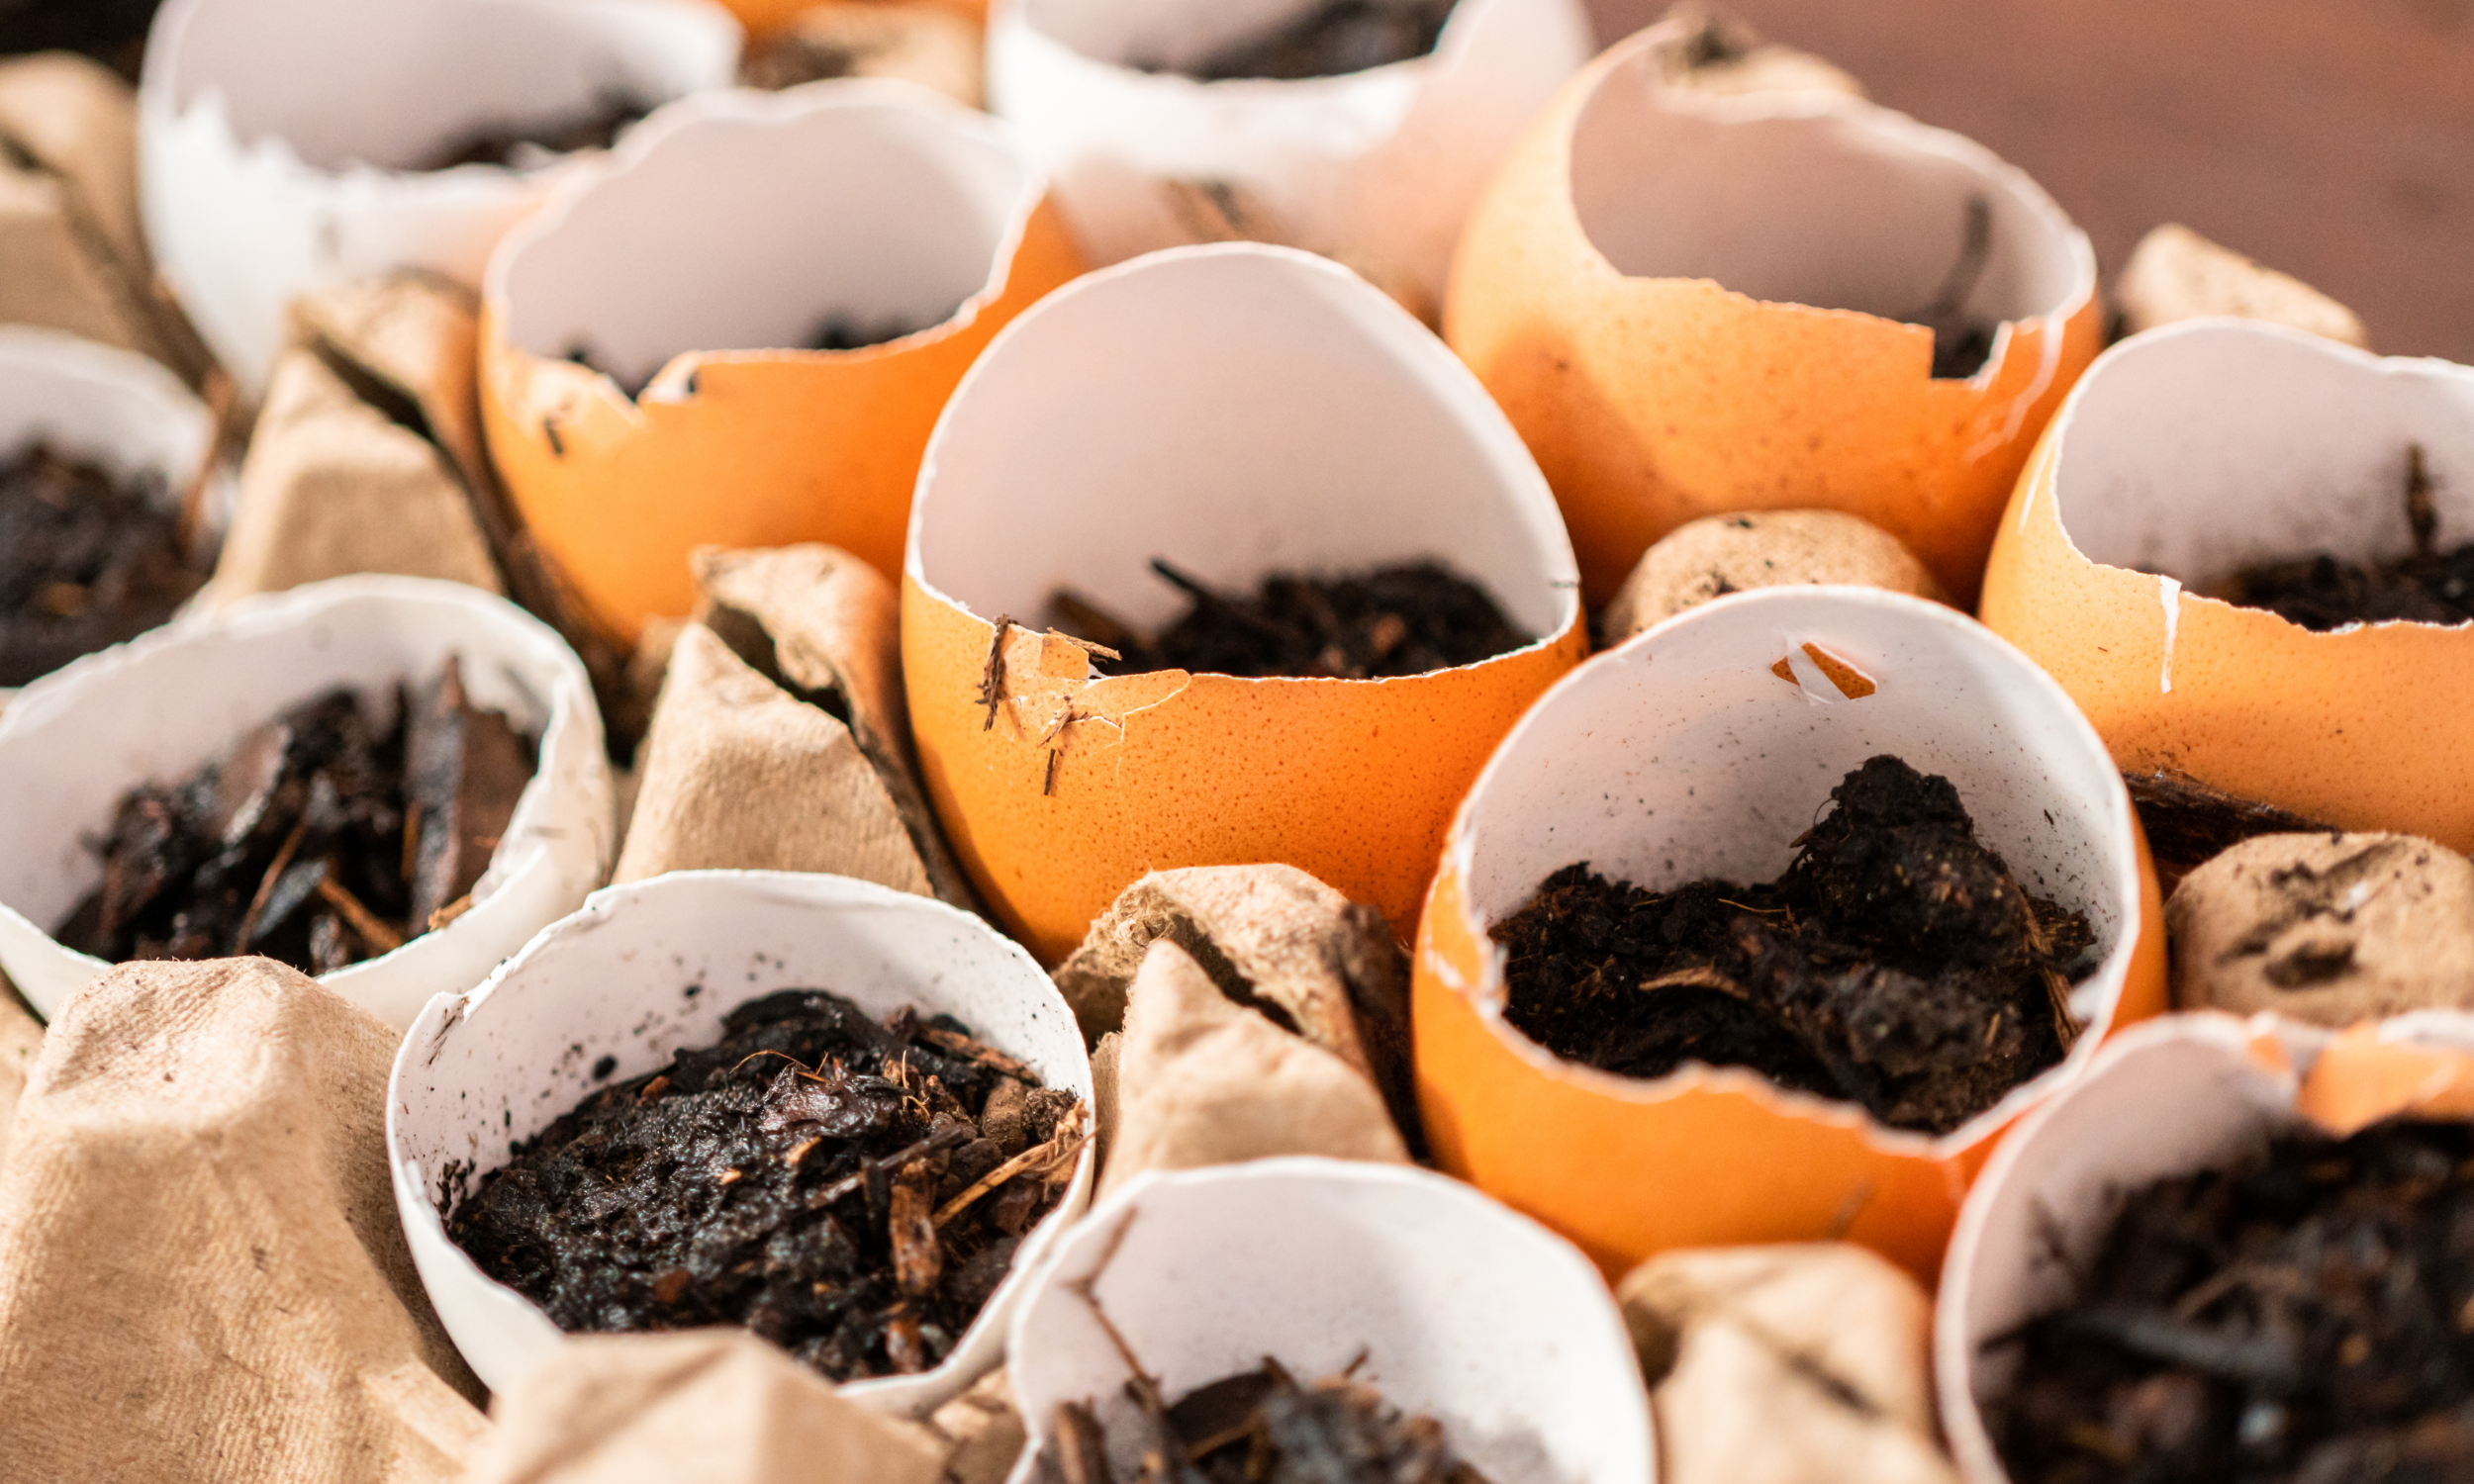
Try These Seed-Starting Container Ideas
Egg cartons or eggshells
- The bottom third of a plastic 1-liter bottle
- Last season’s cleaned seedling containers from the nursery
- Glass canning jars
- Clay, fiber or plastic pots
- Homemade paper pots (see below)
- Bio-degradable pots
- Self-watering pots such as Orta or Cole & Mason Brand
For More Ideas- 7 Cheap Seeds Starting Pots
How to make paper pots for starting seeds
- Immerse rectangles of newspaper (cut to fit around a small jar) in a pan of water to soften. Roll paper around a jar that’s your desired pot size, extending one edge below the bottom of the jar.
- Crimp and press paper around the bottom of the jar to form a base; press on a flat surface to reinforce. Carefully slide the paper pot off the jar and set it aside to dry overnight
- Stand pots upright in a watertight pan
- Fill pots with moistened soilless seed-starting mix. Plant seeds according to directions on the packet. Cover seeds with vermiculite; sprinkle with water. Label pots with seed type.
- Cover pots with plastic wrap to retain moisture.
- Set filled pan on a heating pad until seeds sprout, then remove plastic wrap. Place pots under grow lights for 14-16 hours per day.
Our favorite places to order seeds from-
- Johnny seeds
- Southern Exposure Seed Exchange
- True Leaf Market
Shhh… don’t tell!!
5 Secrets to Starting a Garden
Enter your name & email so we can send your our FREE Guide.
What we are growing this year-
This year we have decided to really focus on tomatoes. Our thought process is that we want to become good at growing one thing before we move on to something else. That is not to say we won’t grow other things, but our main focus this year for our veggie garden will be tomatoes. More specifically we are going to plant tomatoes that are good for making paste and canning. Why you may ask… well we use a lot of canned tomatoes throughout the year; pizza sauce, soups, spaghetti, etc. and not as many sandwich tomatoes. Pro tip- grow what you are going to eat!
In the flower garden, we will be working on growing cut flowers to not only add some color to our kitchen table but to also sell in a market stand. Some of the varieties we are going to try- Calendula, Peony’s, Cosmos, Eucalyptus, Strawflowers, Sunflowers, and Zinnias.
We would love to know what you are planning on growing this year, comment below or send us a message on instagram.
You may also enjoy these related articles:
- Grow Butterfly Weed for a Beautiful Butterfly Garden
- Plants for Butterfly Gardens: Attract More Butterflies to Your Yard with These Beautiful Flowers
- Plan Your Own Butterfly Garden: A Beginner’s Guide
Did you enjoy this article? Want to hear more? Stay in touch! Sign up below to receive weekly tips and inspiration for your homestead.