How to Test Your Soil
Ever wonder why your vegetables are not producing as they should. Or why your perennials are underperforming. It could be that the soil lacks potassium. Or your soil could be lacking organic matter. A soil test can resolve many of these problems. Adding organic compost or fertilizer or any other amendments makes sense only if the soil needs it. Here are some ways how to test your soil.
Disclosure: Some of the links below are affiliate links, meaning, at no additional cost to you, I will earn a commission if you click through and make a purchase.
Laboratory Test
Laboratory tests are the best and most reliable way to have your soil tested. It is also recommended that you find a laboratory close to where you live so that their suggestions make sense for your soil and climate. Most state Cooperative Extension services have labs or a list of labs that they recommend.
A standard soil test usually costs less than $20 and will measure your soil’s pH level (acidity or alkalinity), nutrient content (calcium, magnesium, potassium, phosphorus, and sulfur), and percentage of organic matter.
The soil test report will be customized with suggested amendments for what you plan to grow – vegetables, flowers, lawn, trees.
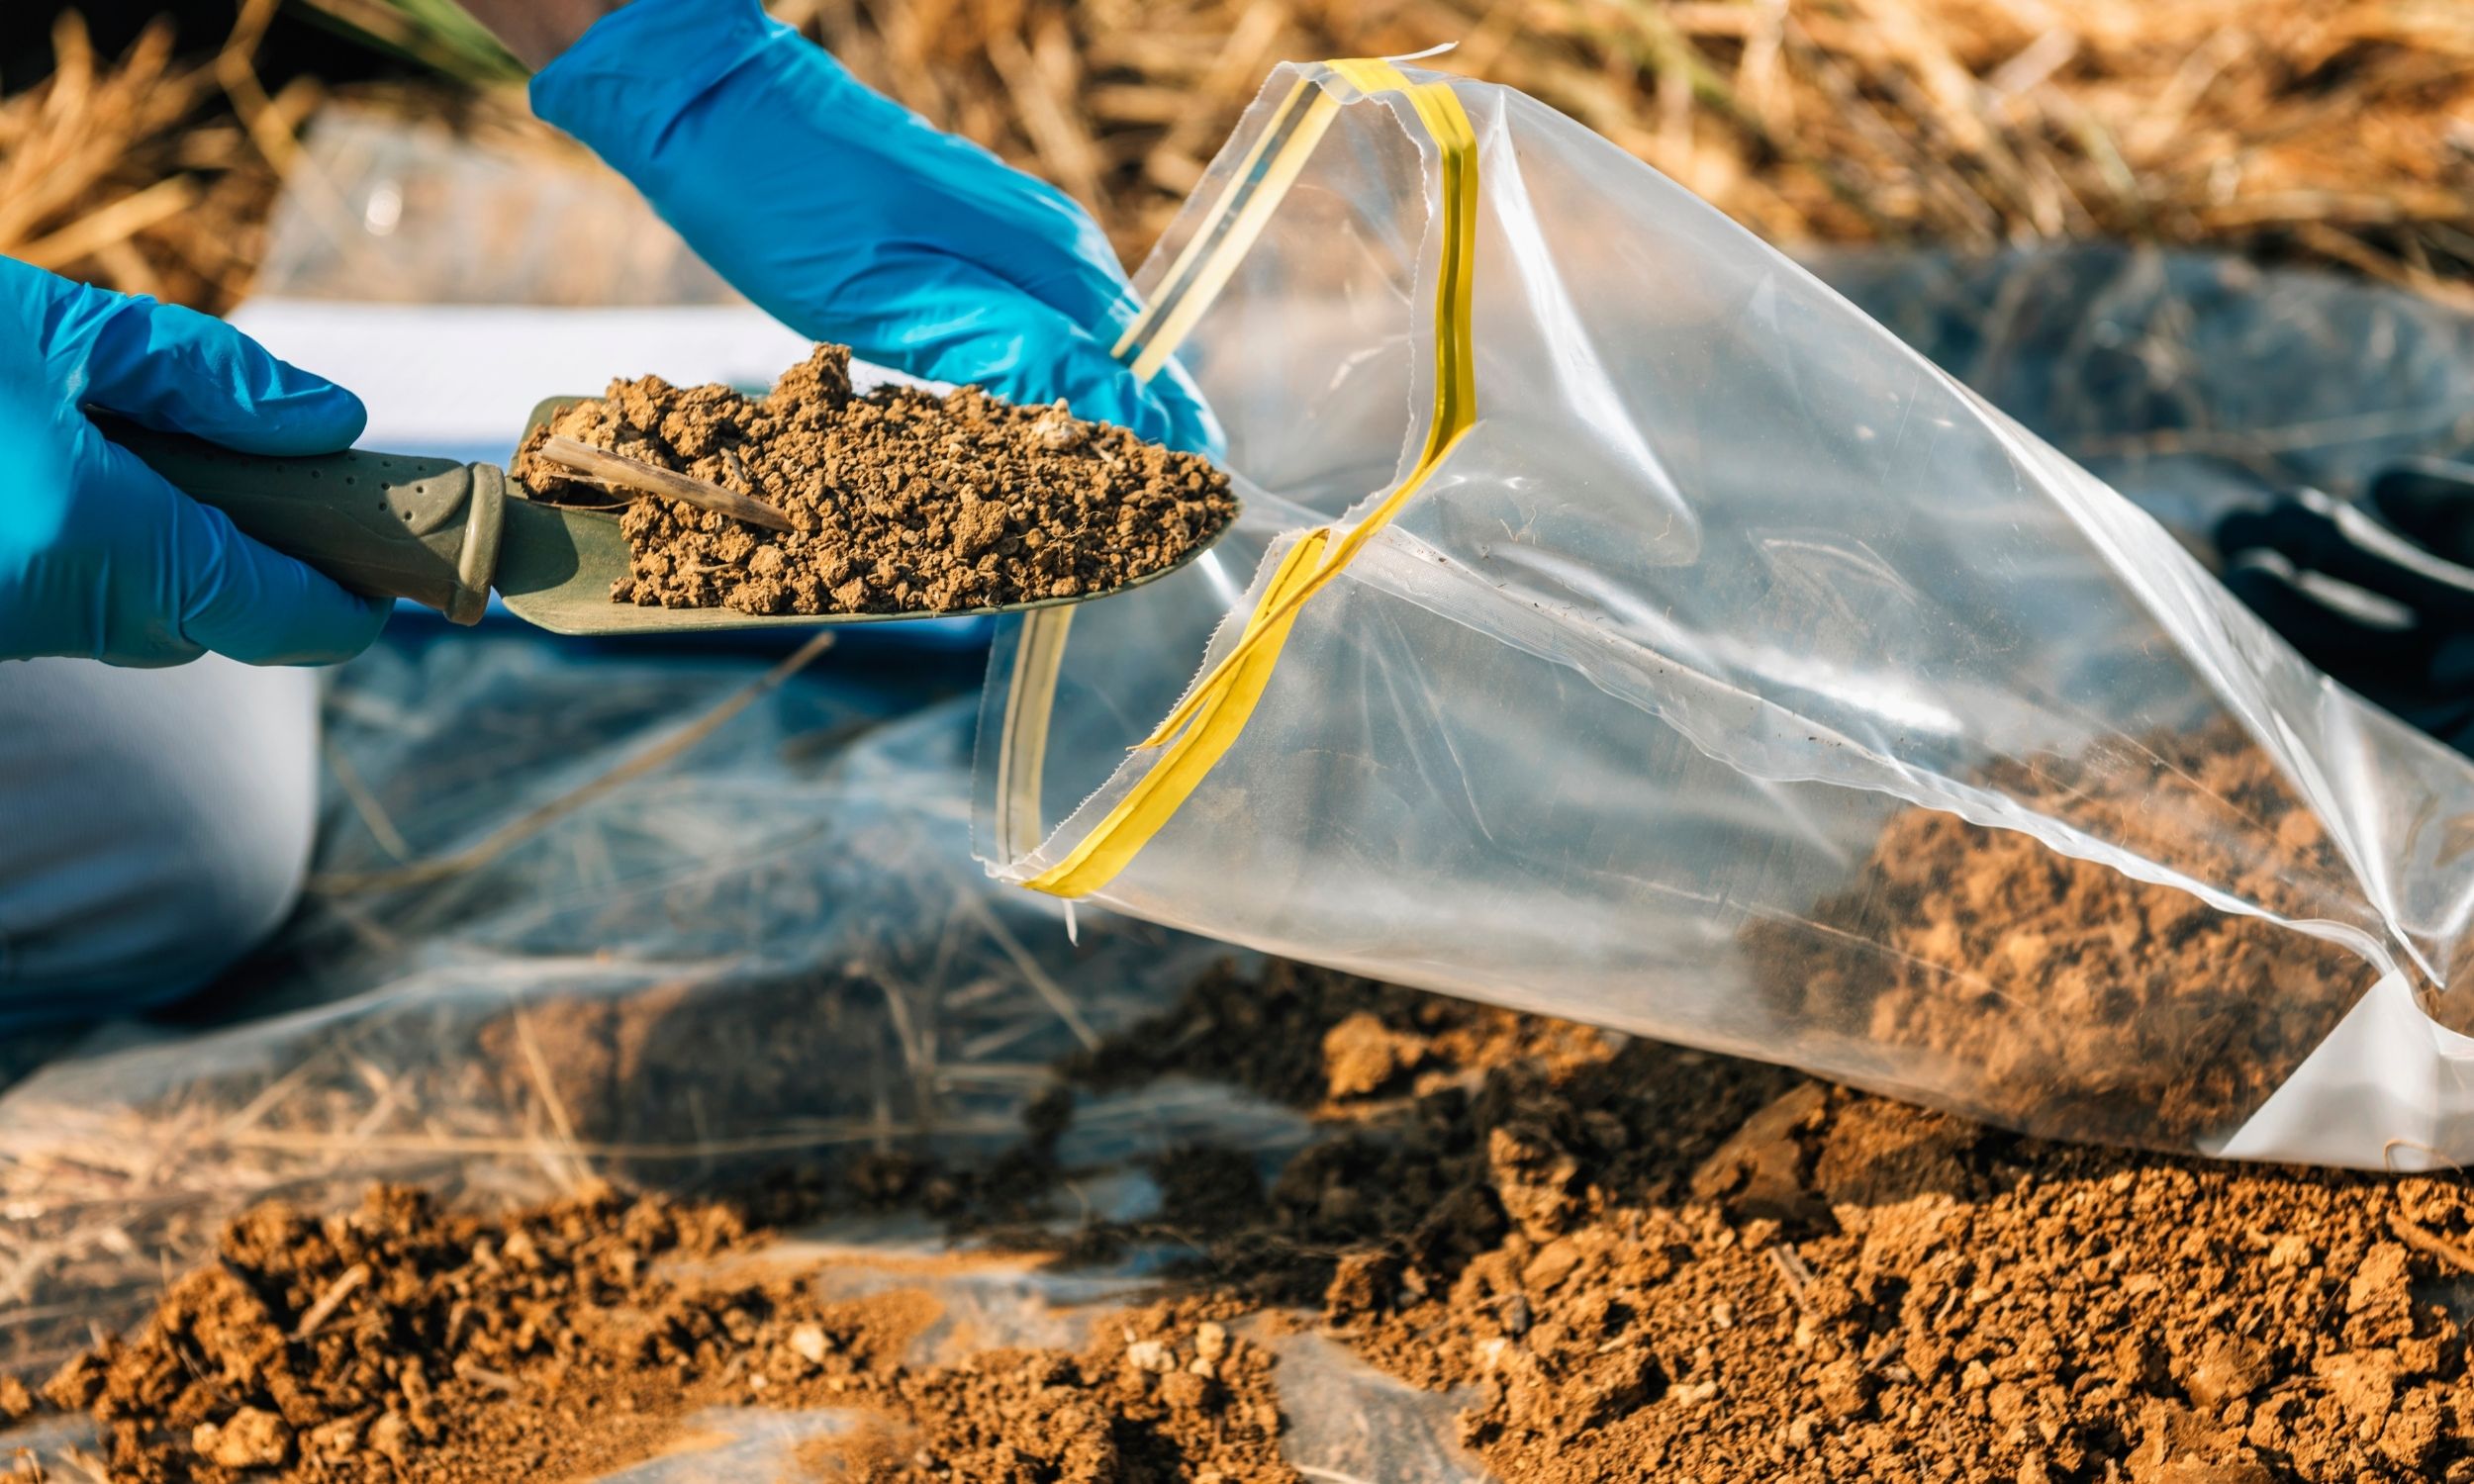
When taking samples most labs recommend that you take samples from six to eight spots in your garden area that you want tested and then mix these samples together to create a representative sample of the area.
Sample should be taken from a depth of 6 inches for gardens. Each sample should be taken with a clean spade, shovel, or trowel. Mix the soil sample in a clean plastic bucket. Air-dry the soil and remove any stones and other debris. When ready, mail about 1 cup of soil to the lab.
Make sure you check out the lab’s website for forms to fill out, cost, and more specific instructions for taking and mailing a sample.
Self-Test Kit
If you don’t want to send your soil to a lab you can test your soil yourself with a self-test kit. Basic kids run from $10 to $25 while more comprehensive ones can cost more. We have used MySoil – Soil Test Kit in the past and didn’t have any problems.
When using a DIY soil testing kit, you mix a small soil sample with water and then add different chemicals from the kit to the mixture. The soil sample will change color. A color chart in the kit will tell you the pH level and nutrient content in your soil. Most kits also include instructions for adjusting the soil condition.
Earth Worm Test
The best time to check for earthworms is in the spring when the soil’s temperature has reached 50 degrees F and its surface is moist. Use a shovel to dig up about 1 cubic foot of soil. Put the soil on a piece of cardboard, break it apart, and look for earthworms. If your soil is healthy, you’ll find at least 10 earthworms. If your soil has fewer than 10 worms, add more organic matter to it.
Want to start a Worm Compost Bin? Check out Worm Composting 101
Kitchen pH Tests
Place 2 tablespoons of soil in a bowl and add 1/2 cup vinegar. If you find that the mixture fizzes, then you have alkaline soil.
Place 2 tablespoons of soil in a bowl and moisten with distilled water. Add 1/2 cup baking soda. If the mixture fizzes, you have acidic soil.
If it does not react to either test, the soil has a neutral pH.