
The Ultimate Guide to Dehydrating Meat for Homemade Jerky
Start a tasty adventure by learning how to dehydrate meat for homemade jerky. This guide is perfect for anyone who loves to hike, eat healthy, or just enjoy tasty snacks. You’ll find all the tips and recipes you need to make delicious, portable snacks for any time.
Explore a range of jerky flavors, from classic to creative. This guide will teach you how to make snacks that are not only tasty but also healthy. Get ready to make your own jerky that will take your snacking to the next level.
Disclosure: As an Amazon affiliate, I earn from qualifying purchases at no extra cost to you. My blog contains other affiliate links as well for your convenience. To learn more, you may read my Disclosure Policy. Thank you for supporting my blog!
Introduction to Dehydrating Meat
Dehydrating meat is a time-tested way to keep food fresh. It makes meat last longer and packs more nutrients into it, turning it into jerky. This skill is great for preserving hunting or farming finds or for a quick, healthy snack.
Benefits of Dehydrated Meat
Dehydrating meat has many perks over other storage methods. It keeps meat fresh for a long time, letting you enjoy its taste and health benefits. It’s also light and easy to carry, perfect for outdoor trips, emergencies, or as a quick snack.
Another big plus is how it boosts nutrients. By removing water, the meat gets more protein, vitamins, and minerals. This makes dehydrated meat a top pick for a healthy, filling snack.
Types of Dehydrators
There are many ways to dehydrate meat, depending on what you need. Here are some common types:
- Electric dehydrators: These easy-to-use, plug-in devices control temperature and time well, giving you consistent results.
- Solar dehydrators: These use the sun’s power, making them a green choice for those who care about the environment.
- Commercial dehydrators: Built for big batches, these are for serious food preservation fans and professionals.
Picking the right dehydrator depends on how much meat you’ll dry, how much space you have, and what you like. Look into each type and think about what you need for your meat drying projects.
Choosing the Right Cut of Meat
When making meat drying and jerky making snacks, the meat type is key. Not all cuts are good for snack preparation. Picking the right cut is crucial for perfect homemade jerky.
The best cuts for drying are lean with a bit of fat. Beef is a top pick, with flank steak, top round, or eye of round being favorites. These cuts are firm, flavorful, and taste great after drying.
- Flank steak: A lean, flavorful cut that dries beautifully.
- Top round: A versatile cut that is lean and tender when properly prepared.
- Eye of round: A lean, budget-friendly option that holds its shape well during jerky making.
For snack preparation, avoid cuts with too much fat. They can get greasy or taste bad when dried. Tougher cuts, like chuck or brisket, might need extra work to get right.
Always pick the freshest, best-quality meat you can find. This ensures your homemade jerky tastes and feels its best.
Preparing the Meat for Dehydration
Making homemade jerky or dehydrated snacks needs careful meat preparation. This includes seasoning, marinating, slicing, and cutting. Each step is key to the final taste and texture of your snacks.
Seasoning and Marinating
Seasoning and marinating the meat brings out its full flavor. It adds spices and herbs and tenderizes the meat. Jerky making fans try many marinades, from soy sauce to teriyaki and sweet flavors.
Slicing and Cutting Techniques
The way you slice and cut the meat matters a lot in snack preparation. The thickness can be very thin for quick drying or a bit thicker for chewiness. Even cuts are important for uniform drying. Using a sharp knife or meat slicer helps get the right thickness and shape for your dehydrator recipes.
| Cutting Technique | Ideal Thickness | Texture |
|---|---|---|
| Paper-thin slices | 1/8 inch or less | Crisp and crunchy |
| Thin strips | 1/4 inch | Chewy and tender |
| Thick slices | 1/2 inch or more | Moist and fibrous |
Dehydrating Meat
Temperature and Time Guidelines
Dehydrating meat is a tasty and healthy way to keep it fresh. Knowing the right temperature and time is key for great results. Whether you’re making classic dehydrated meat or trying new dehydrator recipes, these tips will help you succeed.
The best temperature for drying meat is between 155°F and 165°F (68°C and 74°C). This keeps the meat’s flavor, texture, and nutrients intact. Keeping this temperature steady is important to avoid harmful bacteria growth.
The drying time varies based on meat thickness and recipe. It usually takes 6 to 12 hours. Always watch the meat closely to make sure it dries just right.
- Maintain a temperature between 155°F and 165°F (68°C and 74°C) for optimal dehydrating meat results.
- The dehydration time can range from 6 to 12 hours, depending on the thickness of the meat slices.
- Regularly check the meat to ensure it reaches the desired level of dryness.
By sticking to these guidelines, you can make tasty and healthy dehydrated meat. It’s perfect for satisfying your hunger and adding to your favorite dehydrator recipes.
Storing Dehydrated Meat
Keeping your homemade jerky fresh and long-lasting is key. Whether it’s classic beef jerky or exotic flavors, storing it right is crucial. This ensures your snack stays tasty and nutritious.
Vacuum sealing is a top choice for storing dehydrated meat. It removes air, creating a tight seal that keeps out moisture and spoilage. This way, your shelf-stable meals can last months, making them a great healthy meat snacks option.
Another option is using airtight containers like glass jars or heavy-duty ziplock bags. These containers block air and moisture, helping to preserve your meat. Make sure to squeeze out as much air as you can before sealing to extend its life.
| Storage Method | Shelf Life |
|---|---|
| Vacuum Sealed | Up to 6 months |
| Airtight Container | 2-3 weeks |
Storing your dehydrated meat correctly is vital for its quality and taste. By using these methods, your homemade jerky will stay fresh and delicious. It’s perfect for a quick, healthy snack or as part of your shelf-stable meals.
Dehydrating Meat
Dehydrating meat at home can be rewarding and delicious. But, it comes with its own set of challenges. With a few expert tips, you can make perfect homemade jerky every time.
Pre-Treat the Meat
Before you start, think about pre-treating the meat. This can make it taste better and feel softer. Meat drying experts suggest:
- Marinate the meat in a flavorful mix to add bold tastes.
- Freeze the meat a bit to make slicing easier.
- Use a little cooking oil or dehydrator recipes to keep moisture in.
Optimize Airflow and Temperature
Good airflow and temperature control are key for dehydrating meat. Make sure your dehydrator has enough space around it. Try different temperatures to get the right texture and drying time.
Troubleshoot Common Issues
If you hit a snag during meat drying, don’t worry. Here’s how to fix common problems like:
- Tacky or sticky jerky: Try higher temperature or longer drying time.
- Tough or leathery jerky: Lower the temperature or shorten drying time.
- Uneven drying: Rotate trays or rearrange meat slices often.
With these dehydrator recipes tips, you’re on your way to making great homemade jerky. Enjoy your dehydrating meat journey!

GRAB A COPY OF MY FREE Guide
Homesteading for Beginners
… Even if you’re short on time, have no idea where to start, and don’t want to give up modern luxuries.
Rehydrating Dehydrated Meat
Dehydrated meat, like jerky or camping food, is great for many uses. But, you must rehydrate it first to use it in recipes or eat it alone. Rehydrating dehydrated meat is easy and ensures your hard work pays off.
To rehydrate dehydrated meat, follow these steps:
- Soak the meat in warm water or broth for 30 minutes to an hour. This depends on how thick the pieces are. It helps the meat get back its original texture and moisture.
- Drain the rehydrated meat and pat it dry with a paper towel or cloth. This step removes extra liquid and gets the meat ready for use.
- Incorporate the rehydrated meat into your favorite dishes, like stews or casseroles. You can also use it as a topping for salads or sandwiches. Enjoy it alone as a snack for camping or hiking.
Learning to rehydrate dehydrated meat lets you enjoy the benefits of meat drying. You can make shelf-stable meals or pack camping food for your next trip.
| Meat Type | Rehydration Time | Rehydration Method |
|---|---|---|
| Beef Jerky | 30-45 minutes | Warm water or broth |
| Turkey Jerky | 45-60 minutes | Warm water or broth |
| Venison Jerky | 60 minutes | Warm water or broth |
Recipes and Flavor Combinations
Making your own jerky is a fun and rewarding hobby. You can stick to classic flavors or try something new and exciting. This section will give you ideas for both.
Classic Jerky Flavors
Classic jerky flavors are always a hit. Here are some recipes you’ll love:
- Teriyaki Jerky: A mix of soy sauce, brown sugar, and garlic that’s sweet and savory.
- Peppered Jerky: This jerky gets a bold kick from coarse black pepper.
- Honey Mustard Jerky: It’s a perfect mix of sweet and tangy, with a hint of Dijon mustard.
Unique and Creative Flavors
If you like to try new things, you’ll love these unique flavors:
- Chili-Lime Jerky: It’s a zesty mix of chili powder, lime juice, and a bit of brown sugar.
- Maple-Bacon Jerky: This combines the sweetness of maple syrup with the savory taste of bacon.
- Sriracha-Infused Jerky: It’s spicy and flavorful, with a kick from Sriracha hot sauce.
Whether you’re into classic or unique flavors, there’s a jerky recipe for you. Try different seasonings and ingredients to find your favorite. Enjoy these protein-rich snacks as a healthy and tasty part of your day.
Canning/Preserving Tools
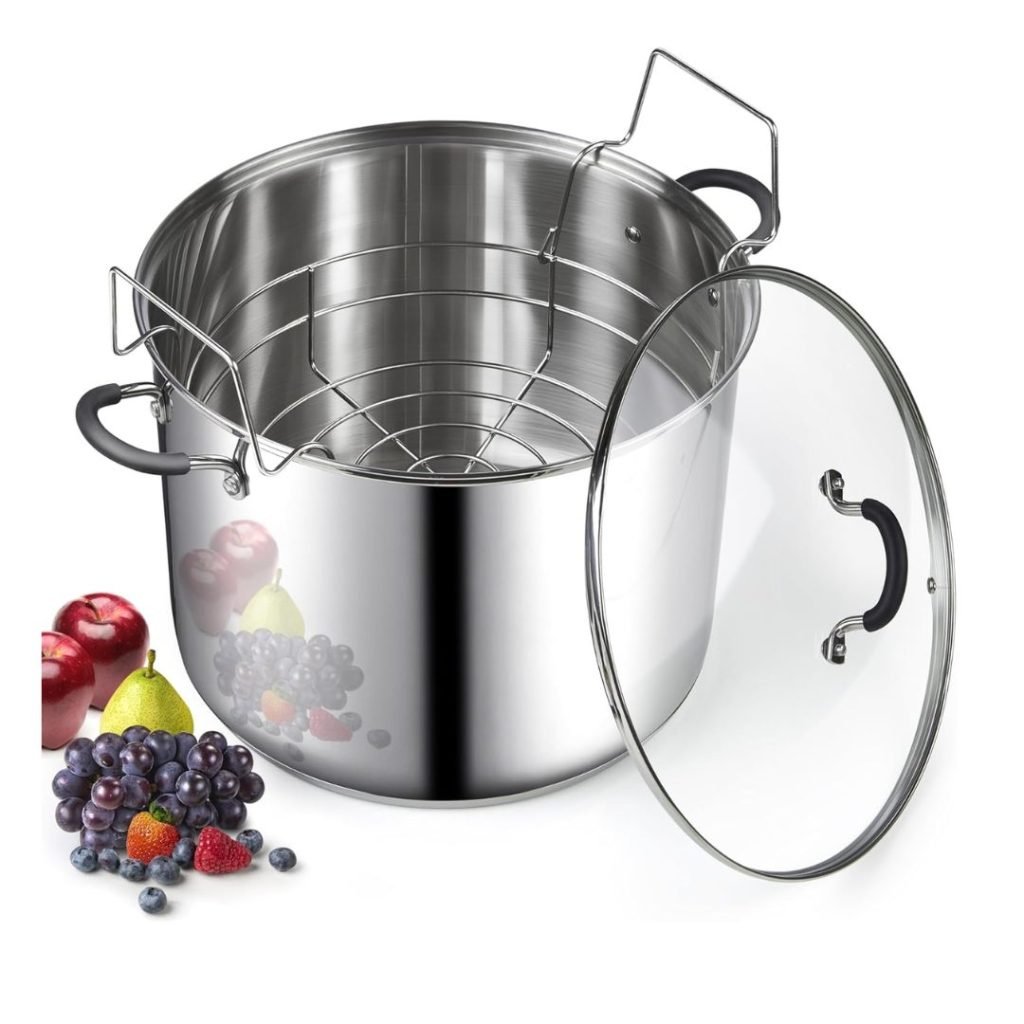
Water Bath Canner
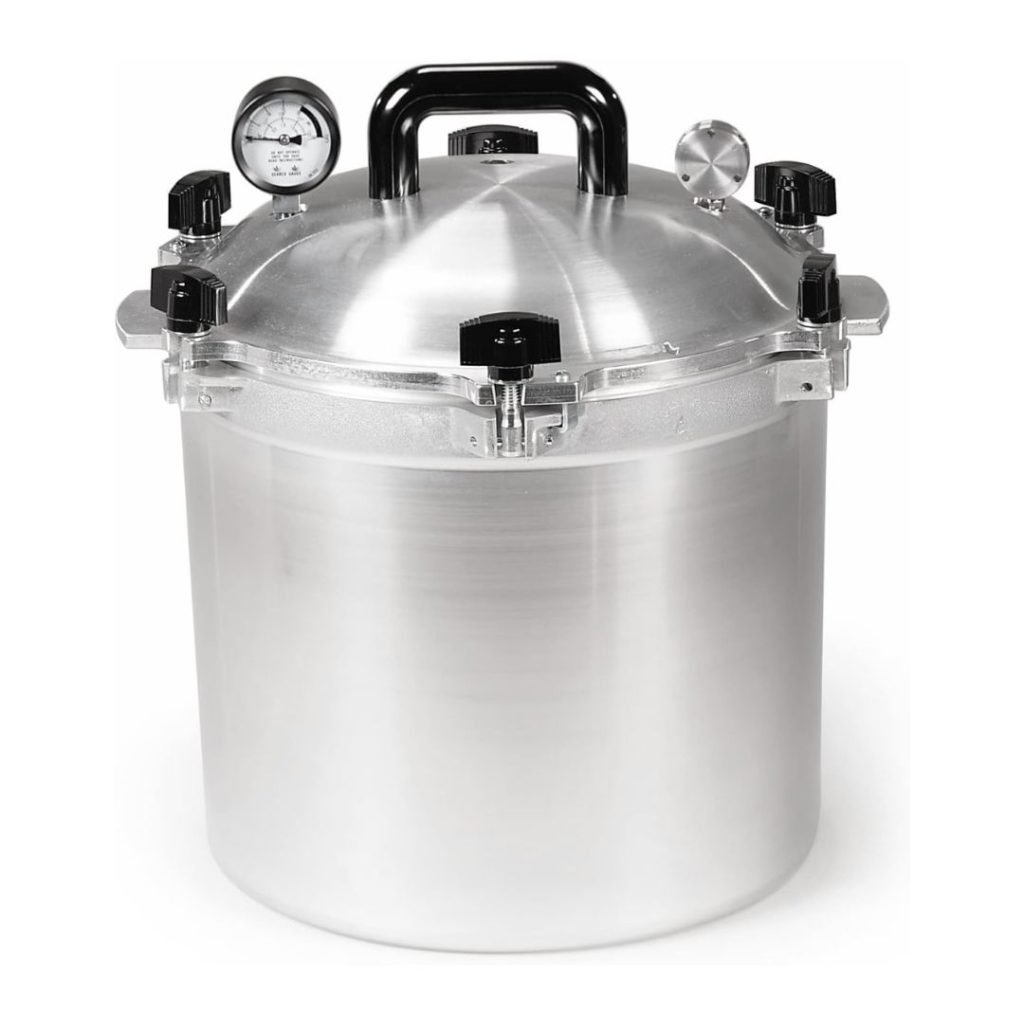
Pressure Canner
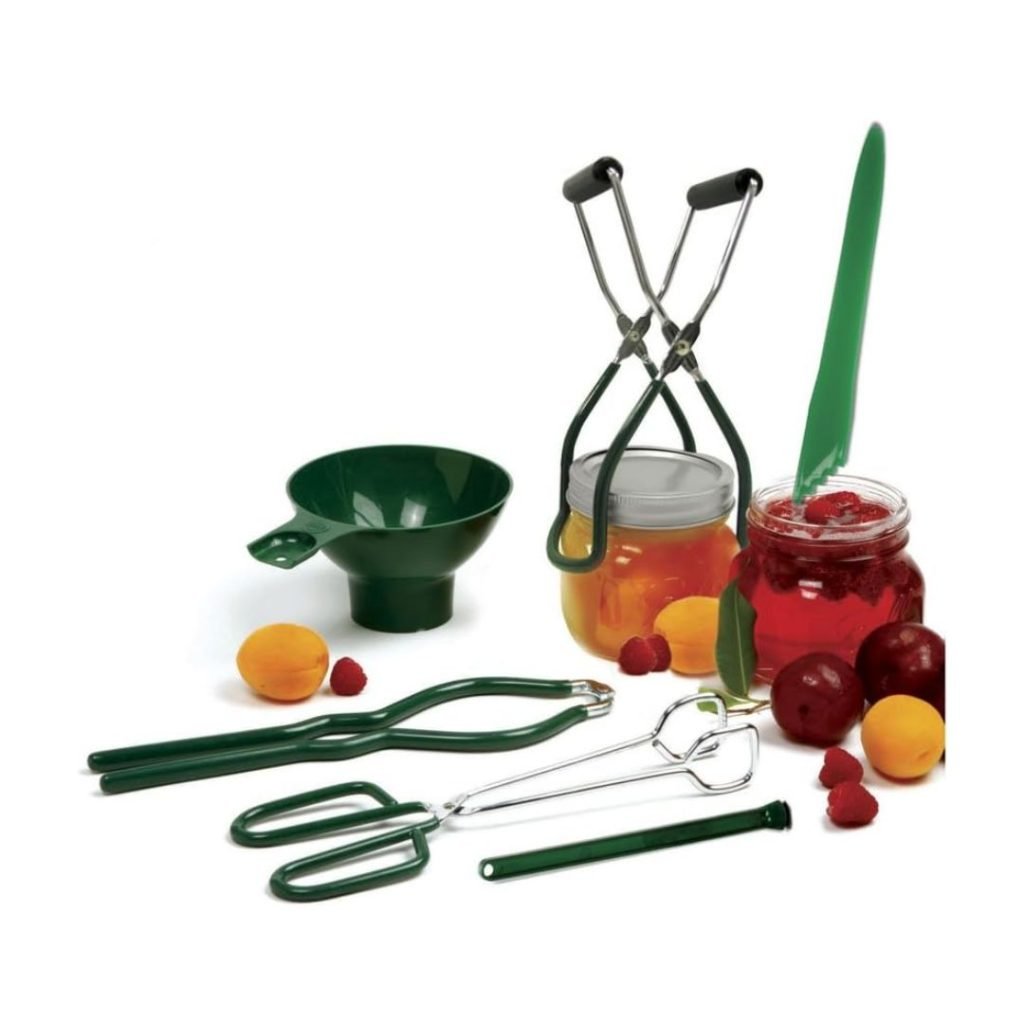
Beginner Tool Set
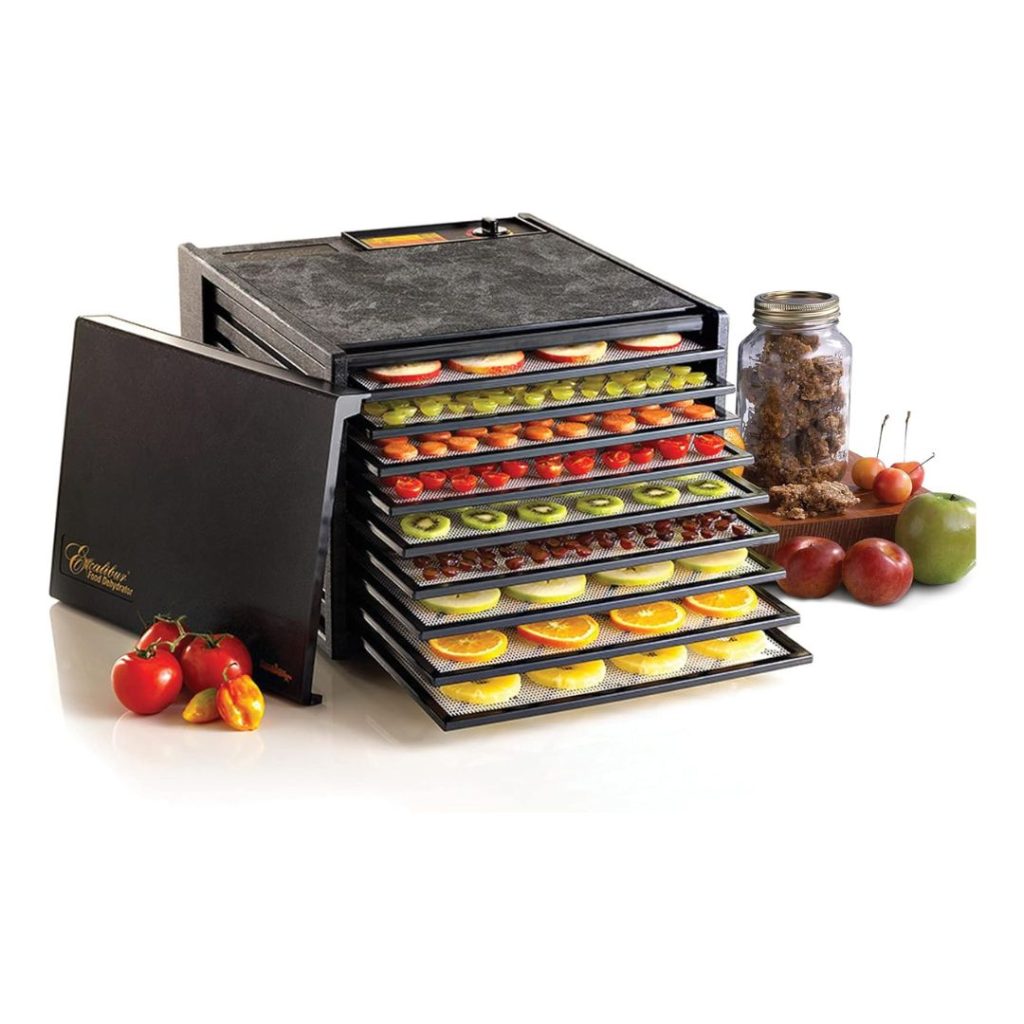
Dehydrator
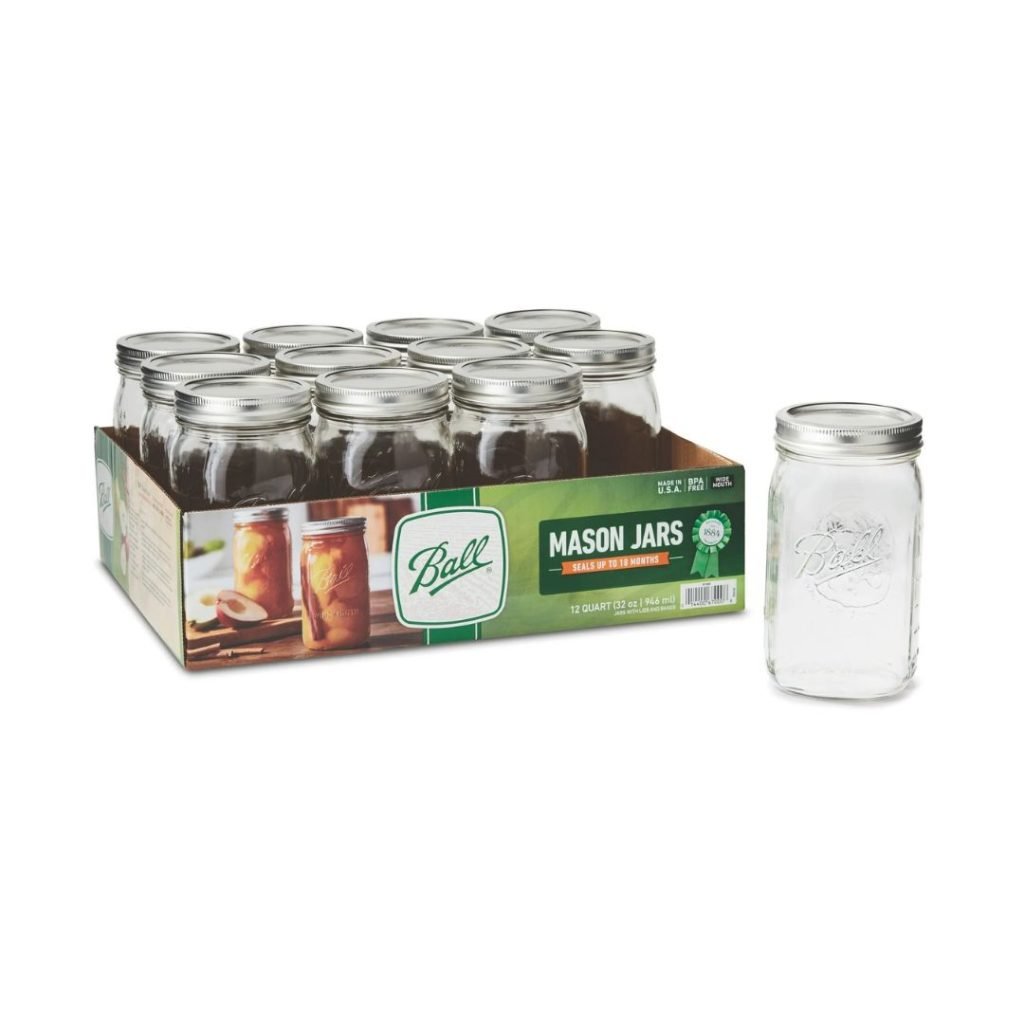
Wide Mouth Quart Jars
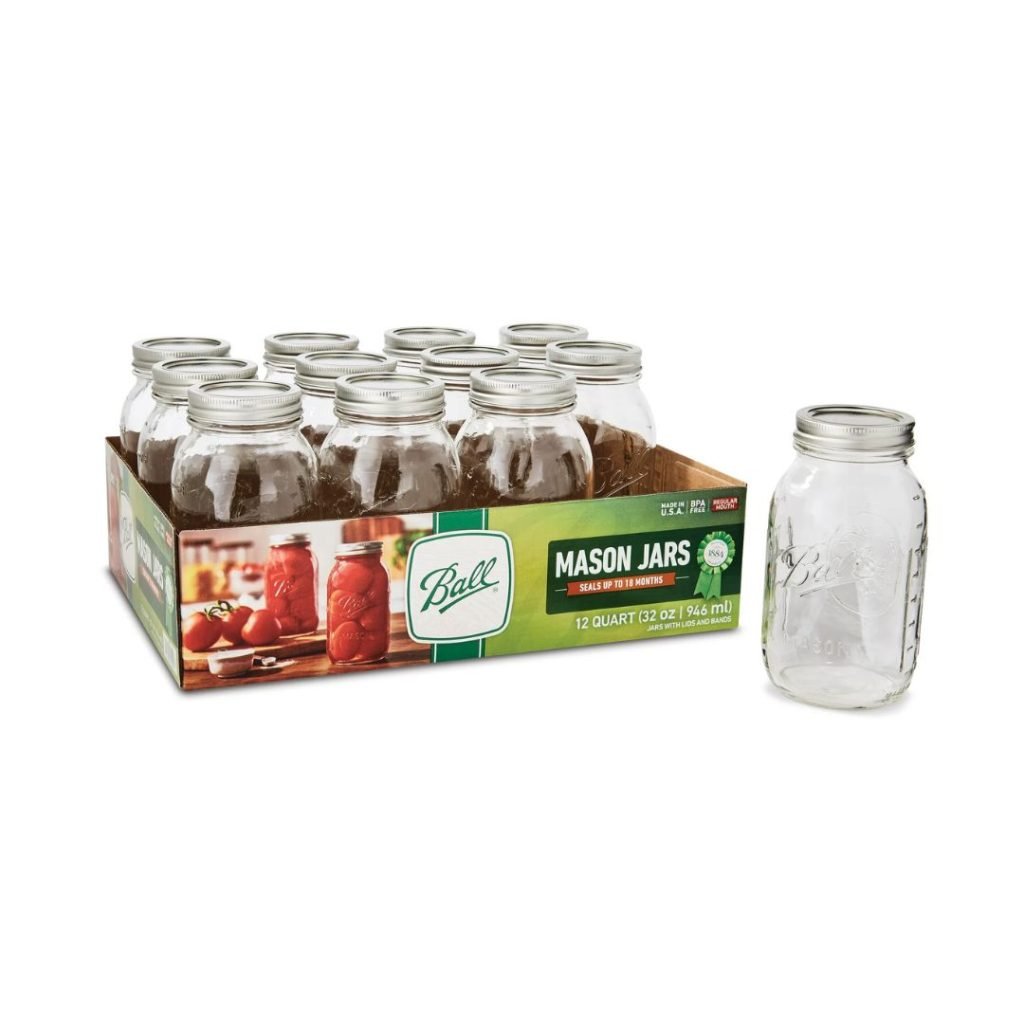
Quart Jars
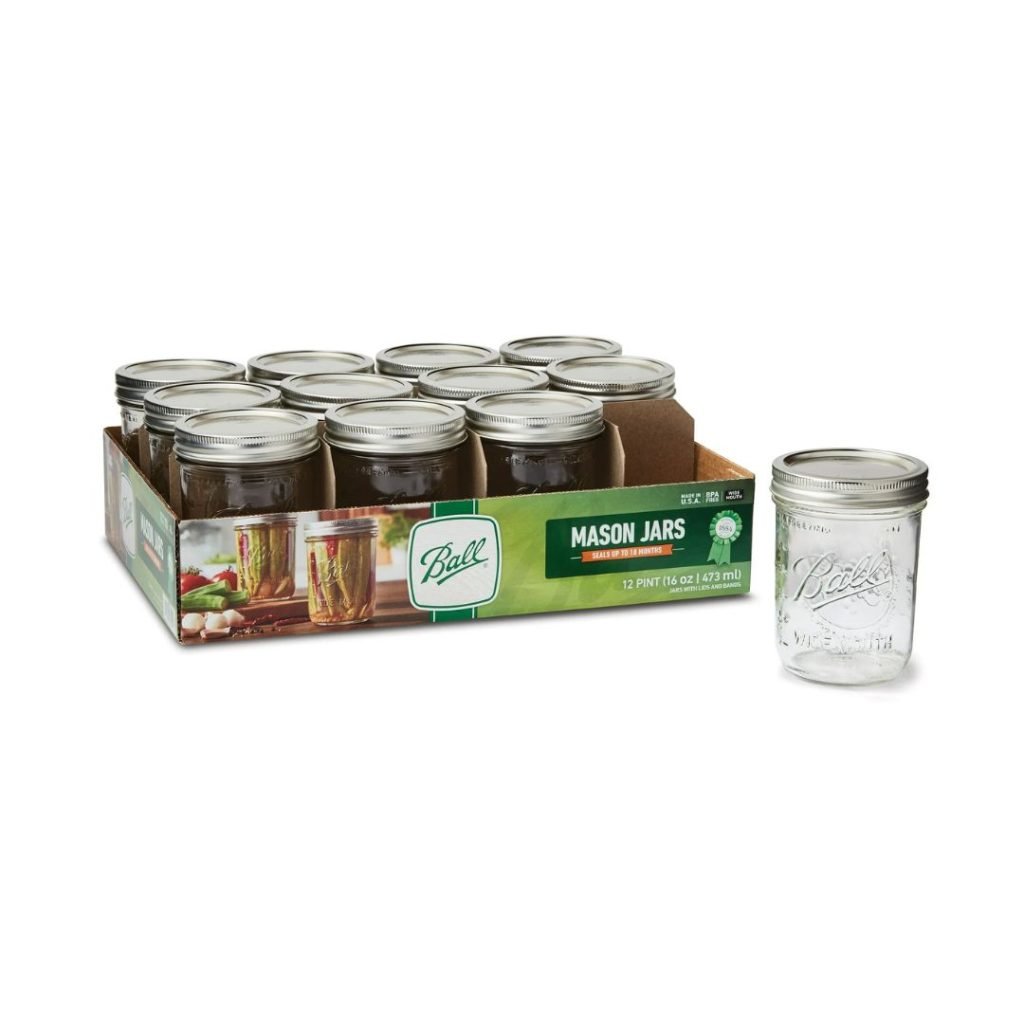
Wide Mouth Pint Jars
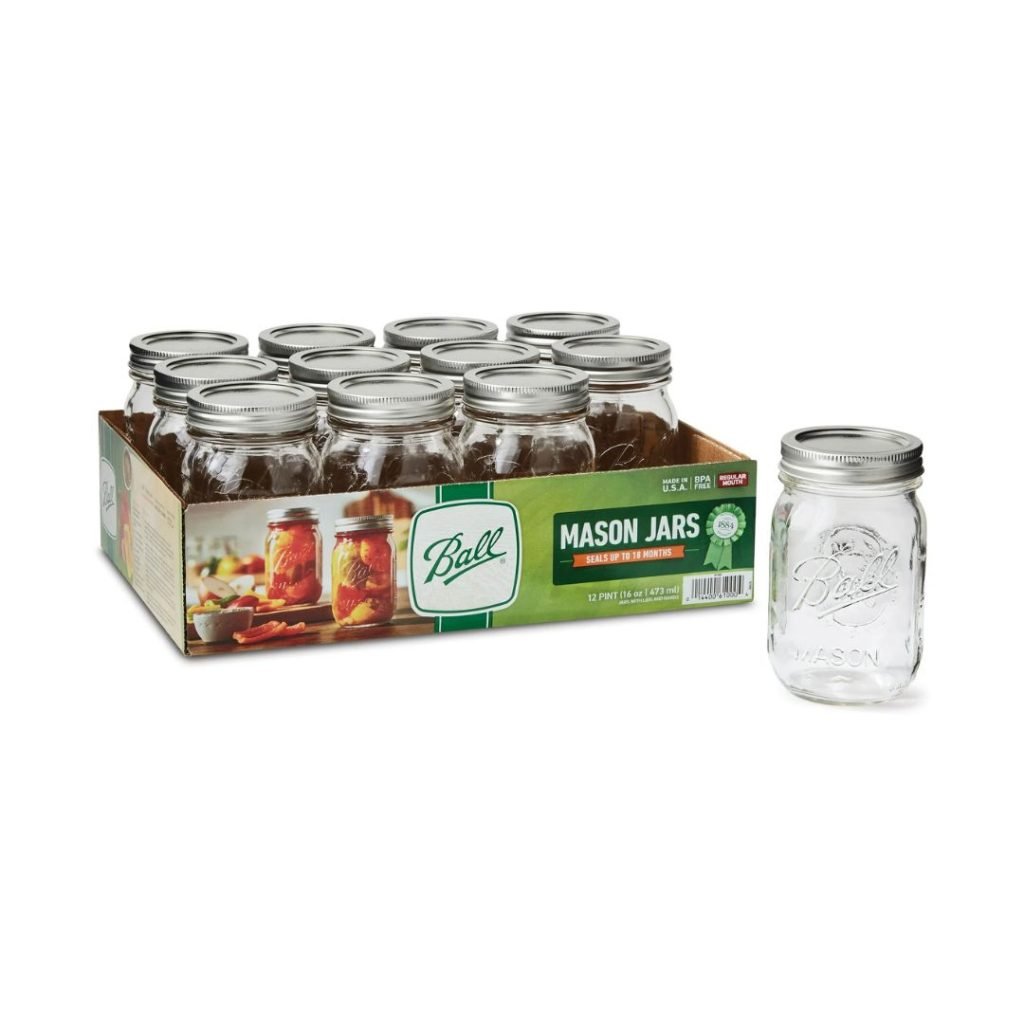
Pint Jars
Conclusion
As we wrap up this guide on dehydrating meat for homemade jerky, it’s clear that mastering this skill opens up a world of tasty and healthy options. Whether you’re into outdoor adventures or just want to enjoy healthy snacks, you now have the tools to make your own.
Choosing the right meat and trying out new flavors makes dehydrating meat for jerky both fun and rewarding. This skill lets you enhance your cooking and always have dehydrating meat, jerky making, healthy meat snacks, and camping food ready for any time.
So, go ahead and explore the world of dehydrating meat and jerky making. With this guide, you’re set to make delicious, shelf-stable meals and healthy meat snacks that will please your taste buds and keep you healthy. Happy dehydrating!