How to Make the BEST Soft Sourdough Sandwich Bread
Soft Sourdough Sandwich Bread
This sourdough sandwich bread recipe is incredibly easy to make! You can bake it the same day you make it, or refrigerate the dough for up to 4 days! This recipe makes 2 loafs.
Ingredients
- 650 grams water at 90-95 F
- 300 grams mature sourdough starter
- 1000 grams bread flour
- 50 grams oil neutral-flavored oil (canola (vegetable, sunflower, or avocado)
- 40 grams sugar or honey
- 20 grams kosher salt or fine sea salt
Instructions
- Mix Dough: In a large mixing bowl measure out your slightly warm water. Add your starter, flour, oil, sugar or honey, and salt on top.
- Mix the dough until all of the ingredients are very well incorporated and there are no dry patches of flour. This will take about 2-3 minutes of mixing to make sure it is well combined.
- Cover the bowl with plastic wrap, or a shower cap and let sit at room temperature (72-75 F, 22-23 C) for 30 minutes.
- Over the next 2 hours perform 4 rounds of stretch and folds about every 30 minutes. The timing between the rounds does not need to be exact.
- Let the dough continue sitting at room temperature after your last round of stretch and folds for about 3 hours. You know bulk rise is finished when the dough is full of air and is rounding on the sides of the bowl.
- Oil your 8.5 x 4.5" (22 x 11 cm) loaf pans. Turn your dough out onto your very lightly floured work surface. Divide the dough in half. Shape the dough into a tight sandwich loaf.
- Cover the pans with plastic wrap or a shower cap and let proof until the dough begins to crown the pan and is full of air. This should take around 2 1/2 hours at a room temperature of about 72 F (22 C). Your timing will be quicker if your room is warmer, or longer if your room is cooler. You can also perform the dent test to see how far along your dough is with proofing.
- Preheat the oven to 400 F
- Bake for 30 minutes. The center of the loaf should also read 200 F (93 C) if you are unsure if they are baked through.
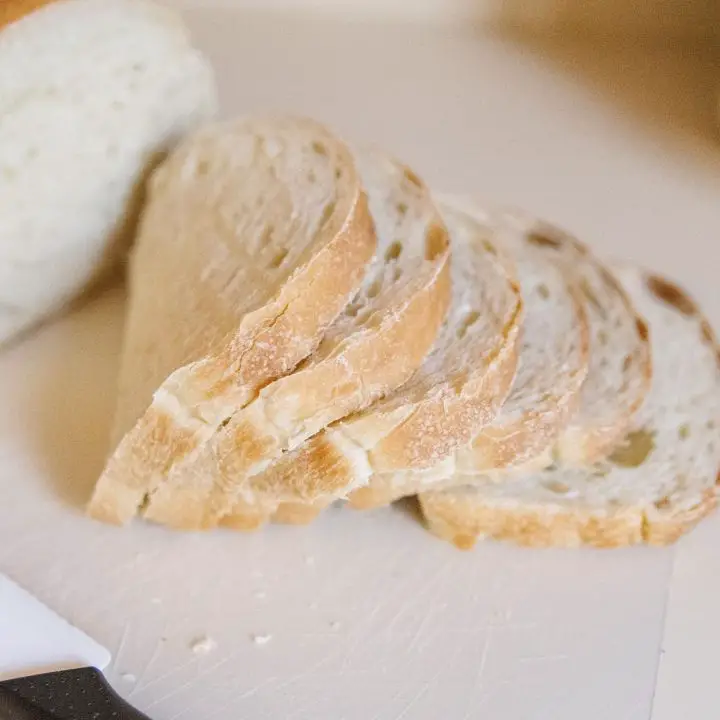
- Transfer the baked loaves into a cooling rack and gently tip out of the pans. Allow to cool completely before slicing. Cool a minimum of 2 hours before slicing, and preferably longer. Loaves of bread can have a gummy texture if sliced into before cooling and it will also cause them to stale more quickly.
Notes
Dent Test - You can also perform the dent test to see how far along your dough is with proofing. Take a well floured finger and gently press down into your dough about 1/2" down. If the dough immediately fills back in, then it needs a bit more time. If the dent very slowly fills back in, then you are well proofed. If the dough feels like it might collapse or does collapse, you have gone too far and your dough is over proofed. You can still bake it, but it will be very dense.

Must Have SourDough Course
Everyday Sourdough
the Ultimate Guide to Sourdough
You may also enjoy these related articles:
- 7 Common Sourdough Starter Mistakes and How to Avoid Them
- Sourdough Blueberry Muffins
- Sourdough Dinner Rolls
Did you enjoy this article? Want to hear more? Stay in touch! Sign up below to receive weekly tips and inspiration for your homestead.
