Proofing Sourdough Bread Like a Pro
When you first learn to bake sourdough, it is handy to use certain time guidelines to help understand how long to proof sourdough for, but you may find that your bread results are different every time.
When I first started baking sourdough bread, I initially got away with using a set amount of time to bulk ferment/proof my dough. But that plan went out the window once the weather outside changed, and the temperatures got colder. Or hotter. Or somewhere in-between.
Because it then also meant that my dough was being proofed at a different rate every time. In the hotter weather it would over ferment. And in the colder weather it would under ferment. And this meant that my bread would come out different every time.
Although it’s handy to have a rough time frame of how long your sourdough should proof for, it’s not always easy to follow a recipe and simply ‘get it right’.
There are many variables that contribute to how long the dough should proof for. So rather than thinking of it as how long, you really should be looking for clues as to how much longer it needs, and if it is showing signs of completion or not.
Disclosure: Some of the links below are affiliate links, meaning, at no additional cost to you, I will earn a commission if you click through and make a purchase.
Basic Time Guidelines for Proofing Sourdough
As a very basic time frame, the very minimum that sourdough should ferment/proof for is 4 hours. Less than 4 hours simply won’t be enough time to develop enough of a gluten structure or flavor. But depending on other variables, such as:
- How much sourdough starter or leaven has been used in the dough
- The temperature of the dough and its environment
The timing for proofing sourdough can be stretched from 4 hours to even a few days!
A word of caution here. Knowing when the dough is ready, takes some experience. And the more you bake sourdough, the more you’ll develop a ‘bakers instinct’ when it comes to knowing when to move to the next stage. But there are signs to look for that you can use to help you make the decision to go ahead and shape…
Signs of Change During Bulk Fermentation of Sourdough
The dough will change considerably during the bulk fermentation period (by bulk fermentation, we mean the first rise or proofing time), and knowing what to look for will help you determine if it is ready for shaping or not. Here are 4 signals to look for that will tell you if your dough is ready:
Sign #1: The Dough’s Density will Change
When the dough is at the initial stages, it will be dense. During the bulk fermentation, the gluten structure will begin to develop, which helps to trap air into the dough. As air bubbles start to develop, the dough will not only grow in size, but also become lighter and fluffier. It will lose its density and become more airy.
Has the dough become aerated? If it is still dense then it needs more time to ferment.
Sign #2: The Dough will ‘Feel’ Different
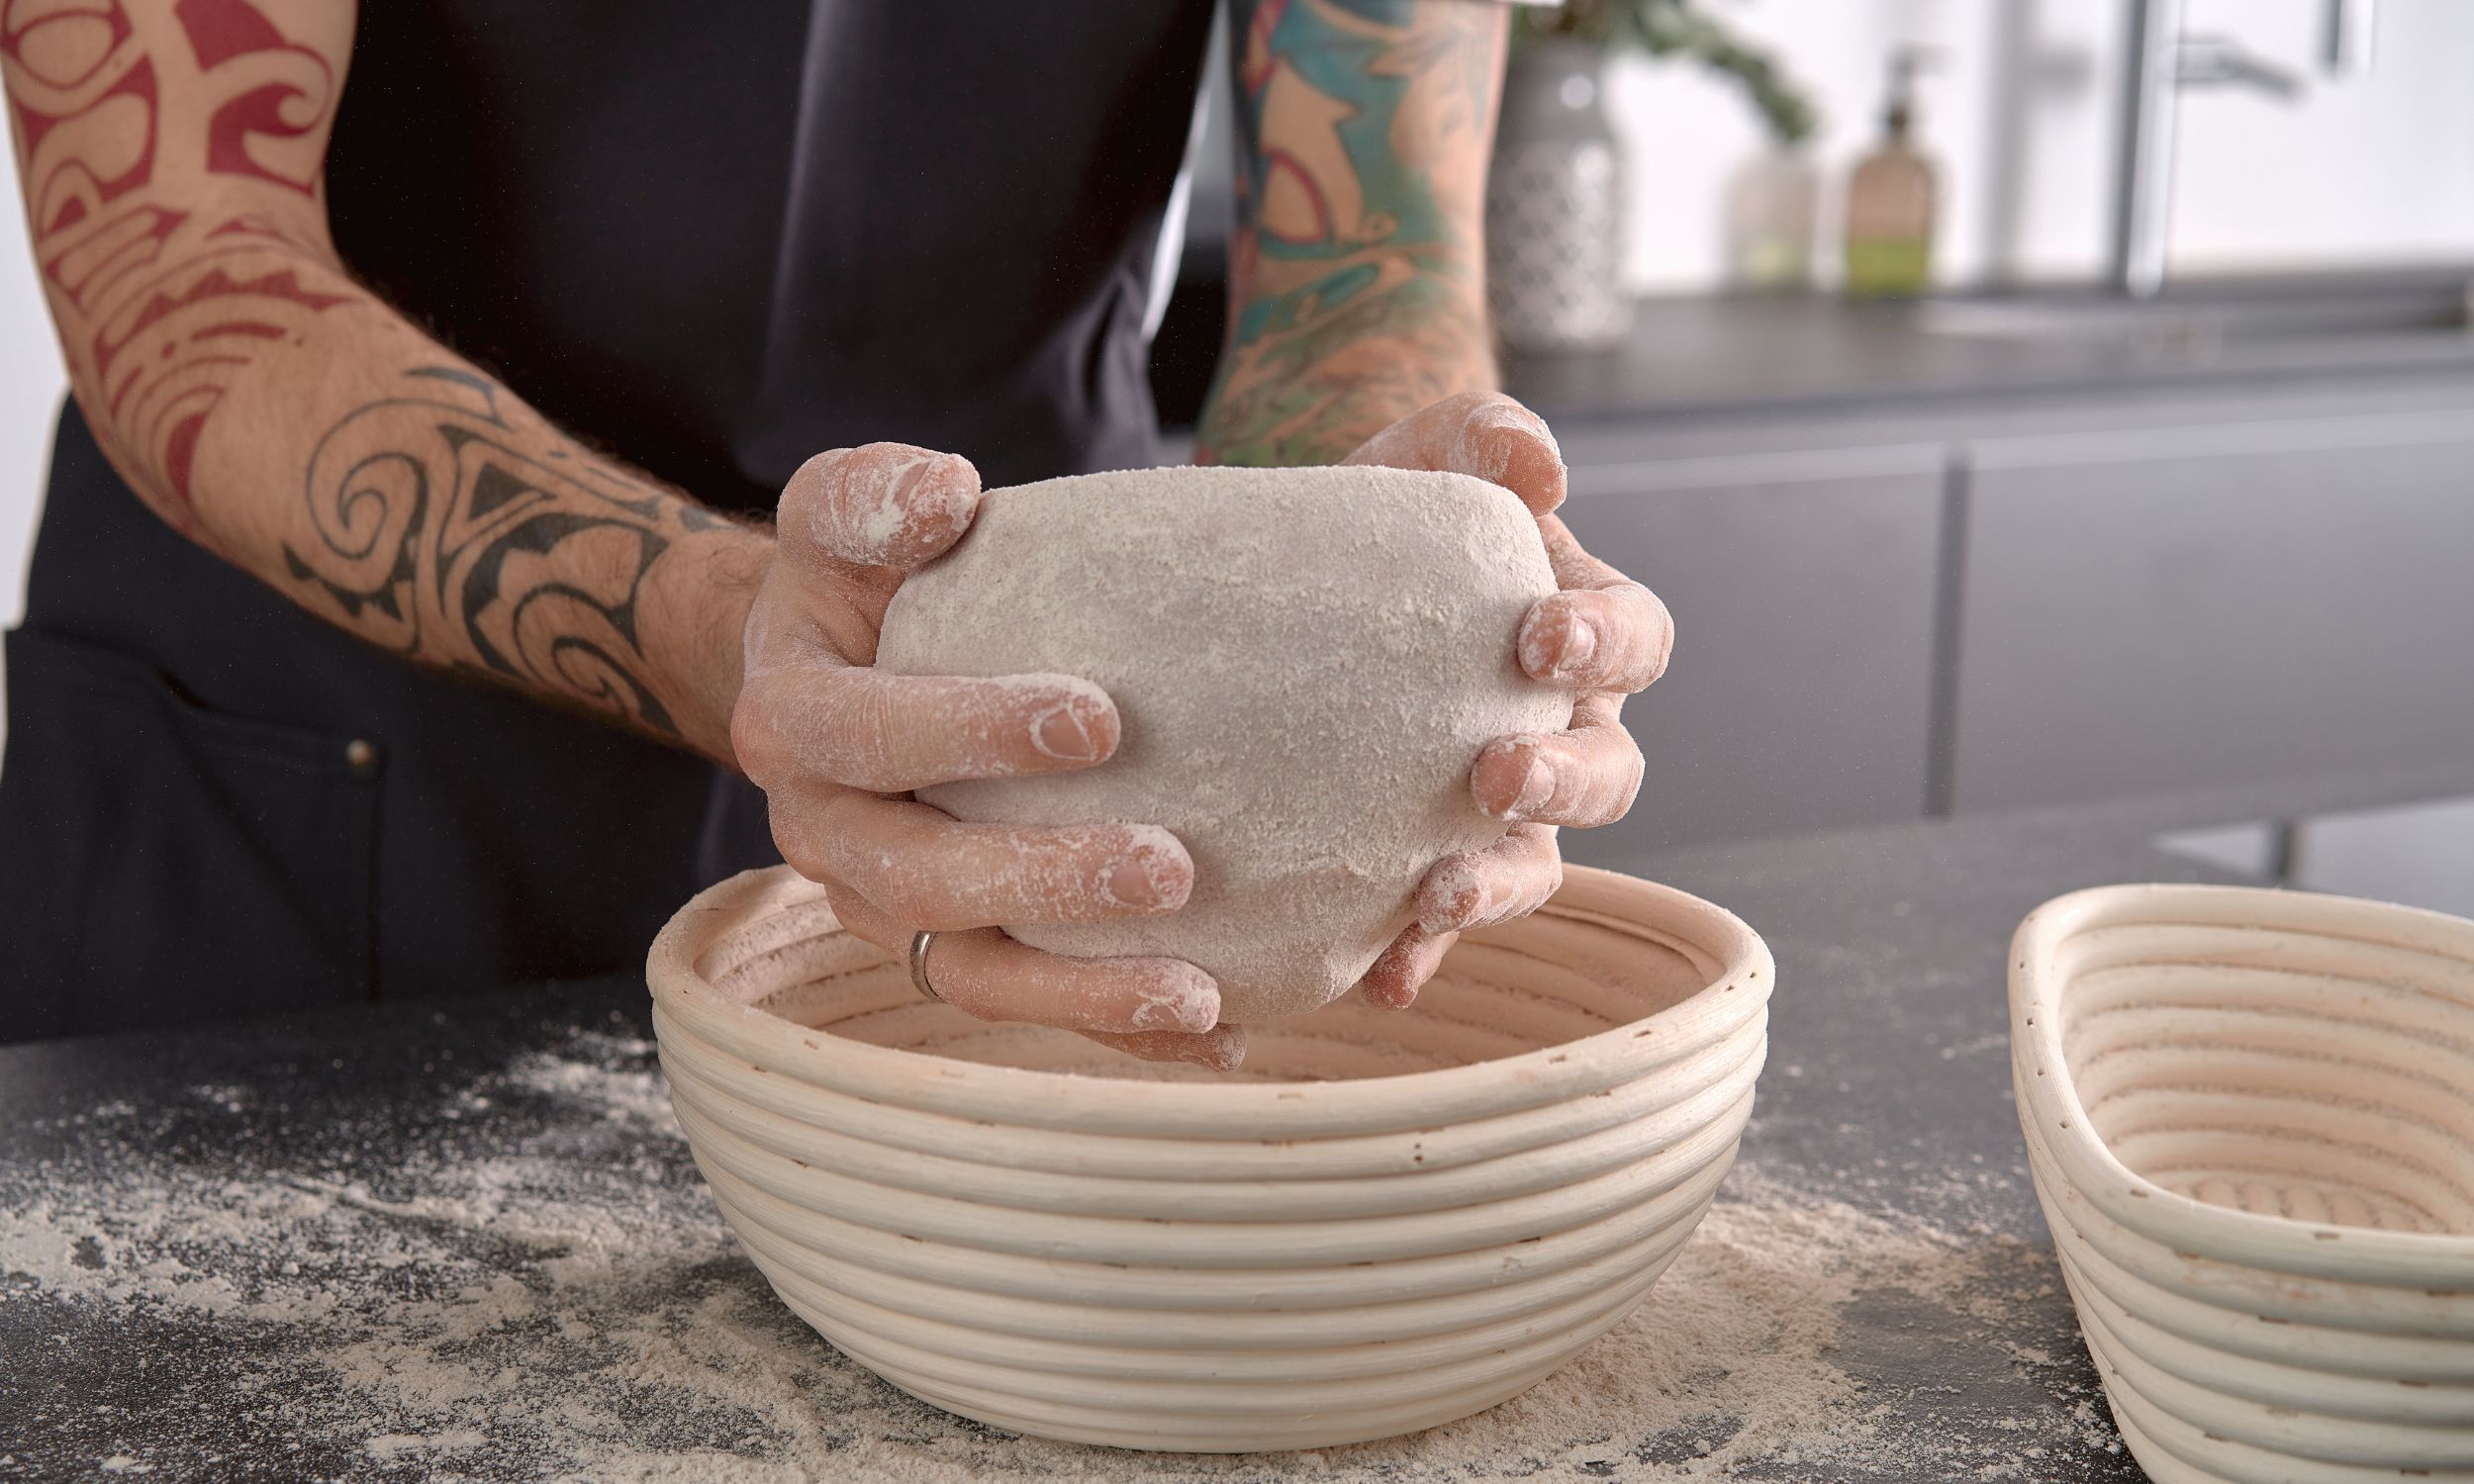
When you handle the dough after its bulk fermentation, it will feel quite different to when you first handled it. The dough will now be very light and have a ‘bouncy’ kind of a feel to it. In fact, if you give the bowl/container some gentle movement backwards and forwards, the dough will ‘jiggle’ and be wobbly. This is the point at which it is done and ready to shape.
Does the dough seem ‘wobbly’ when you move the bowl around? It’s time to begin shaping!
There is also a test that you can perform to help you understand if the dough has developed enough strength and ‘bounce’ in it to hold itself up…
The ‘Poke’ Test
This test can be done once the dough has had some time to ferment. Poke your finger into the dough about a half inch deep. Does the dough ‘recover’ by popping back out? or does it stay where it is? If:
- The dough pops back out quickly – This means its under-proofed.
- The dough stays where it is – This means its over-proofed.
- The dough pops back out slowly and leaves a slight indentation – Perfect, your dough is ready!
Sign #3: The Dough will Behave Differently
A dough that has been proofed properly will still have ‘strength’ to it when handled. It will feel alive by being a little stubborn in the shape it wants to be. You will find that it has developed stretchiness and elasticity.
Whereas before the proofing, the dough would have been quite flat and easy to manipulate (rather like play dough), once the dough has proofed enough, the dough will be more elastic and resist being overly stretched.
Does the dough want to ‘bounce back’ when you give it a gentle stretch? This is a sign that it is ready to be shaped.
Sign #4: The Dough will Look Different after Fermentation
Once the dough has proven for enough time, it will look different. Look out for the following signs:
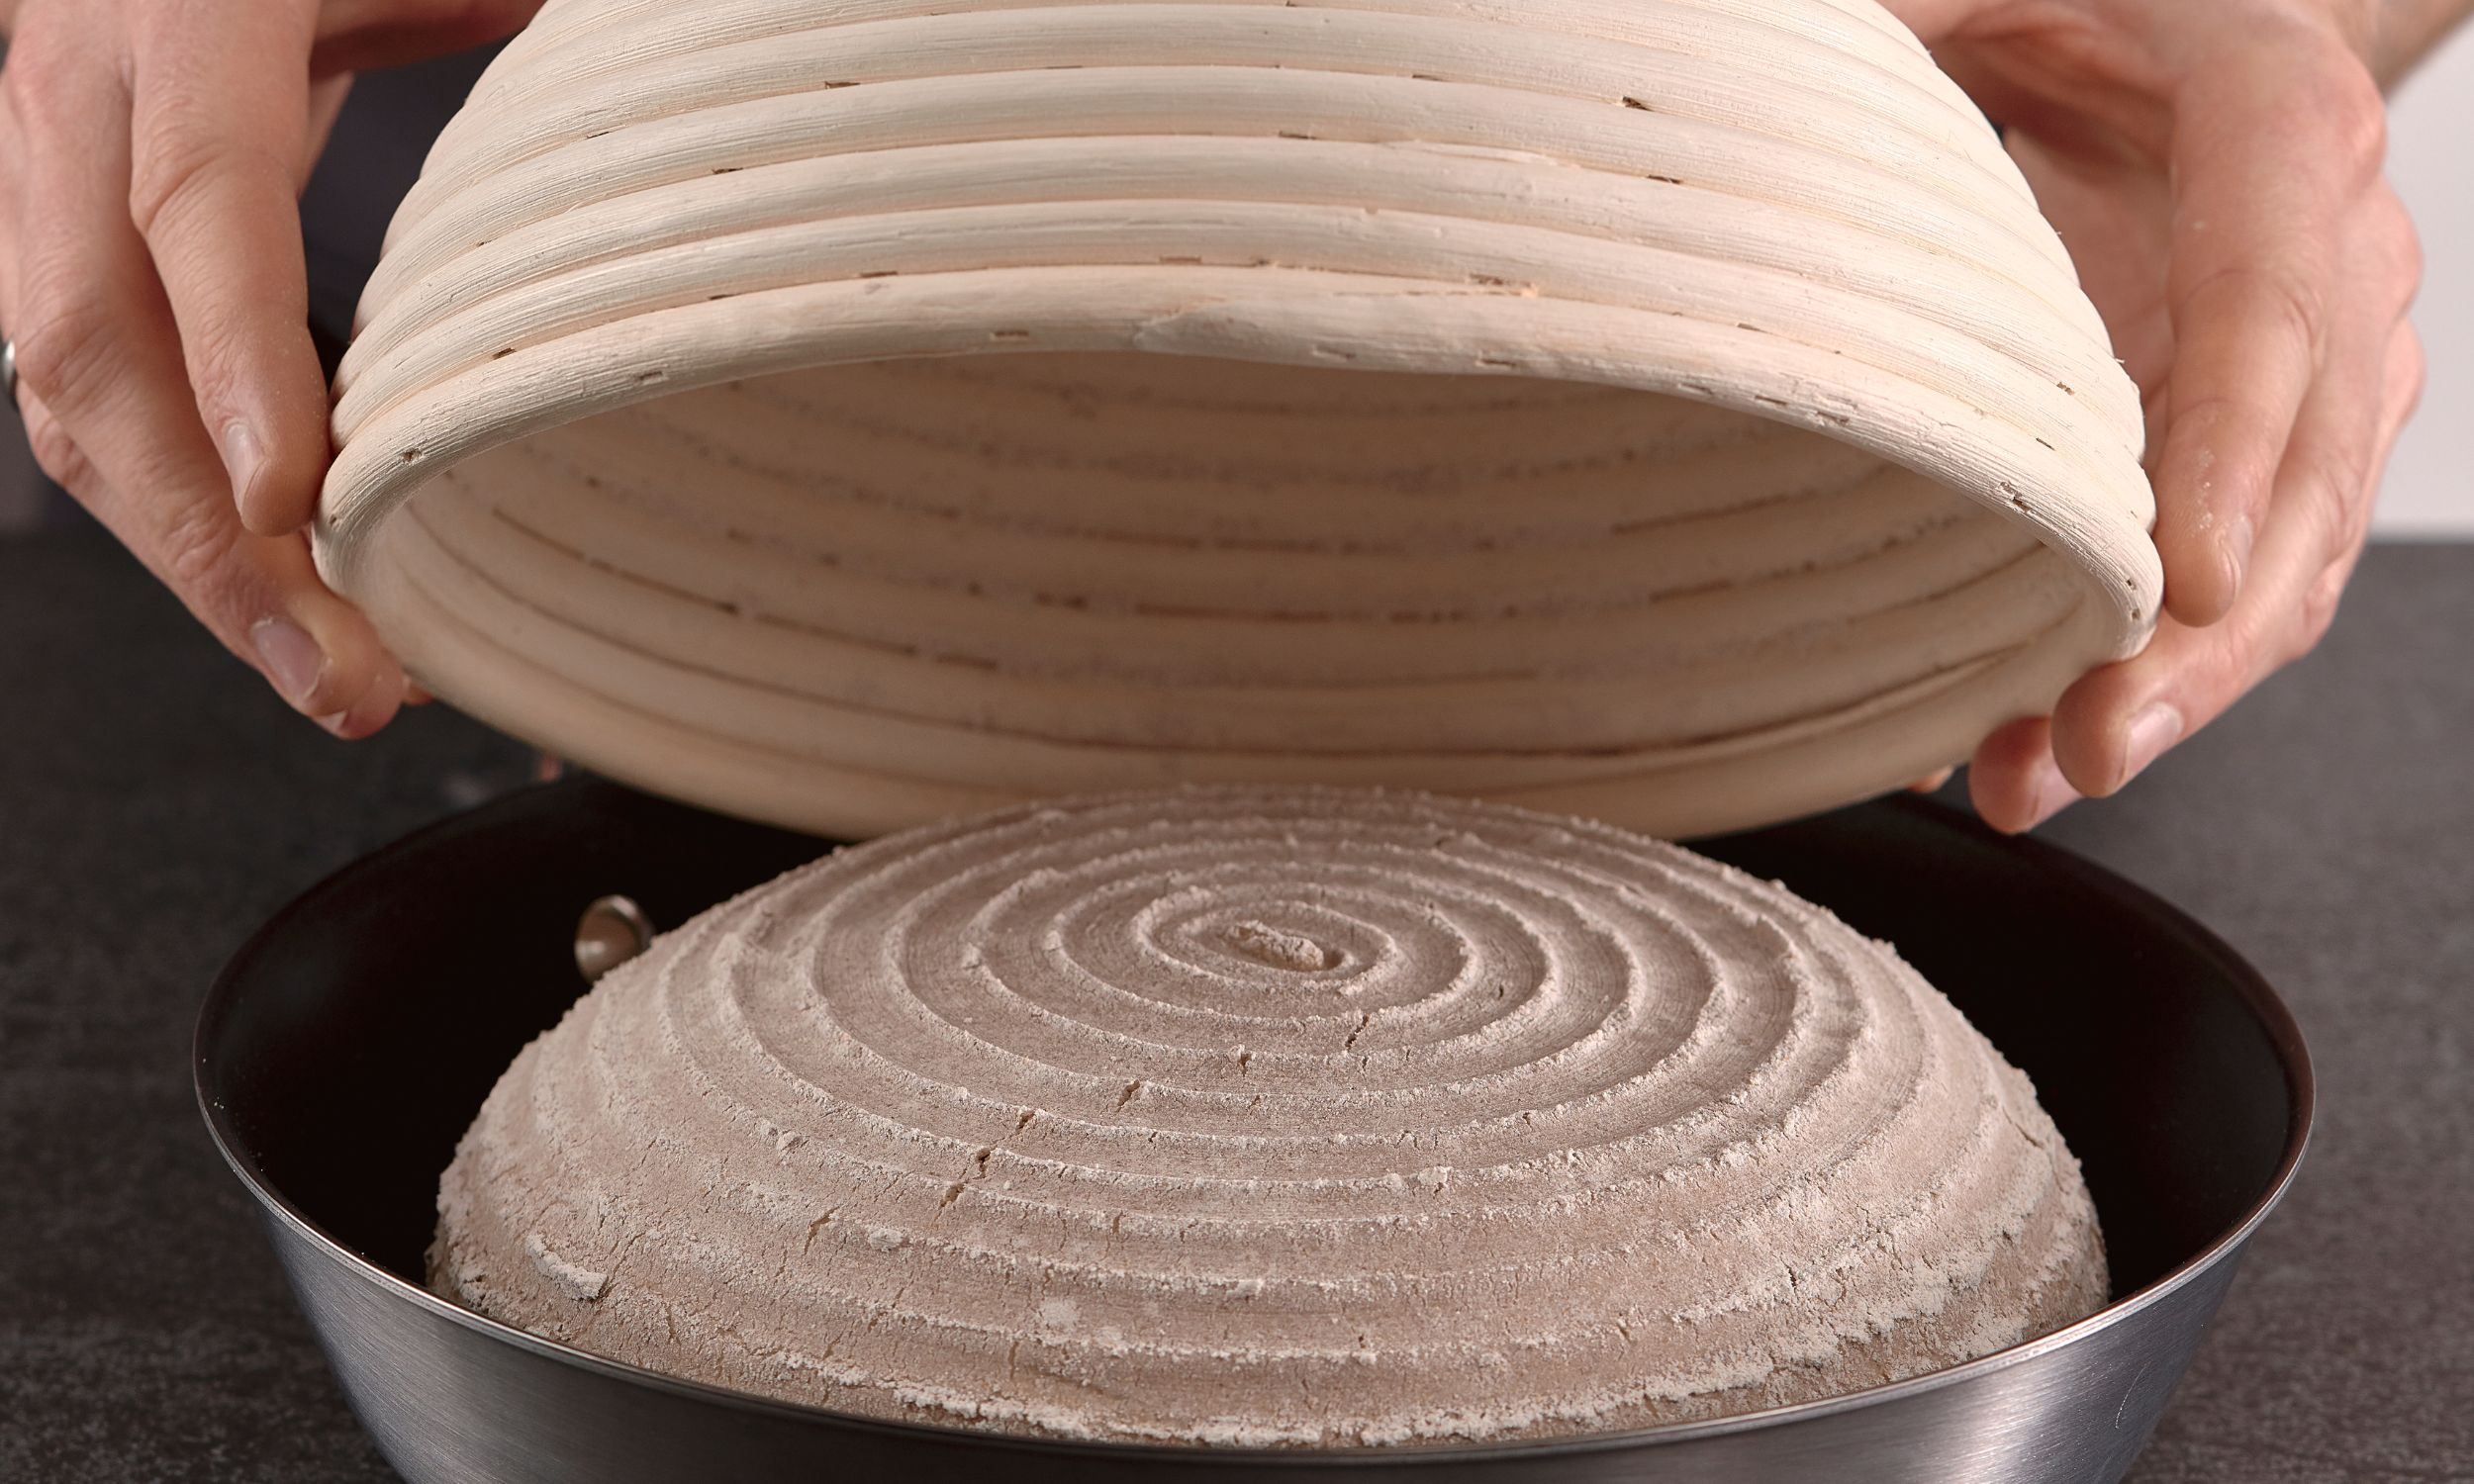
Grown in size – don’t wait for it to double in size though (see below).
Bubbles in the dough – These can be seen just beneath the surface or along the sides of the bowl.
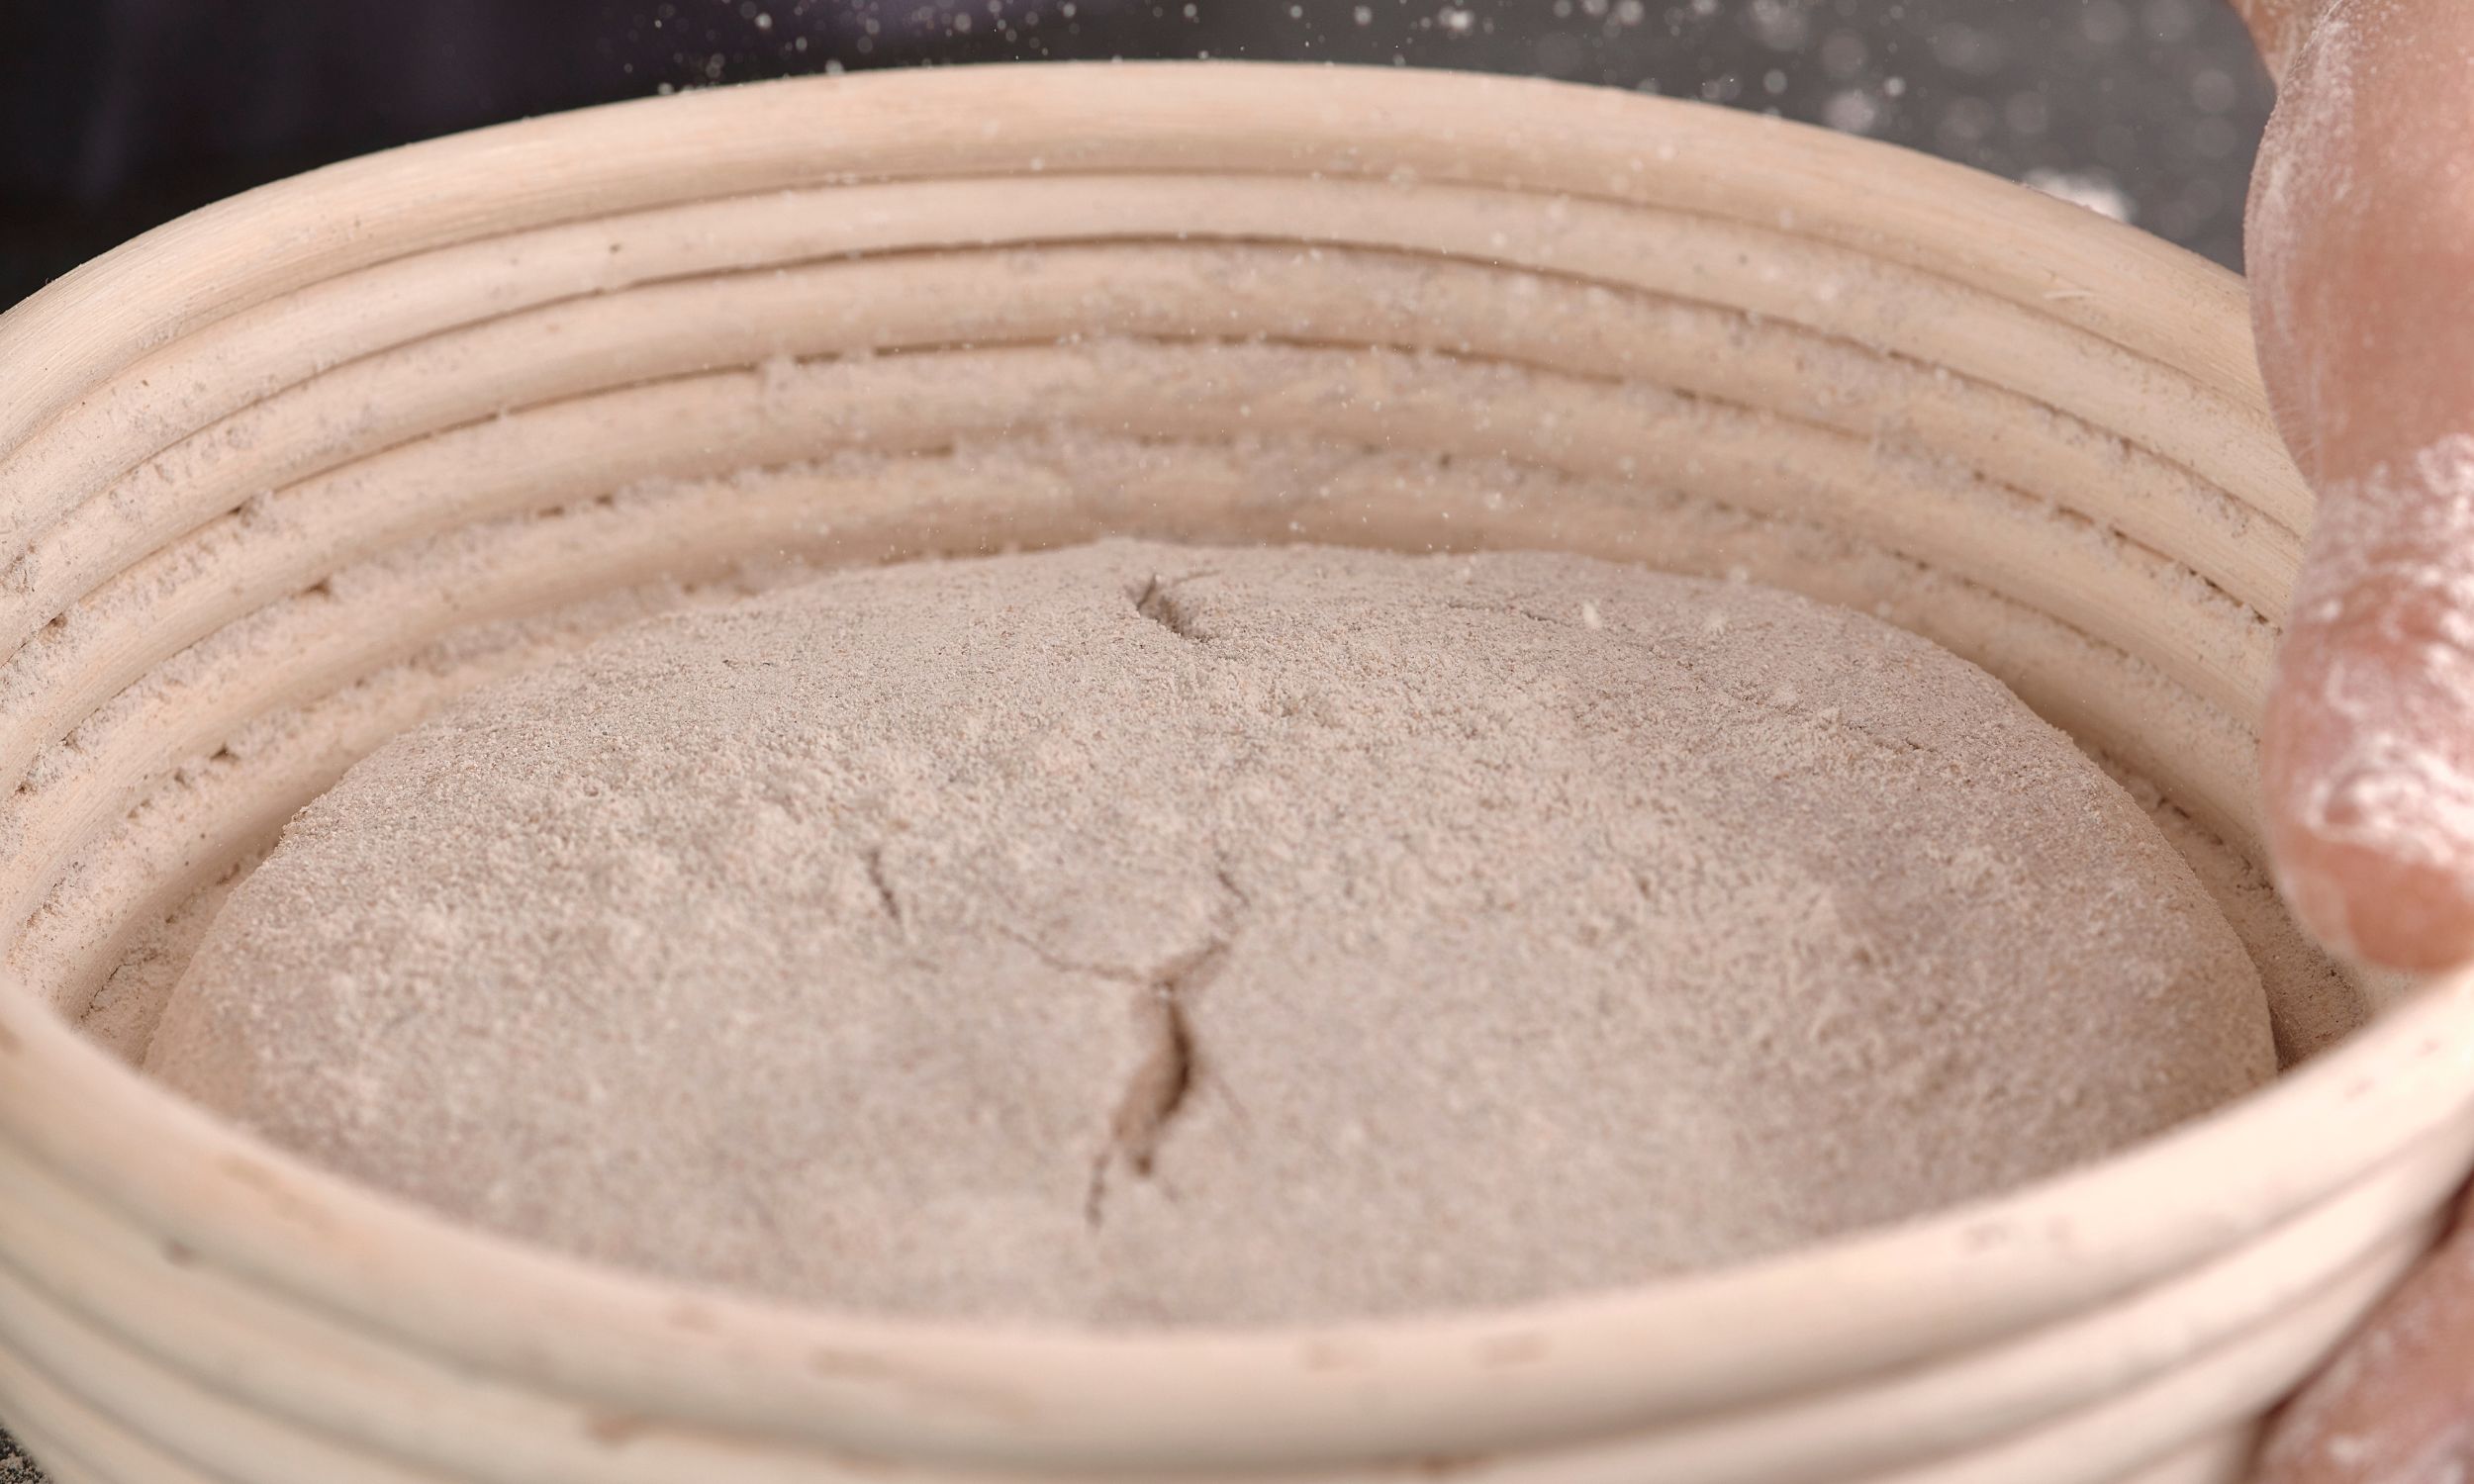
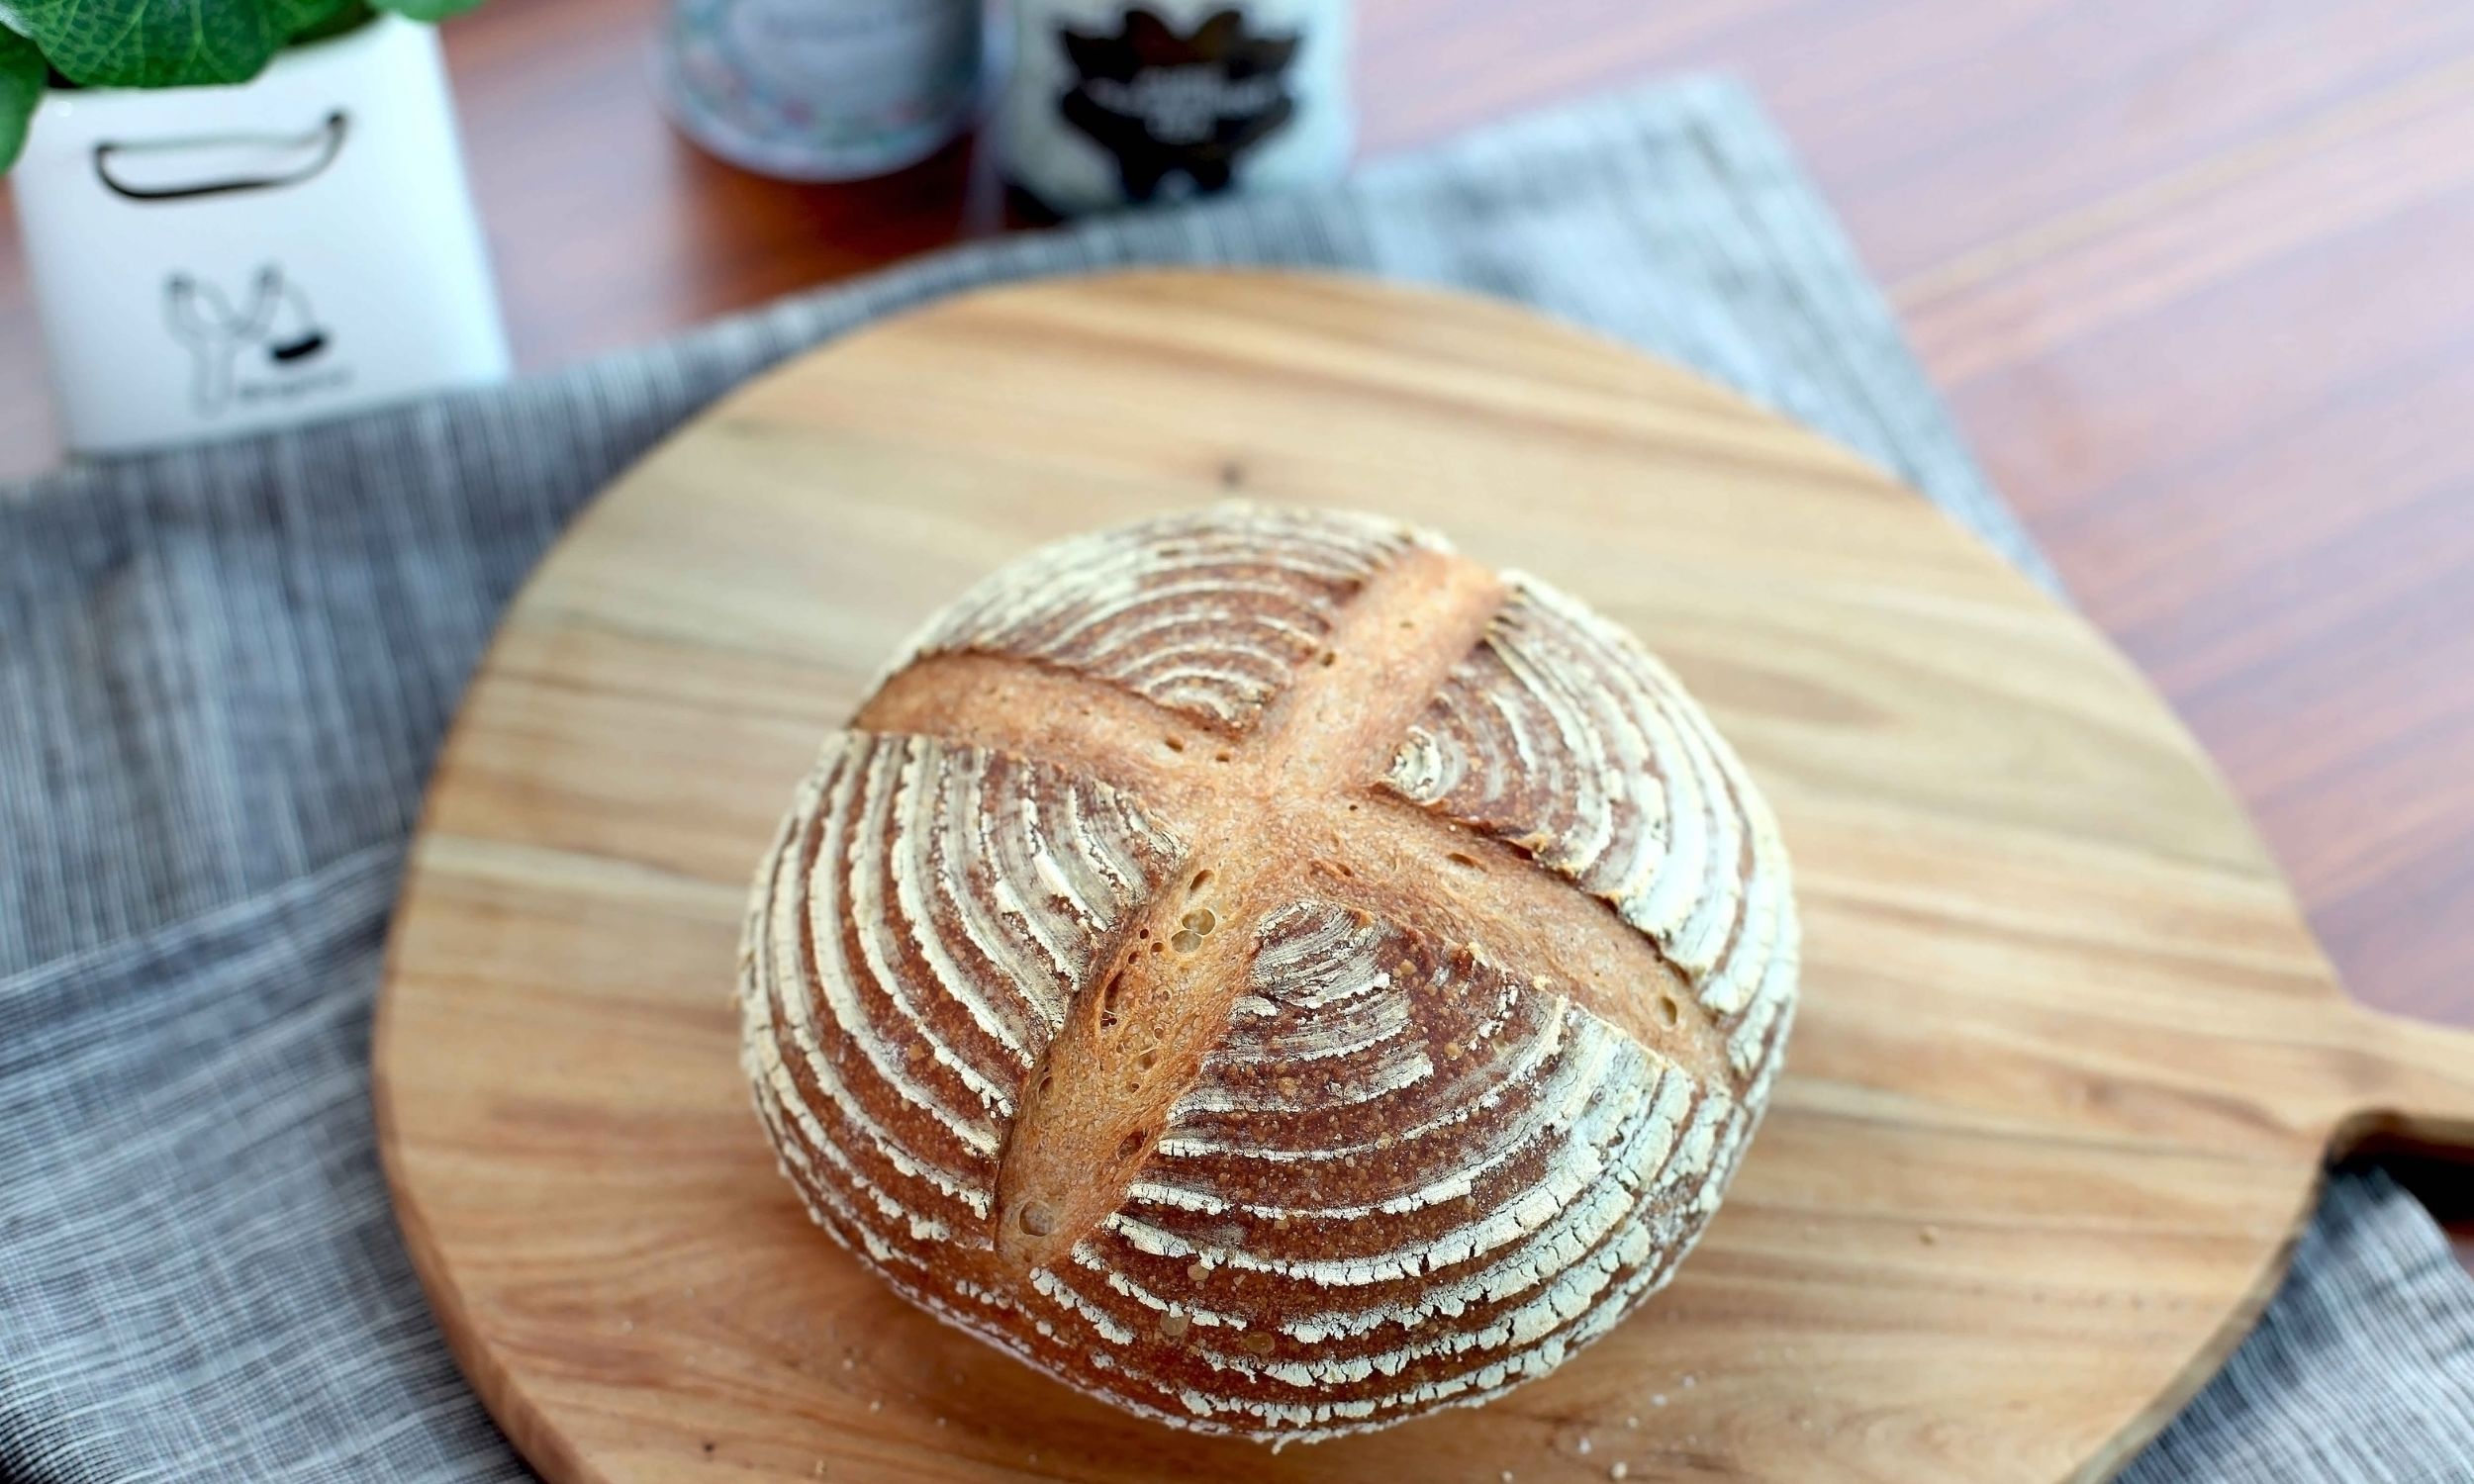
Smooth surface – there should be no shagginess in the texture of the dough, it should smooth and almost shiny at its surface.
A domed surface – the top of the dough should looked domed, indicating it is still growing and has strength left in it. If it becomes flat or collapses, this is a sign it has over fermented.
Does my Sourdough Have to Double in Size?
This is a pretty big misconception that can confuse beginner bakers. The dough does not necessarily have to double in size. It would completely depend on the type of flour you are using. From my experience, it’s actually better to ignore the double in size rule, and rather ask yourself:
- Has it definitely grown in size?
- Does it show other characteristics of fermentation completion?
If the answer is yes to these two questions, I would go ahead and shape the dough and leave it to proof for the next stage.
What Happens if I Proof my Dough for Too Long?
There is of course a limit to how long you can proof your sourdough for. And if you do leave it too long, it eventually runs out of its food source (the starches and sugars in the dough), and over ferments.
Over fermentation means the dough has no food left, and so it has no strength left to continue to ferment or grow in size. The gluten strands eventually break down, and the dough cannot hold itself up.
Signs that your Dough has Over Proofed, and What to Do:
Having an over proofed dough is a little tricky to salvage. And it really depends how over proofed it is. Here are a couple of signs that you have an over proofed dough, and what to do in each case:
First sign: The dough has become flatter rather than domed, or has started to collapse at the sides of the bowl.
What to do: Give the dough some stretch and folds and simply moving the dough around. This will give the sourdough a chance to find new pockets of sugars and starches to consume. Shaping it and baking very shortly afterwards is recommended.
Second sign: The dough has become loose and slack, and doesn’t seem to hold any kind of shape.
What to do: This is a heavily over proofed dough. The only thing to do is pour it into a greased loaf tin and bake it. The loaf tin will hold its shape up in absence of strength in the dough.
Baking heavily over proofed dough at this point will probably result in a denser, flatter bread that tastes overly sour. It’s not ideal, but still a positive learning experience!
What Happens if I Don’t Proof Sourdough for Long Enough?
Not proofing your sourdough for long enough is more forgiving than over fermenting it. It won’t have developed all its flavor, and all its gluten strands, so the bread may have a bit of an uneven crumb after it’s baked. (Usually very large holes at the top of the loaf, and much smaller ones at the bottom). It may also have a less developed flavor profile.
But all in all, if you are not sure, it’s always better to under-proof it than to over-proof it. Because if it’s under-proofed, at least it still has some rising power in it to grow in the oven.
Under-proofing sourdough is much more forgiving than over-proofing it. So err on the side of caution if you’re not sure
Or if you’d like to learn about the tools I use to bake great sourdough bread, check out my Must Have Kitchen Tools.