How to Use a Compost Tumbler
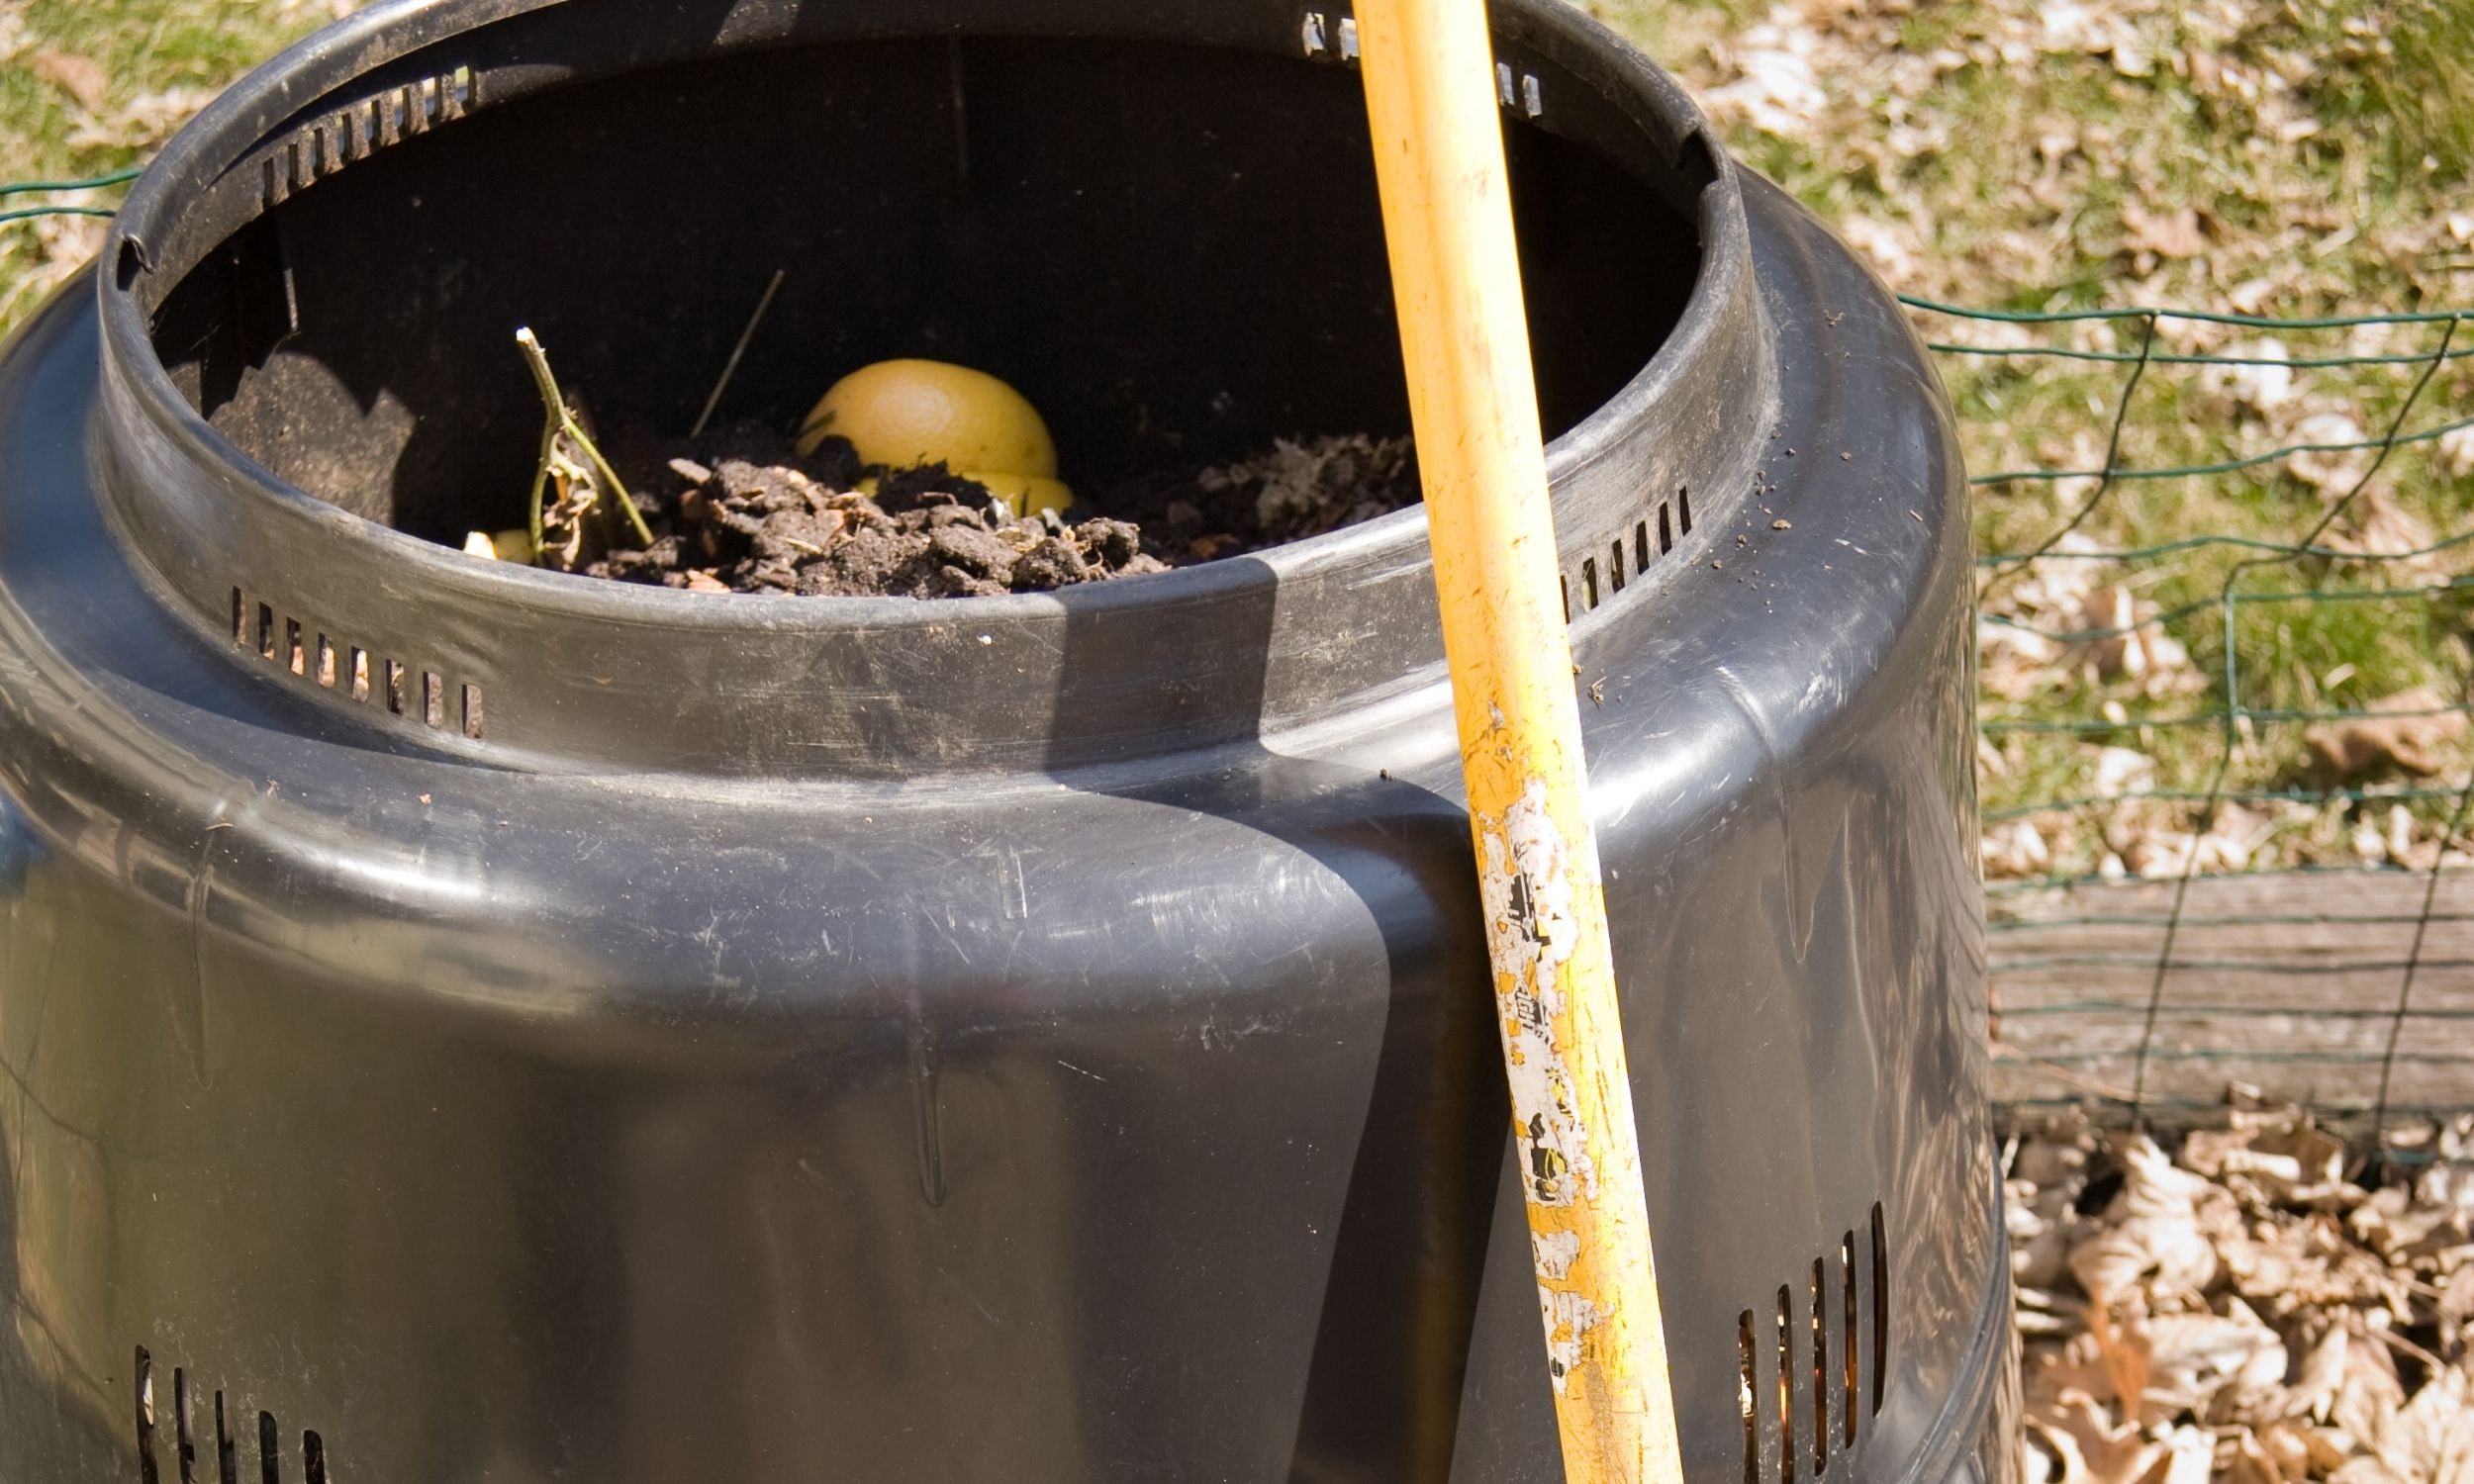
Compost tumblers are great for those gardeners who don’t want the arduous task of ‘turning’ the compost pile. In traditional compost bins there is room to use a large tool like a pitchfork to turn the pile. Turning the pile speeds up the composting process by aerating and mixing hot composting matter with materials recently added, introducing microbial activity to help break down the fresh materials. In the end you get rich compost ready to use in your garden. Keep reading to learn How to Use a Compost Tumbler. If you want to know more about composting visit – Composting for Beginners.
Disclosure: Some of the links below are affiliate links, meaning, at no additional cost to you, I will earn a commission if you click through and make a purchase.
What is a compost tumbler?
A compost tumbler is a fully sealed container which can be rotated to mix the composting materials. The sealed container also helps contain the heat generated by the composting process, thereby speeding the process of converting kitchen and yard waste into compost. Compost tumblers were invented to make composting simpler and faster.
Tumbling composters are not the same as compost bins. Compost bins are designed to be set on the ground, and most compost bins have open bottoms. While compost bins are the least expensive kind of composter, they have several disadvantages: it is difficult to get a pitchfork inside to turn the compost, heat is easily dissipated which slows the composting process, and rodents can easily burrow under the sides to gain access to the composting materials.
How to use a Compost Tumbler?
The first thing you are going to want to do is add something to jumpstart the process with the needed microbes such as a shovel ful of garden soil, manure, a commercial activator or already finished compost. From there follow the general steps to compost. Add some “greens”, then “browns”, then “greens”. Continue this process until it is full. Make sure you turn the bin every couple of days.
What you load into your composter is most important. General rules do apply. What not to compost? Twigs or other woody prunings or protein foods such as meat, fat, dairy products or fish as well as bones and pet droppings. Be aware of any pesticide, herbicide or fertilizer that may have been applied to your compostable material. Even though the microbes involved in the composting process tend to neutralize some contaminants, any source of possible contamination should be kept out of your barrel.
Most compost tumblers recommend that you load your barrel with roughly 75 percent grass clippings or green equivalent and 25 percent other ingredients such as kitchen scraps. This varies from the traditional brown-green mix in open piles or heaps. Why? Because the mostly closed tumbler system affords less chance for evaporation. Too much moisture in a tumbler’s barrel — and kitchen scraps such as vegetable peelings, coffee grounds and tea bags contain a lot of moisture — yields a runny, muddy almost putrid product. If your product is too wet, try adding dry leaves or newspaper scraps. In worst case scenarios, empty the bin and start over. Rule of thumb: finished compost should have the moisture content of a well-squeezed sponge.
Lack of moisture can also be a problem. If the inside of your barrel is completely dry, as it might be when you’ve filled in completely with fall leaves, then add kitchen scraps or, more directly, a quart or two of water. Give your barrel several good tumbles to distribute the moisture.
Size does matter. The smaller the particles that go in your tumbler, the hotter and faster your process. I’ve loaded a tumbler with tall pulled weeds and waited almost a season for finished compost. Worse, the compost didn’t heat up enough to kill the weed seeds. Feeding your compostable material through a shredder or — more economically — running over it a few times with a lawn mower helps speed up the decomposition process.
How you turn your compost also has an effect. Don’t just rotate it once and consider the job done. Swing it back-and-forth a number of times after each spin to shake up the materials then spin it again. The axle on which the barrel rotates goes through the center of your tumbler and help breaks up the compostable material as it’s turned. Paddles and piping in some tumblers have the same effect. Compost tends to become compacted as it forms. Several good turns will assure that your compost has been well broken up and mixed with air. This should be done a minimum of twice a week and three or four times a week isn’t too much. Spinning daily or more than once a day (your kids will be tempted since spinning a compost tumbler can be loads of fun) doesn’t give the compost a chance to attain maximum temperatures. While it doesn’t take long for heat to build inside a properly filled tumbler, too much tumbling dissipates heat and defeats the purpose.
It’s easy to understand why your tumbler should be positioned in direct sunlight. Sunshine will help heat up what’s in your tumbler. The darker the tumbler, the more it will heat up. We’ve found that a digital, remote meat thermometer is a great tool for assessing temperatures inside your tumbler. Any reading short of 130-140˚F means you’re probably not killing weed seeds or getting optimal decomposition (at their most efficient, compost tumblers and bins can generate temperatures as high as 200 degrees). Naturally, you’ll want to position your tumbler strategically so that the finished product is unloaded close to where it will be used.
At some point, it’s time to stop loading material into your tumbler. This isn’t as easy as it sounds as the amount of material in the barrel decreases in volume as the process proceeds. There’s always room for one more pail of kitchen scraps or another bag of grass clippings. But adding more material sets the process back and you might find unfinished carrot peeling or chopped celery garnishing your compost when it’s otherwise complete. This makes for good reason to have a second tumbler or a nearby heap to hold materials while a load is being finished. The stand-by pile goes into the tumbler as soon as it is emptied.
How long does it take to compost with a tumbler?
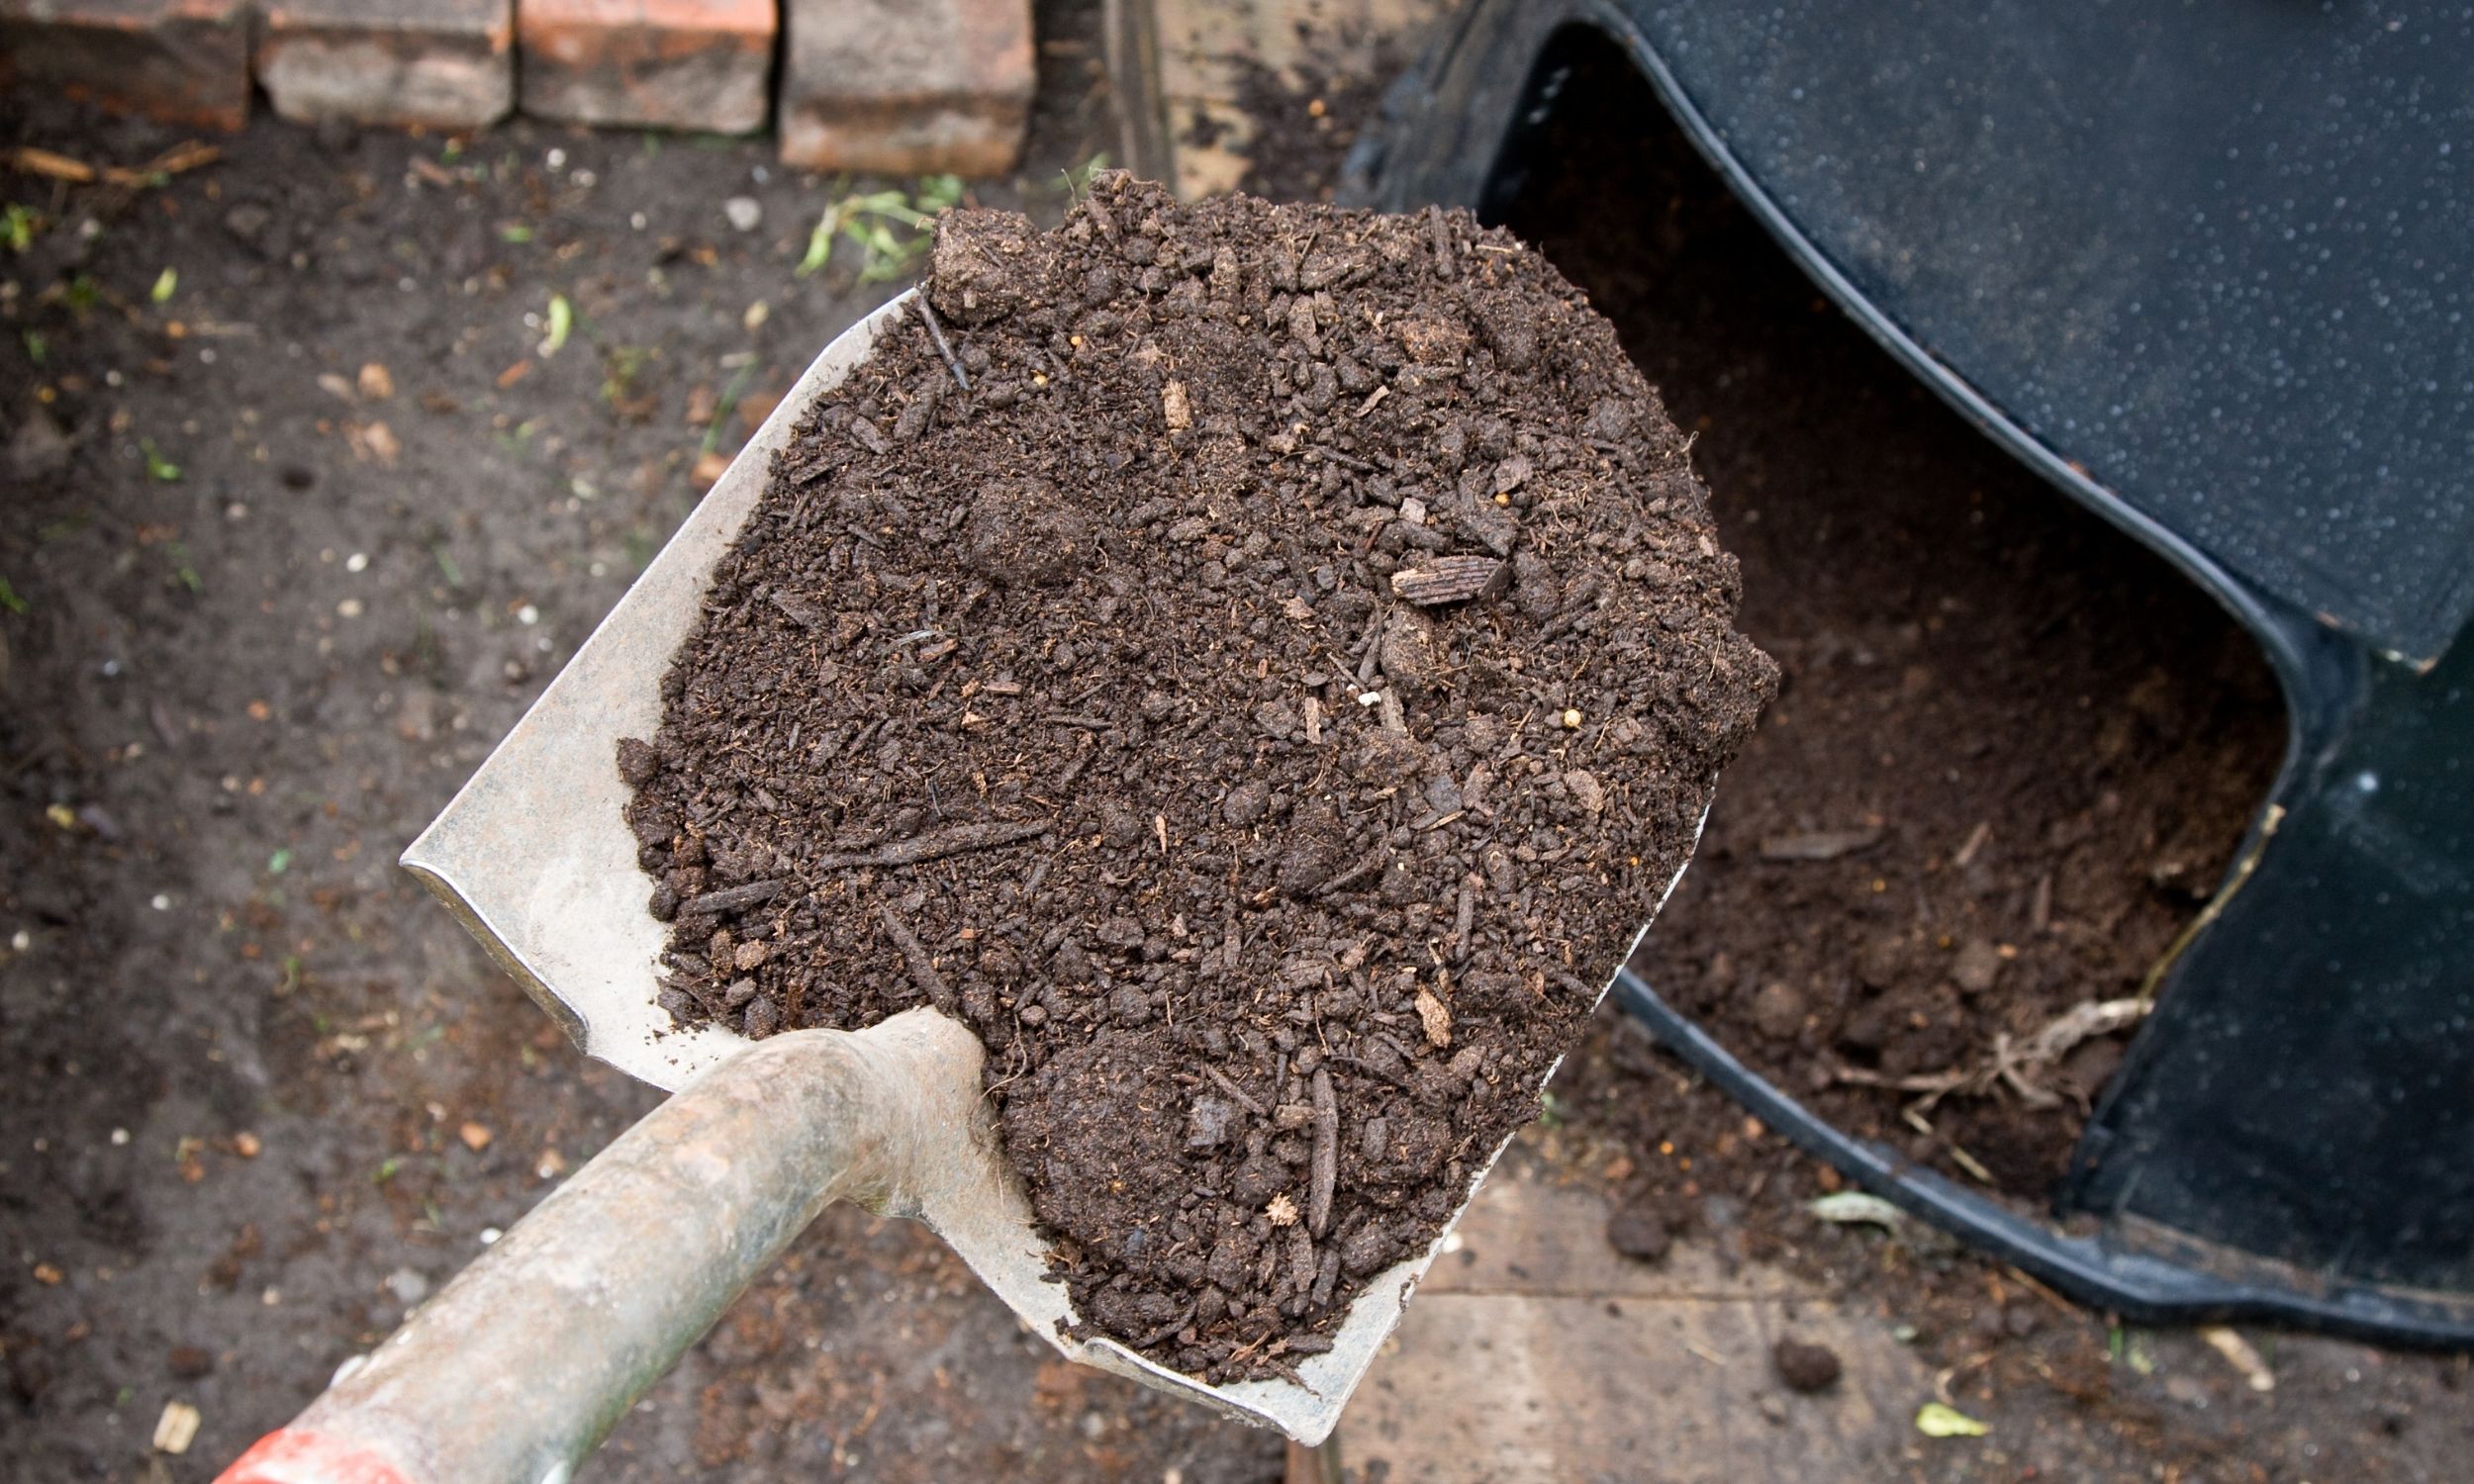
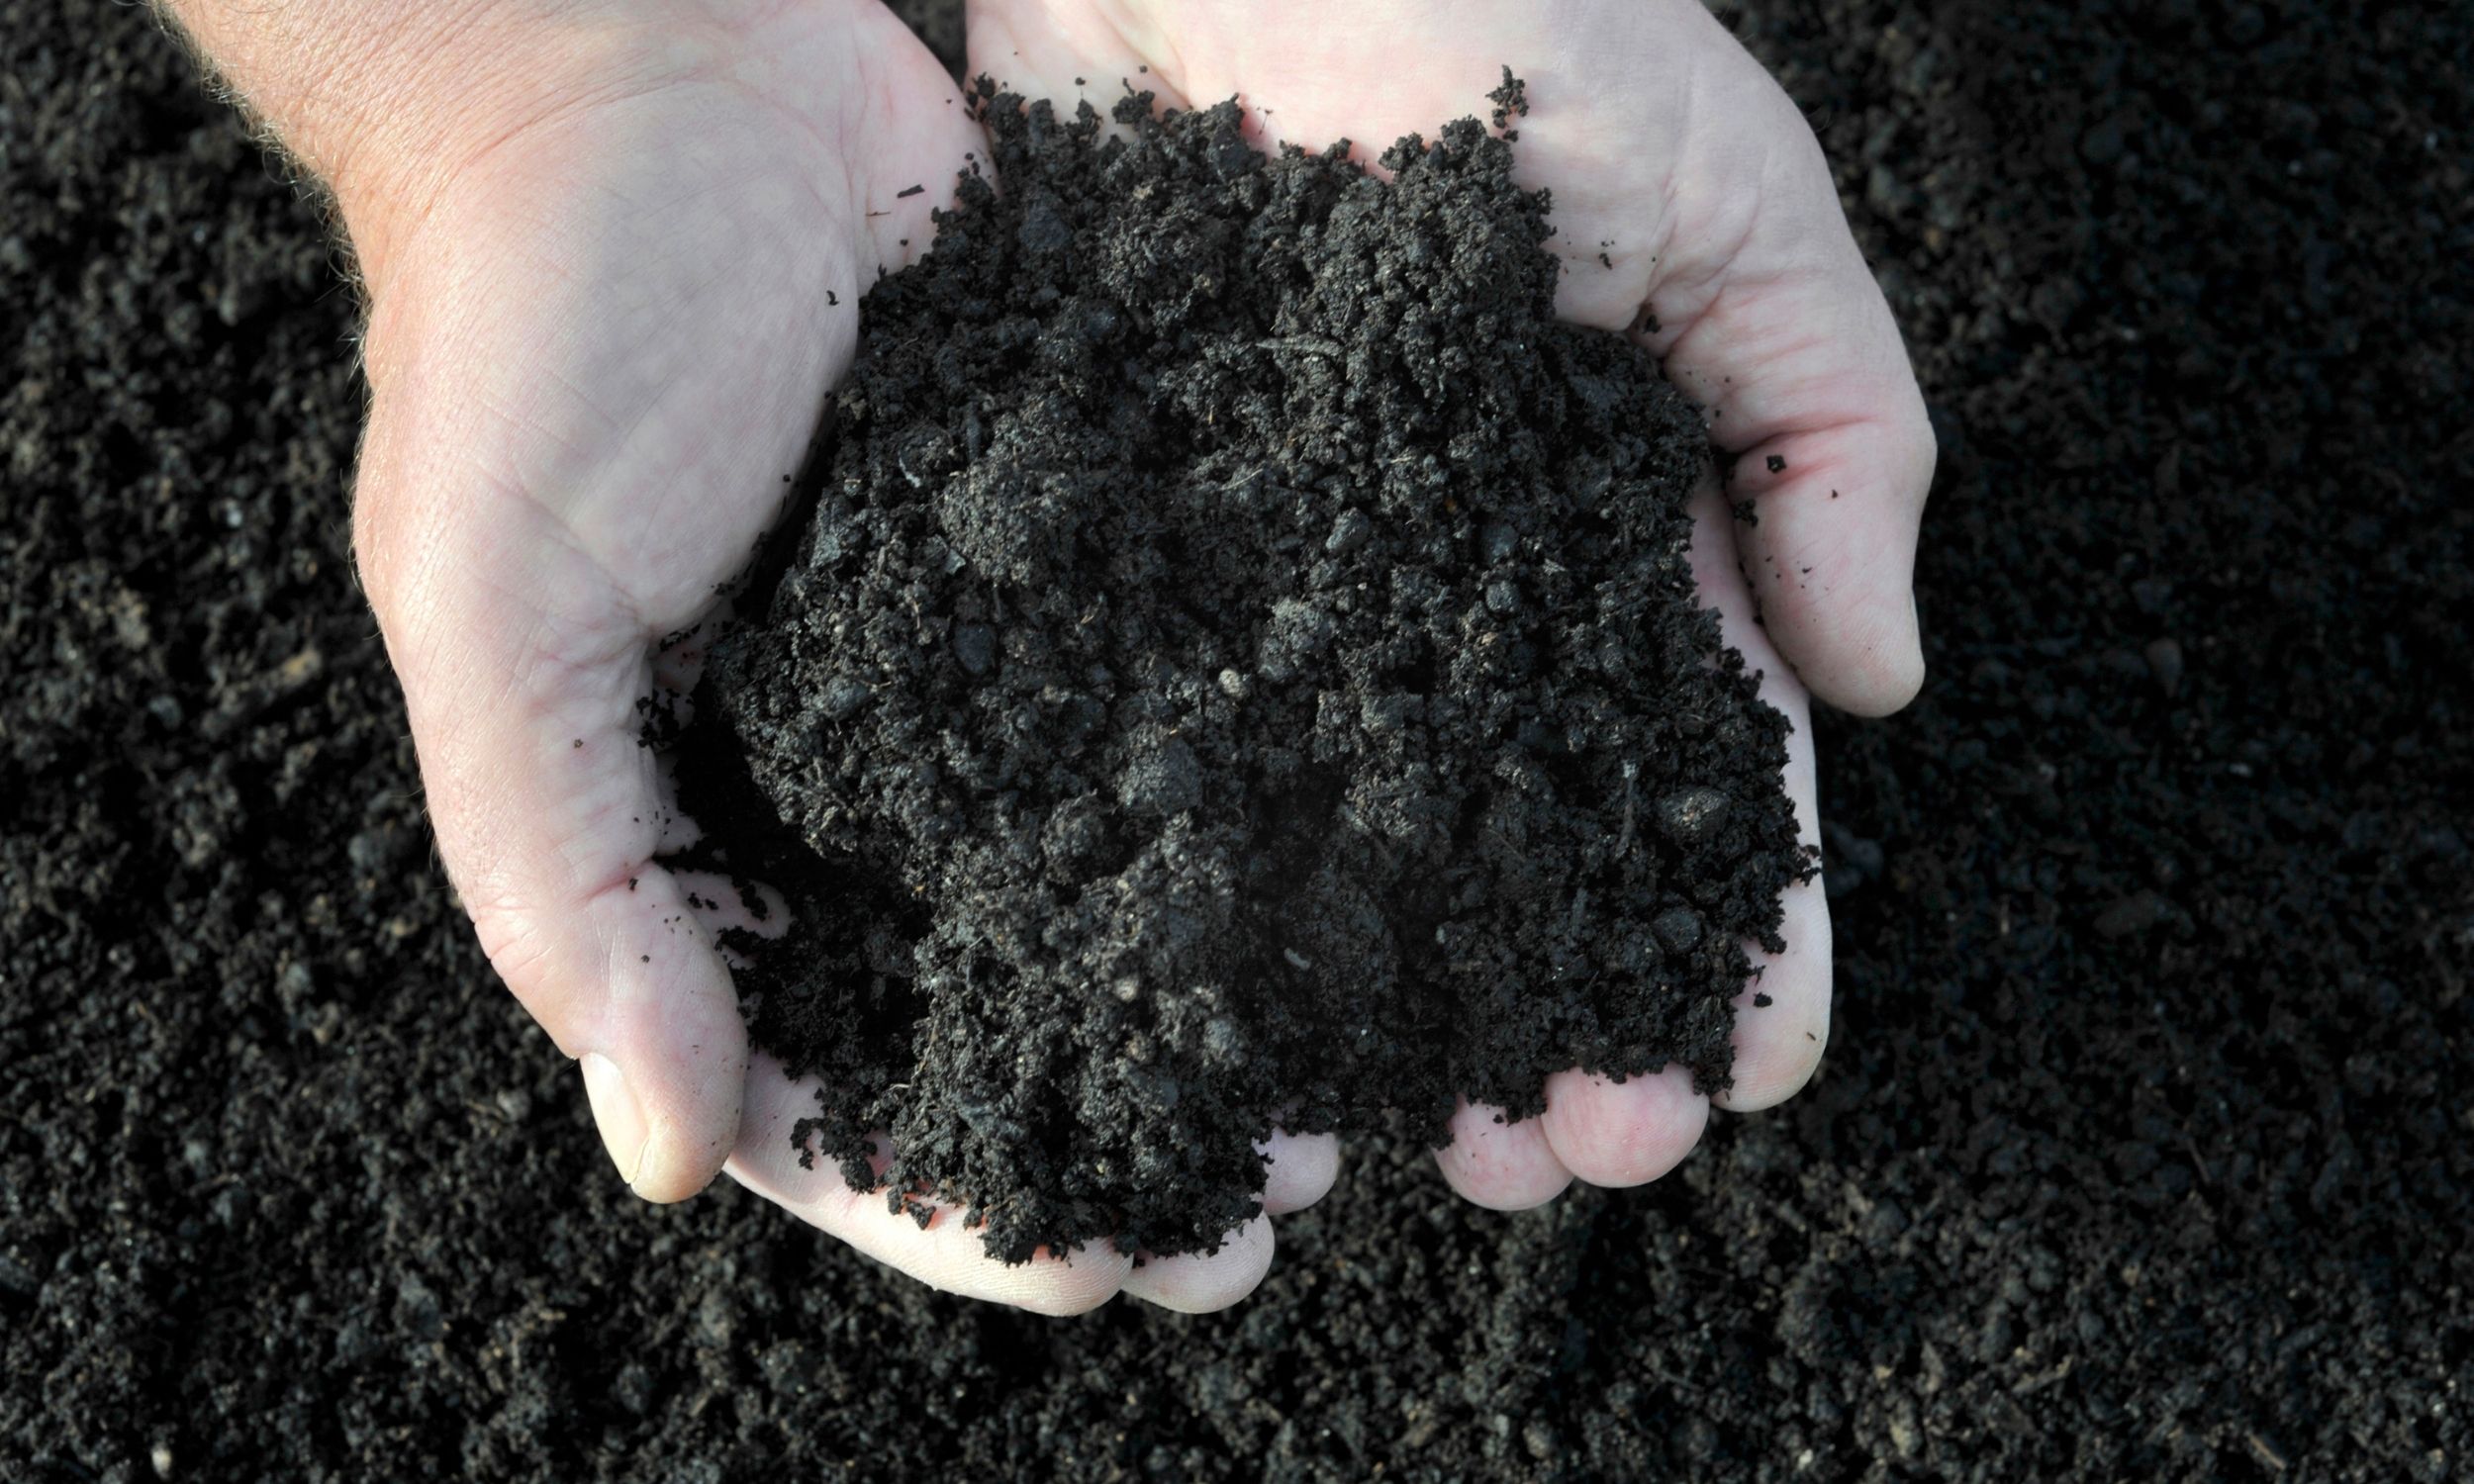
Following these procedures carefully will yield the promised results of finished compost in a month or so. How will you know when your compost is ready? My guess is that you know good compost when you see it. The original leaves, grass clippings and kitchen scraps have given up their identities to become dark, rich humus with good clumping ability (not too much moisture), texture and particle size. The volume of the material inside the barrel will have been reduced to half (or less!) of its original bulk. No finished compost is perfect and most gardeners will screen their finished product to remove the inevitable small twigs, woody carrot ends or other non-composted material.
Stay Connected and Get the Latest
Sign up with your email address to receive access to our FREE farmhouse living resources.
Pros and Cons for Tumblers
Pros-
Speeds Up the Composting Process
Under ideal conditions, you can convert waste to finished home compost in as little as three weeks in a sealed compost tumbler. Outdoor temperature, time of year, and the correct balance of carbon and nitrogen matter are factors that influence the speed of composting. In colder, wet climates, it will take considerably longer than three weeks to complete the composting process.
Keeps Rodents, Raccoons, and Pets Out of Compost
Compost tumblers are usually elevated off the ground and fashioned from sturdy, impervious materials that are impenetrable to animal visitors.
Eliminates Composting Odors
The closed design of compost tumblers prevents smells from escaping.
Tidy and Attractive
Thanks to their sleek designs and clean operation, compost tumblers are suitable for urban and suburban residential properties.
Cons-
More Expensive Than Compost Bins
Tumbler-style composters are usually built of thicker materials to hold wet, heavy composting materials. This is not an issue with bin-style composters because the bins are open-bottomed and do not need to support any weight. Tumbler-style composters also have support legs or bases with rollers which make them more expensive to manufacture.
Over 9.5 cu ft Capacity Units Can Be Hard to Turn
Most tumbler-style composters are designed for capacities of 9.5 cubic feet or less. This is because a bigger drum is harder to spin when it’s full. Larger capacity spinning composters are available, however, which use a mechanical aid (like a rod and gear system) for turning the drum. Smaller models are generally easy to turn.
Tips & FAQ’s
How big a composter should I buy?
The 7.5 cubic foot models are practical for a family of four. If your family is larger, or if you have a small garden or yard, then the 9.5 cu ft model will be more suitable. For large families, schools, restaurants or people with vegetable gardens or big lawns, the larger models such as the 12 cubic foot EZ Compost Wizard (a tumbler) or the 15 cubic foot Aerobin (a standing bin) are appropriate.
Some composters are vertically mounted on the axle, while other are horizontally mounted. Which is better?
The axis is the center of spin, and composters which have the materials closer to the center axis (horizontally mounted) are easier to spin. However, composters which have the materials further from the central axis may be harder to spin when full, but the contents are better mixed when the drum is rotated. Both designs work; it is up to user preference.
Should I set my composter in the direct sunlight?
It seems logical that by locating your composter in direct sunlight, the materials inside will be warmer and this will speed the composting process. However, this is not necessarily the best advice. If your composter is made of plastic, even thick-walled heavy duty composters, we recommend locating it in shade or partial sunlight. This is because the hot sun can distort the plastic and the lid may not screw on easily, if at all. Also, some people have noted that the color of the plastic may become faded or blotchy after prolonged exposure to direct sunlight. If you are using your composter properly, with a fairly balanced mix of carbon and nitrogen, the sealed unit will generate enough heat for effective composting.
How often should I spin my compost tumbler?
About three or four spins a week is adequate. We give our tumbler a spin or two each time we take our kitchen compost keeper out to be emptied in the composter. This is usually about twice a week.
My compost tumbler is too heavy to spin.
Be sure to set your composter on level, solid ground. Blocks or patio stones may be used if necessary. The tumbler will spin easier when the axis is horizontal and the weight is evenly distributed. Older gardeners, and people with limited strength, may find turning a full composter difficult. In these cases, we suggest only filling the composter 2/3 full and then letting the batch finish.
Should I add water to my compost?
In most cases, no. Compost should be moist but not wet. There is usually enough moisture in kitchen scraps and yard clippings, and adding water may cool and slow the composting process. If you live in a very dry environment, adding some water may be helpful, but take care to add only enough water to moisten the contents.
My compost is a wet, soggy mess and doesn’t seem to be composting.
This is a very common condition, especially during winter in colder regions of the country. The secret to a healthy compost pile is to maintain a working balance between carbon-rich and nitrogen-rich materials. In winter, we keep adding food or kitchen scraps and other moist nitrogen-rich materials (e.g. grass clippings), but dry leaves and other dry materials are not as readily available. Mixing in dry carbon-rich materials will help restore a wet compost pile.
How can I add fresh materials when waiting for a batch to finish.
Once your composter is as full as you want it to be, i.e. full to the point where it is still easy to spin, stop adding fresh materials until the current batch is done and the finished compost can be emptied. This may be a period of two to three weeks. During this time, fresh materials for the compost can be stored in a garbage can or similar container. This is not an issue with dual-bin or continuous composters.
Do I need to use a compost starter?
Compost starters are helpful to kick-start the process, but they are not necessary. Leave a little bit of finished or semi-finished compost in the bin as a “starter” for the next load. You can also add some garden soil into the composter to start the process going.
Some composters have a base which collects ‘compost tea’. Is this useful?
Liquid drippings from the composting materials can be collected and used as a fertilizer, and some tumbler models have incorporated a feature to collect this ‘tea’. However, since the tea basin is at the bottom, close to the ground, it can be difficult to get a bucket under the spigot. These models need to be blocked up higher, or have a short hose attached to the spigot. Another way to collect compost tea is to simply shovel some compost into a bucket and fill with water, then cover and let sit for a few days.
Get Your Kids Involved…
We try to get our kids involved in every aspect of homesteading. This begins with reading books about things we are doing. Here are some great books for kids on composting.