How to Dehydrate Basil
I like using our Excalibur Electric Food Dehydrator to dry basil, because it’s easier, quicker and more consistent than hanging to dry. You can also freeze basil, but I prefer having dried basil on hand for everyday recipes and I don’t always want the water or oil that must be used when it comes to freezing basil.
No matter which method you use (dehydrator or oven), here are some important things to remember about drying basil…
- basil is easily bruised – handle gently every step of the way
- water drops lead to brown spots – remove surface moisture from leaves before drying
- basil leaves have a high oil content – this means they will take quite a bit of time to dry and require plenty of air circulation
- basil leaves may turn rusty colored when dried – be prepared for discoloration
- Some discoloration of basil is normal and expected. However if your basil turns black or has black spots, that might be a sign of mold or mildew – this is not good! If you suspect mold, toss out your basil. It will have lost its flavor and more importantly, you do not want to ingest mold. To prevent mold, make sure your basil dries relatively quickly and has plenty of air circulation. A dehydrator helps by speeding up the drying process. If you are hanging basil to dry, make sure the bundles are small so air can get at every leaf.
Disclosure: Some of the links are affiliate links, meaning, at no additional cost to you, I will earn a commission if you click through and make a purchase.
How to Dehydrate Basil-
With those key points in mind, here’s how to dehydrate basil leaves.
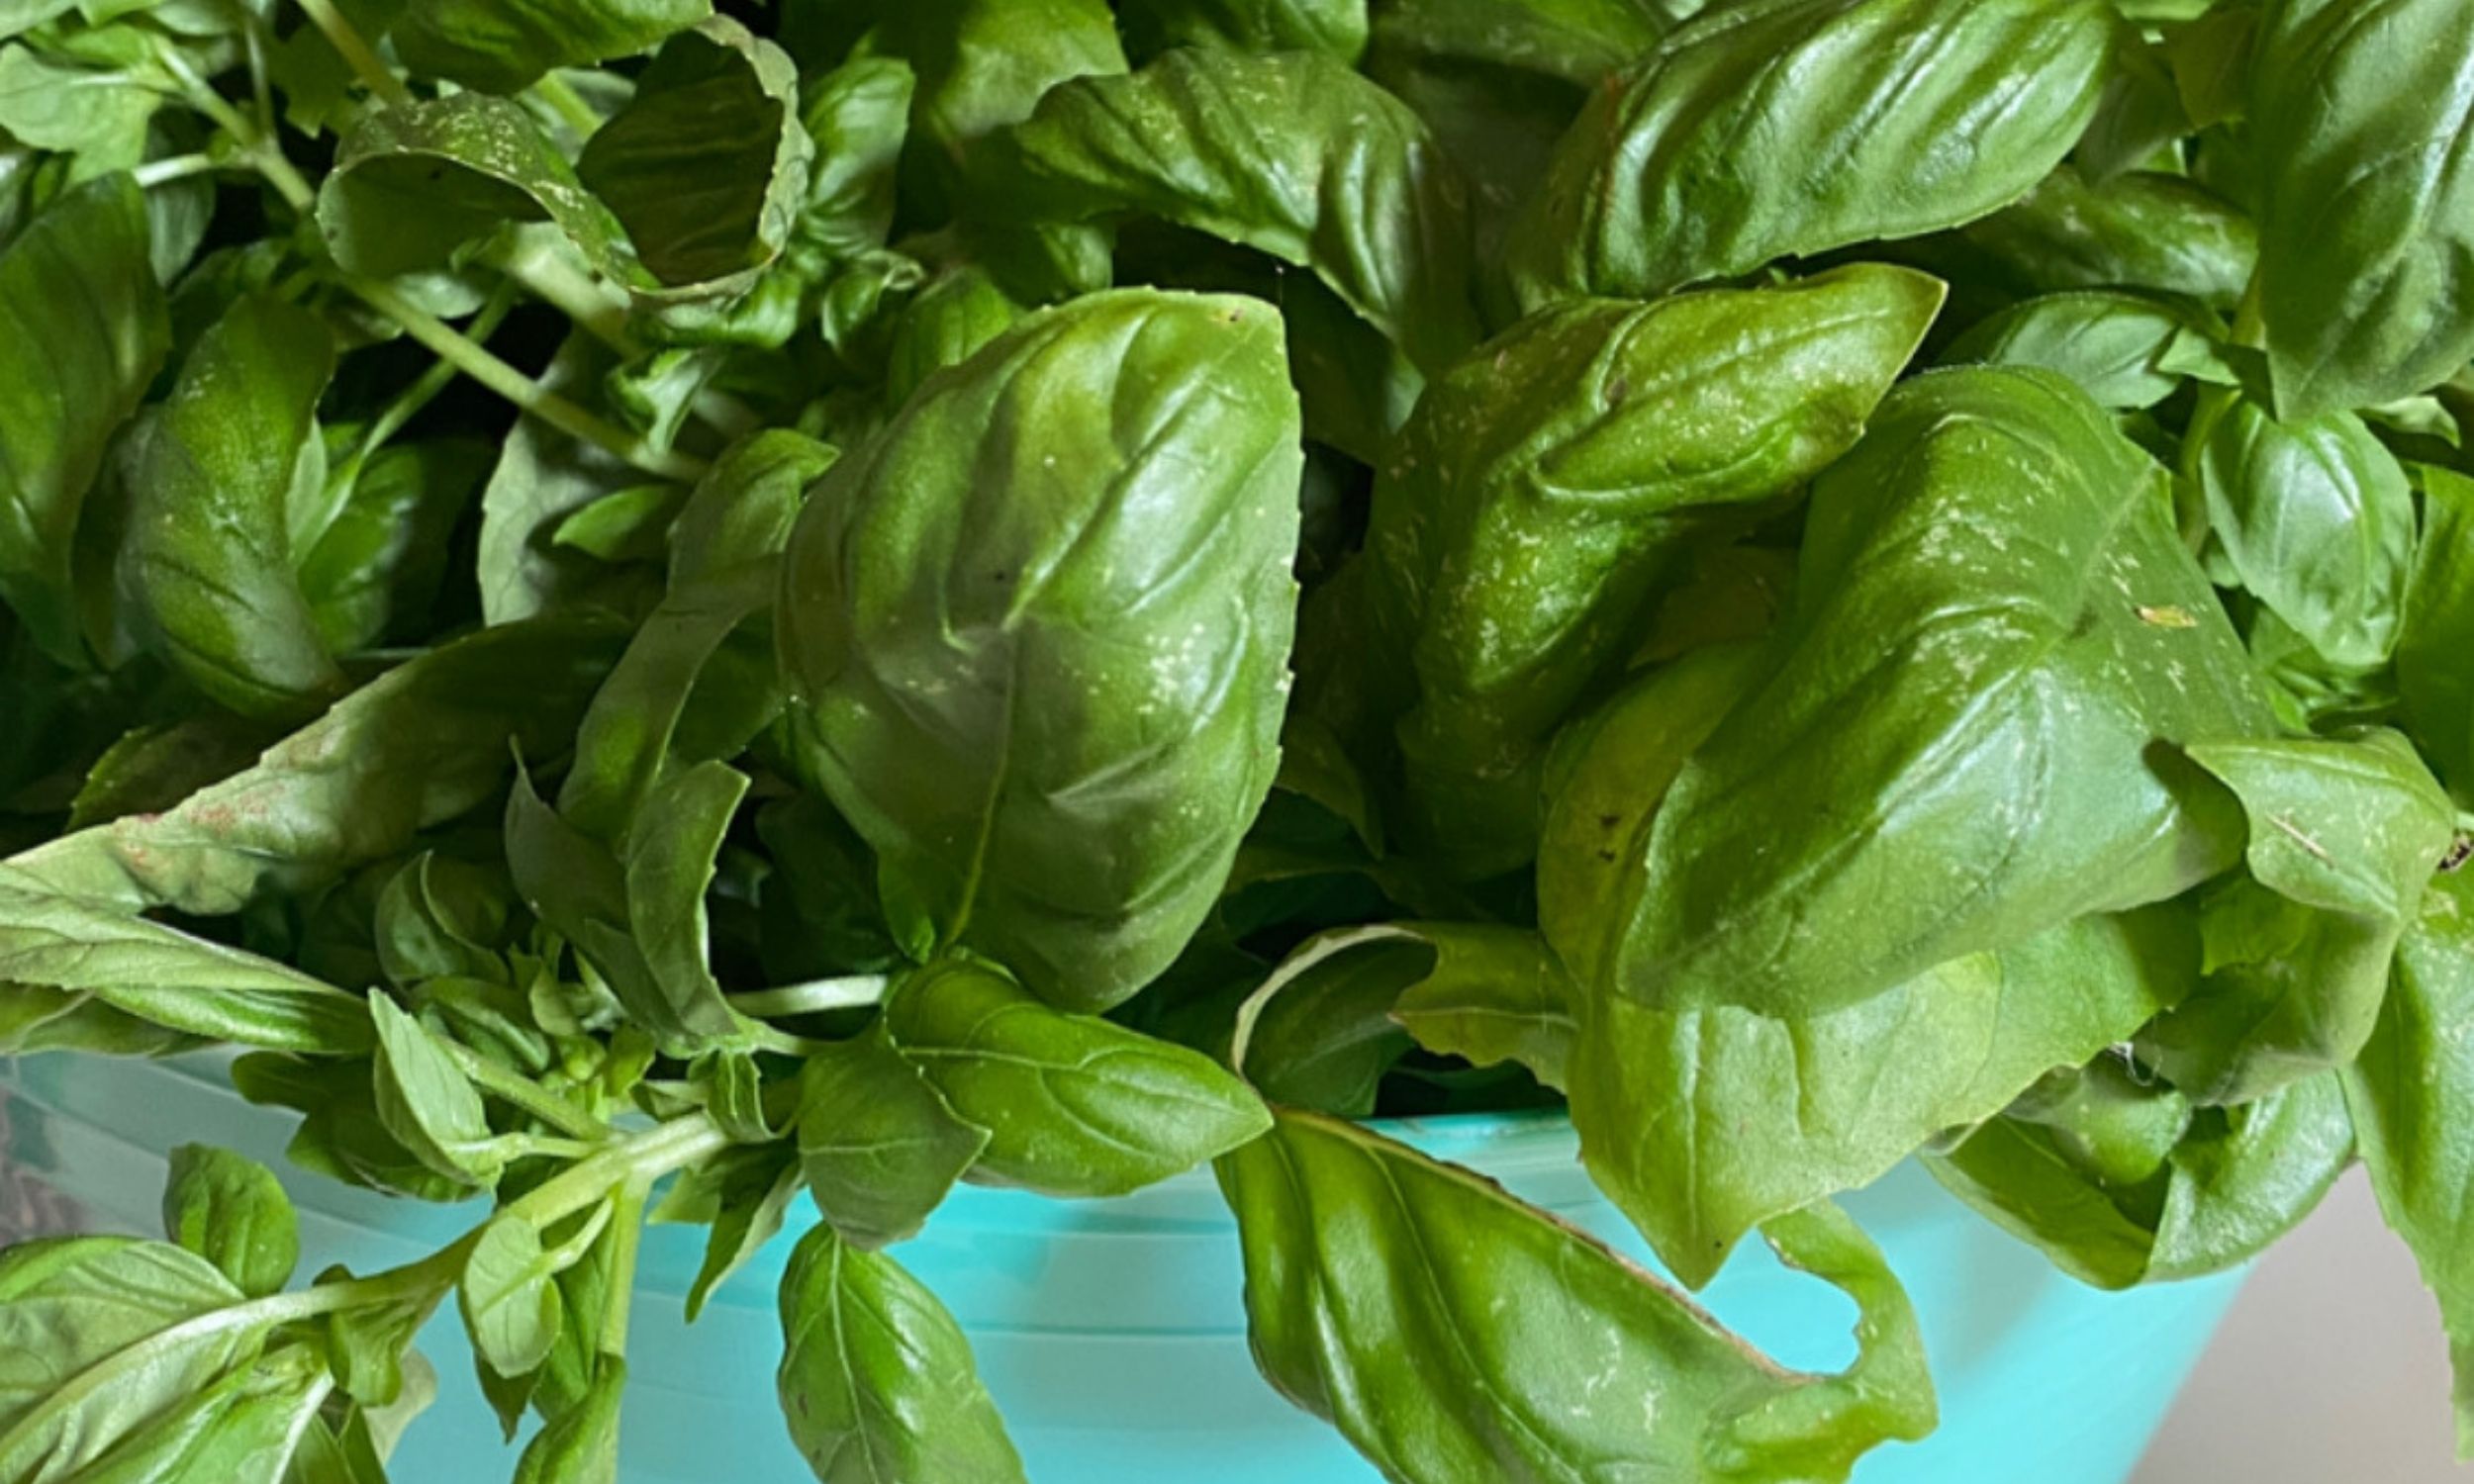
Step 1 – Collect
Might be obvious but in order to dry basil you must have some to dry. When cutting your basil ….
Step 2 – Wash
Wash your basil. A big bowl of cold water is all you need. I bet you’ll be surprised at how much dirt is on those leaves!
Step 3 – Remove Surface Water
Dry your freshly washed basil leaves. I spread them out on towels, pat them gently and then just let them lay out for an hour.
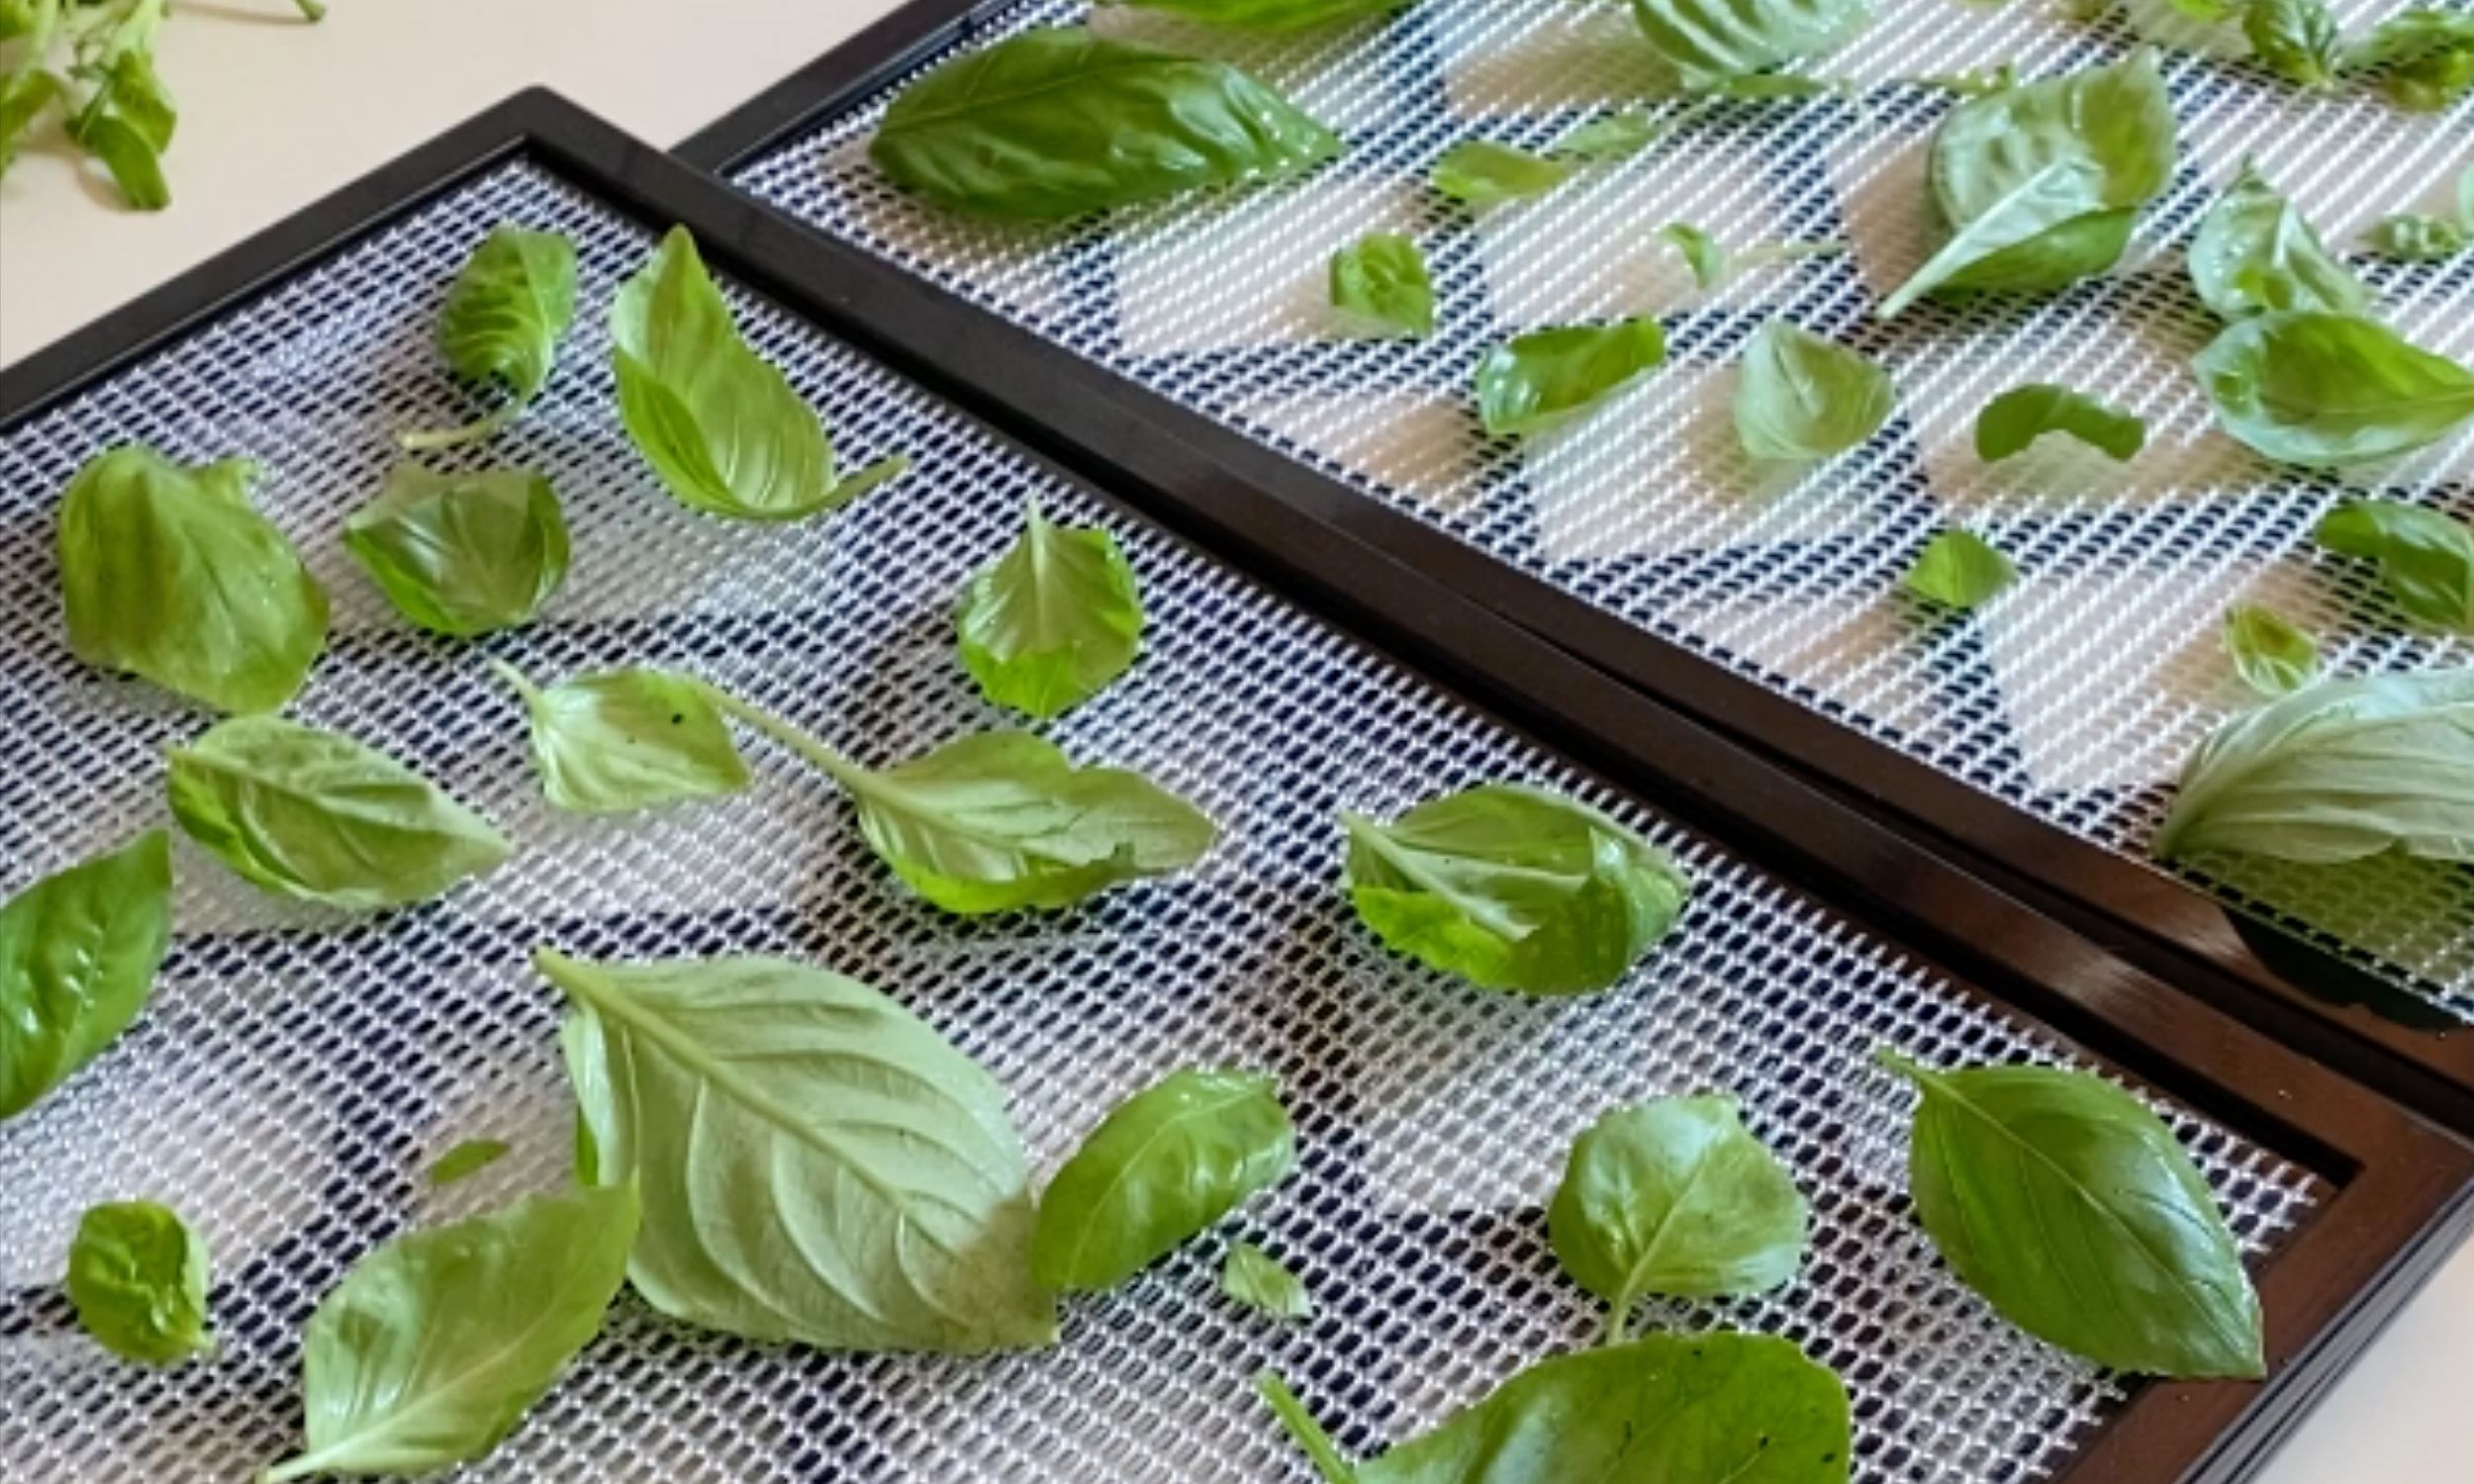
Step 4 – Arrange on Trays
Gently remove the leaves from the stems and lay them out on the drying screens so there is space between them for air to circulate. By removing the stems, everything dries more evenly and quickly.
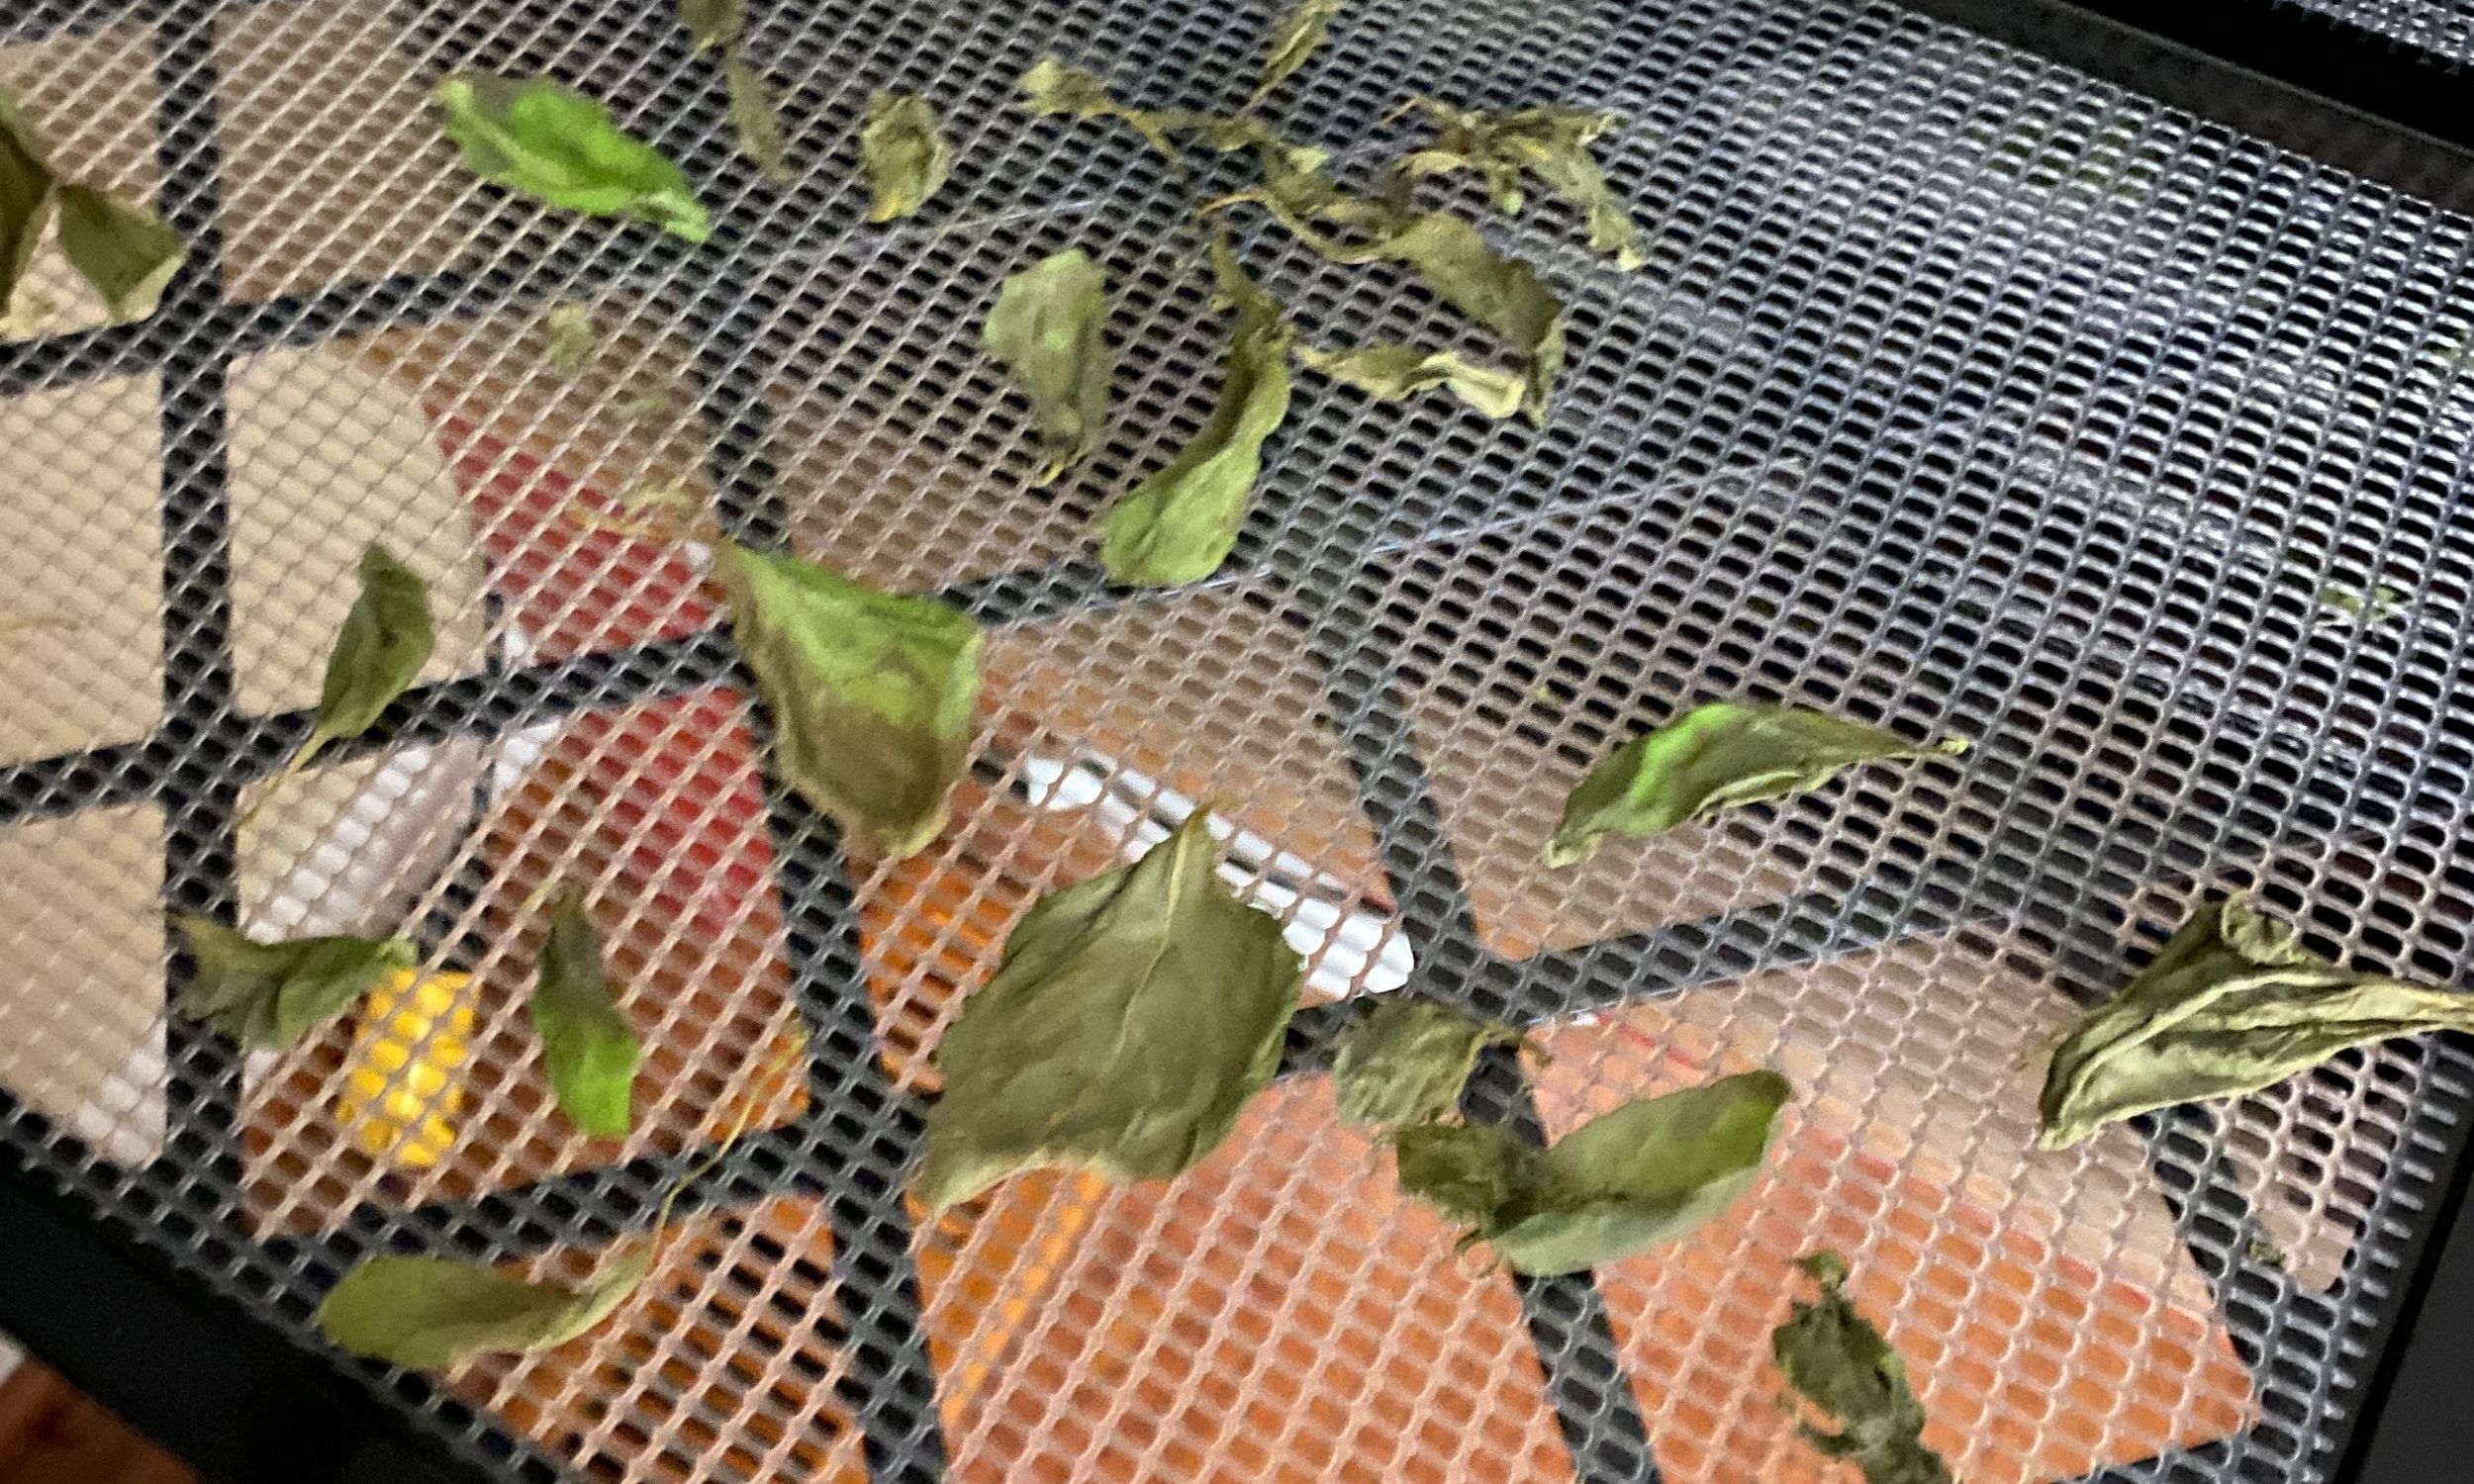
Step 5 – Dehydrate Until Crumbly
Place dehydrating trays in the dehydrator and set at herb setting (just about the lowest setting there is) 35°C or 95°F. If humidity levels in your house and outside are low, start checking at 6 hours, but don’t be surprised if basil takes 12 to 24 hours to dry completely. You will know basil is dry enough when the leaves are crisp and crumbly. If they wrinkle in your hands but don’t crumble into bits, they’re not dry enough!
Step 6 – Store Whole Leaves in Jar
Remove from tray and place in well sealed glass jars. You’ll get longer lasting flavor from dried basil by keeping leaves whole. In other words, DO NOT crumble until ready to use. Basil will start to lose flavor after about 6 months but I use it until next year’s basil crop is ready. By that time, I usually end up using more dried basil than a recipe calls for, but I’m still getting basil flavor.
How to Use Dehydrated Basil
I use dried basil in just about any tomato dish you can think of. I usually add it to recipes fairly early in the cooking process so it can rehydrate and release all its flavor. In fact, when I’m making spaghetti sauce, I add the basil just before I add the tomato sauce so I can fry the herbs with the onions a little to release their aroma. Man does the house ever smell good at that point!
But I have to say I use the most basil in our pizza sauce, just because I make it every week. Check out our Pizza Sauce Recipe, HERE!!
If you are looking to get into the realm of preserving your herbs basil is a great one to start with. It is easy to grow and will grow quickly, giving you many opportunities to dry basil through out the season.
Be sure to check out our other preserving tutorials check them out below.