
10 Essential Canning Tips for Beginners: Start Preserving Like a Pro
Start your canning journey with confidence! This guide gives you 10 key tips for safe and effective preserving. It’s perfect for beginners or those wanting to improve their skills. You’ll learn about the right equipment and tasty recipes to get started.
Canning lets you keep the taste and nutrition of fresh produce all year. With the right methods and tools, you can enjoy your garden or farmers’ market finds even when they’re out of season. Dive into this guide to become a pro at canning, one jar at a time.
Disclosure: As an Amazon affiliate, I earn from qualifying purchases at no extra cost to you. My blog contains other affiliate links as well for your convenience. To learn more, you may read my Disclosure Policy. Thank you for supporting my blog!
Introduction to Canning
Canning is a way to keep food fresh for longer and reduce waste. It’s great for gardeners and those new to home canning. Learning the basics can make you a pro at keeping your favorite foods fresh.
What is Canning?
Canning seals food in jars or cans to stop bad bacteria from growing. It heats the food to a certain point, then cools it fast. This process removes air and creates a vacuum seal, keeping food fresh for months.
Benefits of Home Canning
- Extends the shelf life of your produce, allowing you to enjoy your favorite foods year-round.
- Reduces food waste, as canned goods can be stored for longer periods without spoiling.
- Saves money by enabling you to preserve the harvest from your garden or local farmers’ markets.
- Allows you to control the quality and ingredients of the food you preserve, ensuring it meets your dietary needs and preferences.
Whether you’re using a canning guide, trying new food preservation techniques, or starting with beginner’s canning instructions, knowing the basics is key. It’s the first step to becoming a pro at preserving food at home.

Canning Tips for Beginners
Starting with home canning can be thrilling and a bit scary for newbies. If you want to keep your garden’s harvest or enjoy seasonal flavors, these canning tips for beginners will guide you. They’ll help you make safe and tasty preserves.
Start with the Right Produce
Pick the freshest, top-quality fruits and veggies for canning. Stay away from overripe or damaged ones as they can ruin your canned goods. Also, learn the safe canning methods for each type of produce for the best results.
Follow Tested Recipes
Stick to proven, beginner’s canning instructions from trusted sources like the USDA or Ball Canning. These recipes are safe and ensure your food stays good. Don’t try new recipes when you’re just starting, as they might not be safe.
Invest in the Right Equipment
Having the right tools, like a water bath or pressure canner, is key for home canning basics. The right gear makes sure your jars cook at the right temperature and pressure. This keeps your food safe from harmful bacteria.
Pay Attention to Headspace
Keeping the right amount of headspace, the space between the food and the lid, is crucial. It helps seal properly and stops air pockets. Check your recipe for the right headspace for each food type.
With these canning tips for beginners, you’re on your way to becoming a pro at home preservation. Enjoy the delicious, long-lasting foods you make yourself.
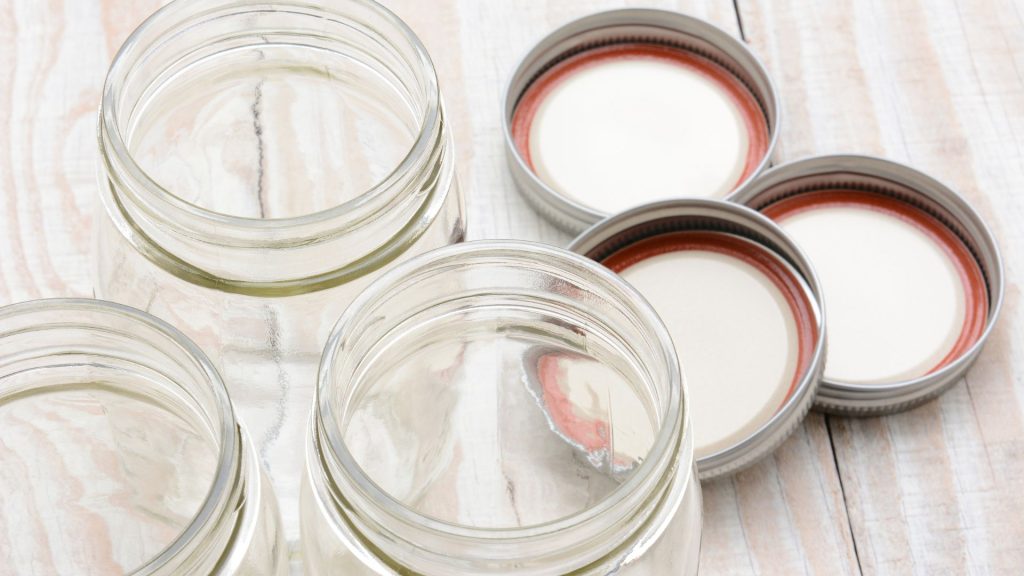
Choosing the Right Jars and Lids
Choosing the right jars and lids for home canning is key to success and safety. It doesn’t matter if you’re new or experienced. Knowing the different jars and lids can greatly improve your canned food’s quality and shelf life.
Types of Canning Jars
Here are the main types of canning jars for home use:
- Mason jars: These classic jars come in sizes from pint to quart. They are the top choice for home canning.
- Ball jars: Like Mason jars, Ball jars are a trusted brand for canning. They are easy to find.
- Weck jars: These jars have a unique clip-top lid. They give your canned goods a modern look.
Lid Selection and Preparation
Choosing the right lids is as crucial as picking jars. There are two main types of lids:
- Two-piece lids: These have a flat metal lid with a rubber seal and a screw band. They keep the lid on during canning.
- One-piece lids: These are a single metal lid with a seal that makes a vacuum seal when canned.
It’s vital to prepare and use lids as the maker suggests. This ensures a tight, safe seal.
| Jar Type | Capacity | Suitable for |
|---|---|---|
| Ball Jars | 4 oz, 8 oz, 16 oz, 32 oz | Fruits, vegetables, jams, jellies, pickles |
| Weck Jars | 7 oz, 17 oz, 34 oz | Fruits, vegetables, jams, jellies, pickles |
Knowing about the various jars and lids helps home canners have the canning supplies needed for their favorite foods. It also ensures home canning basics for great results.
Get our FREE Guide
From Scratch Sourdough Starter
Are you frustrated by failed attempts at creating a perfect starter? Imagine effortlessly baking crusty, artisanal loaves that rival your favorite bakery, without the stress and disappointment. Introducing Fail Proof Sourdough Starter – the simple, proven solution to your sourdough struggles.
Enter your name & email so we can send your our FREE Guide.
Essential Canning Equipment
Starting your home canning journey means you need some key equipment for safe and successful results. Whether you’re new to canning or have been doing it for years, knowing the right tools is crucial. It can greatly improve your canning experience.
Water Bath Canner
A water bath canner is vital for canning foods with high acidity, like fruits, tomatoes, and pickles. This big pot has a rack that lets you put sealed jars in boiling water. This ensures they get enough heat to kill harmful germs. A good water bath canner is the base for safe canning and helps keep the taste of your homegrown or local produce.
Pressure Canner
For foods with low acidity, such as meats, veggies, and soups, a pressure canner is a must. It uses high heat and pressure to kill dangerous germs, keeping your canned food safe. Pressure canners vary in size and style, so you can pick one that fits your canning needs and your household size.
When picking a water bath or pressure canner, think about the size, materials, and how easy it is to use. Choosing quality equipment makes canning safer, more efficient, and fun.
| Equipment | Purpose | Suitable for |
|---|---|---|
| Water Bath Canner | Submerges sealed jars in boiling water to destroy microorganisms | High-acid foods (fruits, tomatoes, pickles) |
| Pressure Canner | Applies high heat and pressure to kill harmful bacteria | Low-acid foods (meats, vegetables, soups) |
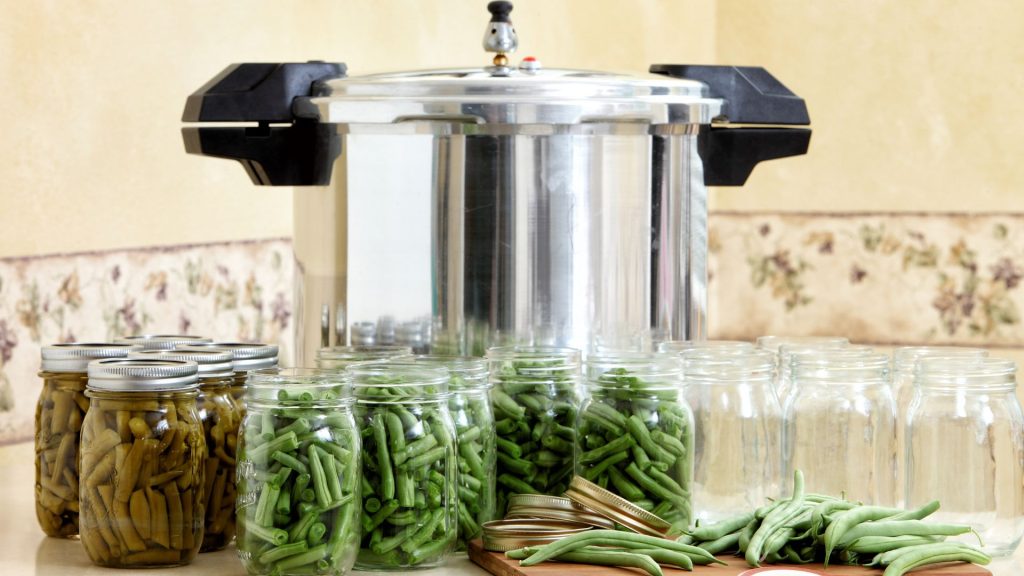
Preparing Ingredients for Canning
Canning fruits, vegetables, and other ingredients is rewarding but requires careful preparation. To make sure your canned goods are top-notch, follow the right steps when prepping the ingredients. Let’s look at the main steps to get your ingredients ready for canning.
Washing and Cleaning
Start by washing all fruits and vegetables well. Rinse them under running water, scrubbing off dirt or debris. This step removes contaminants, making your canned goods safe to eat.
Peeling and Chopping
Some recipes need you to peel and chop the ingredients. Use sharp knives or a vegetable peeler to remove skins. Then, cut the produce into the right sizes. Even chopping is important for even cooking and canning.
Blanching
- Blanching is key for many canning recipes, especially with vegetables.
- It involves quickly submerging the produce in boiling water, then cooling it in an ice bath.
- Blanching keeps the color, texture, and flavor of the ingredients. It also reduces enzymes that can cause spoilage.
By doing these important steps, you’re ready to can delicious and safe recipes at home. Whether you’re using your garden’s bounty or your favorite fruits and vegetables, proper prep is crucial. It ensures successful canning recipes, canning fruits and vegetables, and home canning basics.

Proper Headspace and Jar Filling
When it comes to safe canning methods and home canning basics, getting the headspace and filling jars right is key. Headspace is the space between the food and the jar’s lid. It’s vital for a good seal and to stop food from spoiling.
Calculating Headspace
The amount of headspace needed varies with the food type and canning method. Here’s a basic rule:
- For water bath canning, leave 1/2 to 1 inch of headspace.
- For pressure canning, leave 1 to 1 1/4 inches of headspace.
To measure headspace, use a ruler or headspace gauge. Check the distance from the food’s top to the jar’s rim.
Filling Jars Correctly
Filling jars the right way is crucial for safe canning methods and home canning basics. Here’s how to do it:
- Use a canning funnel to pour the food into the jars, leaving the right headspace.
- Gently tap the jars on a towel to get rid of air bubbles.
- Add more food or liquid to keep the headspace as needed.
- Wipe the jar’s rim with a clean, damp cloth to remove any leftovers before putting on the lid.
Mastering headspace and filling jars correctly will help you preserve your favorite foods like a pro.
Canning Safety: Avoiding Botulism
Keeping your home-canned goods safe is crucial, especially avoiding botulism. Botulism is a rare but deadly illness from a toxin made by Clostridium botulinum bacteria. It’s vital to know the risks and use safe canning methods for home canning basics.
Clostridium botulinum spores are everywhere and can get into your food if you don’t can it right. They love to grow in places with little oxygen and low acid, like in home-canned foods. If they grow, they can make a toxin that causes a deadly food poisoning.
Preventing Botulism in Canned Goods
- Always use approved safe canning methods and follow recipes from trusted sources, like the USDA or well-known canning guides.
- Make sure to add enough acid to low-acid foods or use pressure canning to kill the spores that cause botulism.
- Don’t can foods in oil because it can create a space where botulism can grow.
- If you notice any canned goods that look spoiled, like bulging lids or bad smells, throw them away. They might have the botulinum toxin.
By focusing on safe canning methods and being careful with home canning basics, you can greatly lower the chance of getting botulism. This way, you can enjoy the rewards of preserving your own food safely.
| Canning Method | Suitable for Low-Acid Foods | Destroys Botulism Spores |
|---|---|---|
| Water Bath Canning | No | No |
| Pressure Canning | Yes | Yes |
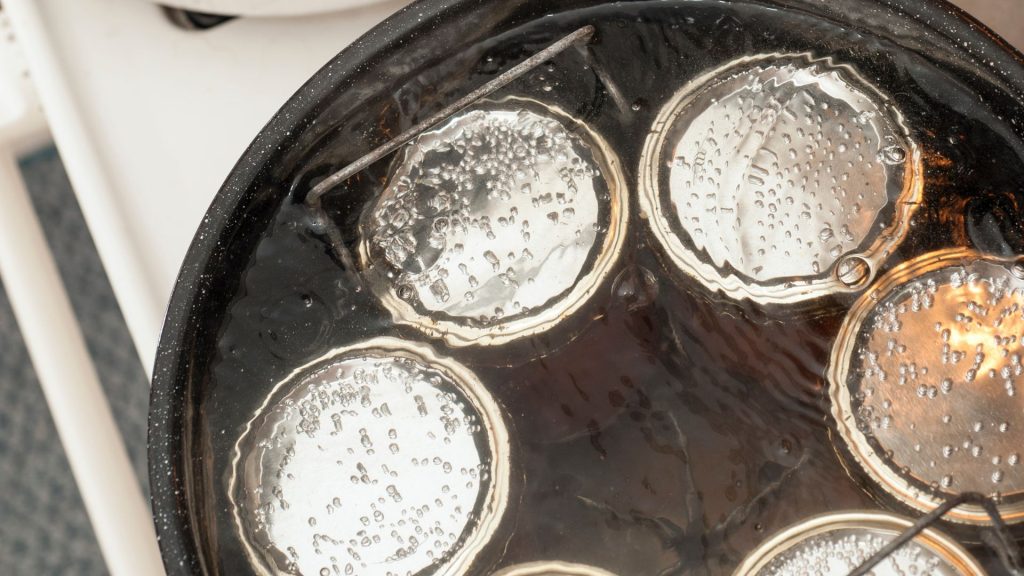
Processing Times and Methods
Home canning requires knowing the right processing times and methods for safety and quality. Two main techniques are used: water bath processing and pressure canning.
Water Bath Processing
Water bath canning is great for foods like fruits, jams, jellies, and pickles. You fill jars and put them in boiling water for a set time. This kills germs and seals the jars, keeping the food safe.
Processing times vary by food and jar size. Jams and jellies need 10-15 minutes, while fruits or tomatoes might take 20-30 minutes. Always follow the recommended times for a safe product.
Pressure Canning
For foods like vegetables, meats, and some fruits, pressure canning is needed. It uses high temperatures to kill germs that can cause illness.
In pressure canning, jars go into a special canner under pressure. The time needed is longer than for water bath, often 20 minutes to an hour, based on the food and jar size.
It’s key to follow safe canning methods and home canning basics for quality and safety. These steps keep your canned goods fresh, tasty, and full of nutrients.
Introducing the
Simplify. Thrive. Homestead. Academy
HOMESTEADING IS THE KEY TO LIVING A SIMPLER, MORE TRADITIONAL AND SUSTAINABLE LIFESTYLE.
You want to live a simpler, more traditional lifestyle…
…Even if You’re Short On Time, Have No Idea Where to Start, and Don’t Want to Give Up Modern Luxuries.
Cooling and Storing Canned Goods
Proper cooling and storing of your home-canned goods is key for their safety and long shelf life. The right techniques are crucial for keeping your pantry full of tasty, well-preserved foods.
Proper Cooling Techniques
After canning, let the jars cool down slowly. This step helps seal them tightly and stops contamination. Here are some tips for cooling jars right:
- Leave the jars in the canner or on the counter to cool naturally for 12-24 hours.
- Don’t move or bump the jars while they cool, as this can mess up the seal.
- After cooling, check each lid to see if it’s sealed right by pressing down in the center. It should not move up and down.
Storage Conditions
Storing your canned goods in the right place is key for keeping them safe and tasty. Here are some tips for storing them well:
- Put jars in a cool, dark spot, like a pantry or basement, away from sunlight or heat.
- Don’t store canned goods near appliances that get hot, like the oven or fridge.
- Before using a jar, check it for any signs of spoilage, like bulging lids, leaks, or mold.
- Use home-canned foods within 12-18 months for the best quality and taste.
By using these home canning basics and canning tips for beginners, you can make sure your canned goods are delicious and safe to eat. Your hard work in the kitchen will pay off, giving your family tasty food for months.
Labeling and Rotating Your Canned Goods
Labeling and rotating your canned goods are key to keeping them safe and fresh. Here are some tips to help you keep your canned foods in top shape.
Create Informative Labels
When you’re canning, make sure to label each jar clearly. Include the following details:
- Contents of the jar (e.g., “Homemade Tomato Sauce”)
- Processing date
- Expiration or “best by” date
This information lets you keep track of how long your canned goods have been stored. It ensures you eat them before they go bad.
Rotate Your Canned Goods
It’s important to rotate your canned goods regularly. Use the “first in, first out” (FIFO) method. This means eat the oldest jars first. It stops older canned goods from losing quality or becoming unsafe.
By focusing on labeling and rotation, you can enjoy your home-canned foods with confidence. These home canning basics and canning tips for beginners will help you succeed in preserving food.
Conclusion
In this guide, we’ve covered key canning tips and techniques for beginners. You now know how to preserve your homegrown or local produce’s flavors and nutrients. You learned about choosing the right jars and lids, and how to fill them correctly.
Looking to stock up on seasonal produce or make a pantry full of homemade foods? The canning tips for beginners and home canning basics here will help you. These tips let you enjoy summer’s taste all year and keep the nutritional value of your homemade preserves.
Starting your canning journey? Remember to focus on food safety. Stick to the right processing times and methods. Also, label and rotate your canned goods carefully. With these tips, you’ll soon become a pro at home canning, keeping your favorite foods fresh for many seasons.