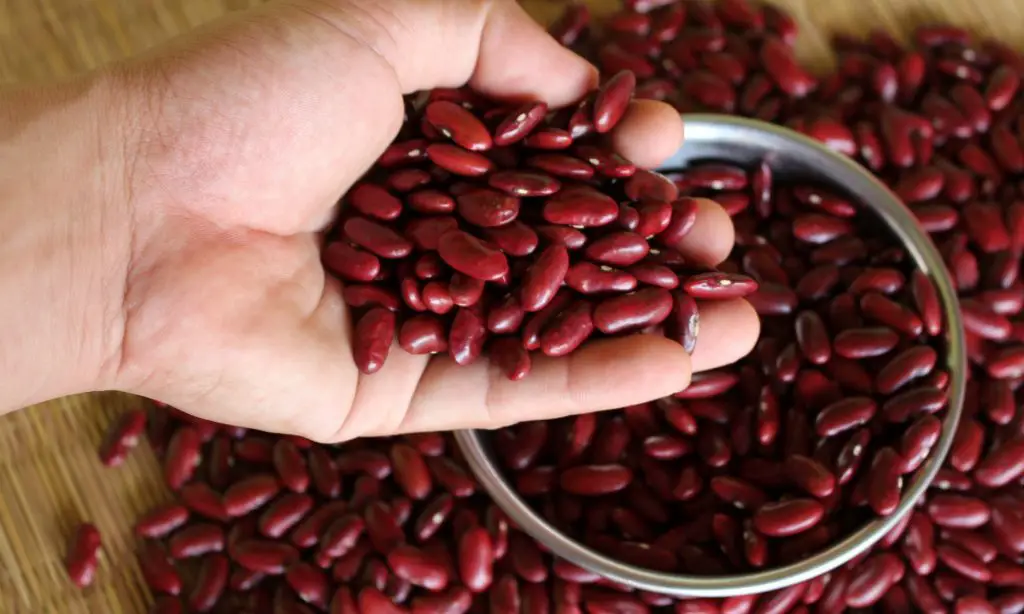
Canning Kidney Beans Made Simple
Are you looking for an easy but delicious way to preserve kidney beans and make them part of your emergency food storage? Canning is a great option! It’s not as complicated or time consuming as you may think, and can be an excellent addition to any food-prep plan. In this blog post, we’ll walk through the simple steps needed to properly can kidney beans at home. From choosing the right type of bean, preparing it for airtight jars, and boiling it correctly—we’ve got all your canning needs covered in one place! So if you’re ready to get started preserving some delicious kidney beans that will last for years on end, then read on!
Disclosure: Some of the links below are affiliate links, meaning, at no additional cost to you, I will earn a commission if you click through and make a purchase.
How to Pressure Can Kidney Beans
Supplies
- Dried beans (kidney, black beans, pinto, navy, etc)
- Water
- Quart or pint sized mason jars with lids/rings (like these)
- A pressure canner (buy one here)
Instructions
Pick through your beans to remove any foreign objects, then place them in a large bowl and cover with plenty of water. Allow them to soak overnight.
(You can add 2 Tablespoons whey, vinegar, or lemon juice to your soaking water if you wish. Some folks report that it makes them easier to digest.)
The next morning, drain and rinse the beans. Place in a large pot and cover them by about 2 inches of fresh water. Bring to a boil. (Stir frequently and watch carefully– those beans LOVE to boil over!)
Ladle the hot beans into hot jars (no need to sterilize them, but they should be clean and hot), leaving 1″ headspace. Fill with the cooking liquid, again, leaving 1″ headspace. Put lids and rings on the jars.

**Alternate Method**
The Ball Blue Book recommends boiling the beans for 30 minutes before placing into jars. However, this makes the beans a little on the mushy side. Many folks (including myself) have had good luck with simply soaking the beans overnight, rinsing, and then placing them straight into the jars. Fill the jars with boiling water (leaving 1″ headspace) and then proceed with the canning. This eliminates the hassle of boiling and results in slightly firmer beans.
Place them in a pressure canner and process at 10 pounds* pressure:
Pints for 1 hour and 15 minutes
Quarts for 1 hour and 30 minutes
(*You will need to adjust your pressure depending on your altitude. )
Remove from canner and let cool, checking all lids for proper seals before storing.
Kitchen Notes
- Bean Amounts: My Ball Blue Book calls for about 3/4 pound of dried beans per quart jar. If you end up with extra, you can always freeze them, or eat them for supper that night.
- After you boil the beans and are ready to put them in jars, they won’t be fully softened. The pressure canner will do the rest of the cooking, so don’t panic.
- If you like, you can add some salt to each jar (1/2 teaspoon for pints, 1 teaspoon for quarts). This is purely for added flavor- it plays no part in the preservation process. I usually leave mine unsalted and season accordingly when I’m ready to use them.
Lorem ipsum dolor sit amet, consectetur adipiscing elit. Ut elit tellus, luctus nec ullamcorper mattis, pulvinar dapibus leo.
You may also enjoy these related articles:
Did you enjoy this article? Want to hear more? Stay in touch! Sign up below to receive weekly tips and inspiration for your homestead.
[convertkit form=3733554]

