How to Make Hummingbird Food
Invite hummingbirds into your backyard by offering them a feeder filled with the sugar nectar they love. It’s easy, quick, and economical to make your own hummingbird food.
Disclosure: Some of the links below are affiliate links, meaning, at no additional cost to you, I will earn a commission if you click through and make a purchase.
Hummingbirds are a treat to observe zipping, perching, or sipping in your garden. There are around 300 species of hummingbirds, but only a handful venture north of South America and when they do, it’s typically during the summertime. The ruby-throated hummingbird is one of the very few that travels to the eastern half of North America, while in the west, you might see rufous, Costa’s, Allen’s, or black-chinned hummingbirds. Anna’s hummingbird is one of the few species that doesn’t regularly migrate and remains year-round in North America, mostly along the Pacific coast.
Although hummingbirds do eat tiny insects and spiders, and also feast on sap and pollen, it’s nectar that makes up the bulk of their diet. Their incredibly fast metabolism is the highest of any animal on earth: A hummingbird’s heart can beat an astounding 1,200 times per minute, their wings can flap over 50 times per second (which is what creates the buzzing or humming sound that gives these birds their common name), they reach speeds of 25 to 30 mph in flight, and their long tongues can dip in and out of a flower or feeder 18 times per second. To maintain their enormous need for energy, the average hummingbird consumes between 1.5 and 8 times its body weight each day in sugar. To match that, you’d need to consume roughly 150,000 calories each day.
The most effective way to draw these nectar-hungry birds to your yard is by planting the flowers they naturally seek out, which are typically tubular-shaped blooms in bright red, pink, purple, or orange. Some hummingbird favorites include lantana, bee balm, foxglove, salvias, lupine, flowering tobacco, petunias, and zinnias. If you don’t have a garden or you just want to admire your feathered visitors up close, consider installing a hummingbird feeder filled with the high-calorie, sugary nectar these birds need to survive.
Want to know more about what to plant for hummingbirds? Read –
Luckily, there’s no need to buy premade hummingbird food. It’s very easy and inexpensive to mix up a batch yourself, particularly if you have a lot of visitors draining your feeders each day. Here’s a simple recipe and a step-by-step guide for how to make hummingbird food.
Before You Begin
If you live in the eastern half of the U.S., plan on hanging your hummingbird feeders in early May. In the west, aim for April. If you live on the West Coast and regularly spot Anna’s hummingbirds in your area, you can leave your feeders up all year. Elsewhere, take feeders down in late fall so migrating hummingbirds have a spot to refuel before making their journey south.
STEP 1: Start with water.
You don’t have to boil water before using it to prepare hummingbird nectar. If the water is safe for you to drink without boiling it, it’s okay for the birds as well. However, if your tap water has a strong taste or odor, indicating added chemicals or other contaminants, it’s best to use bottled or purified water—but not distilled water.
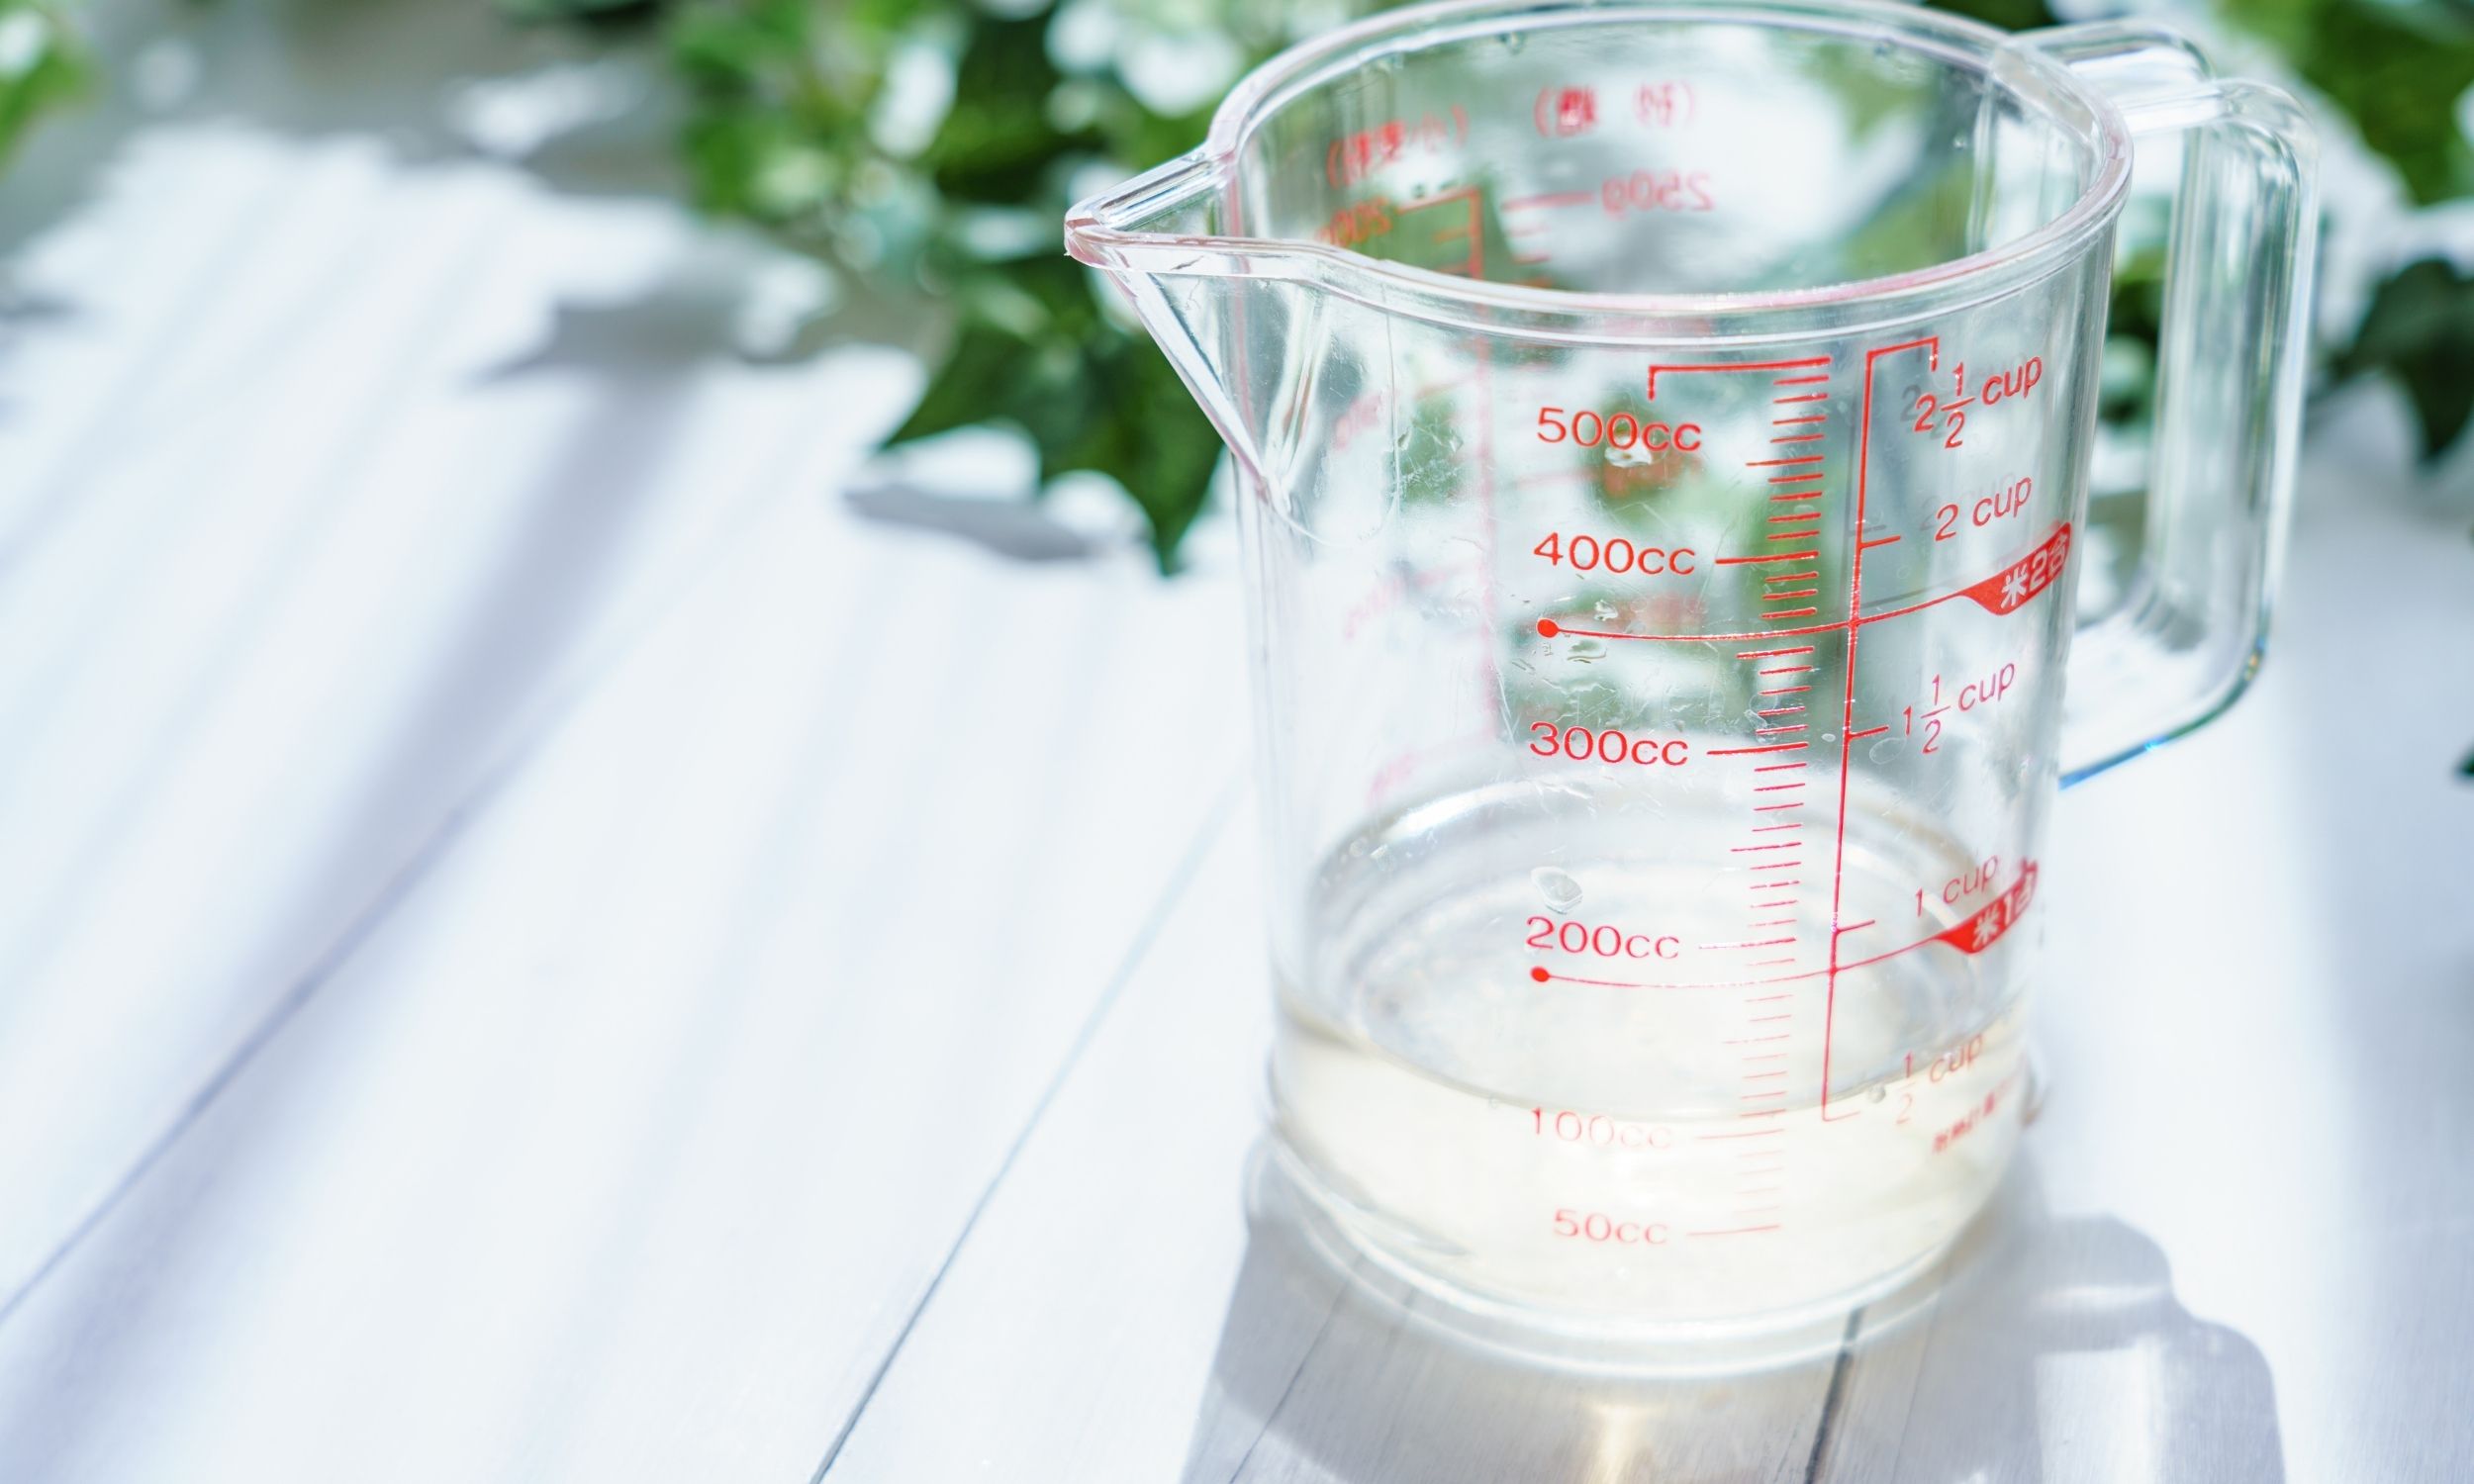
Fill a measuring cup with 2 cups of water.
STEP 2: Add the sugar.
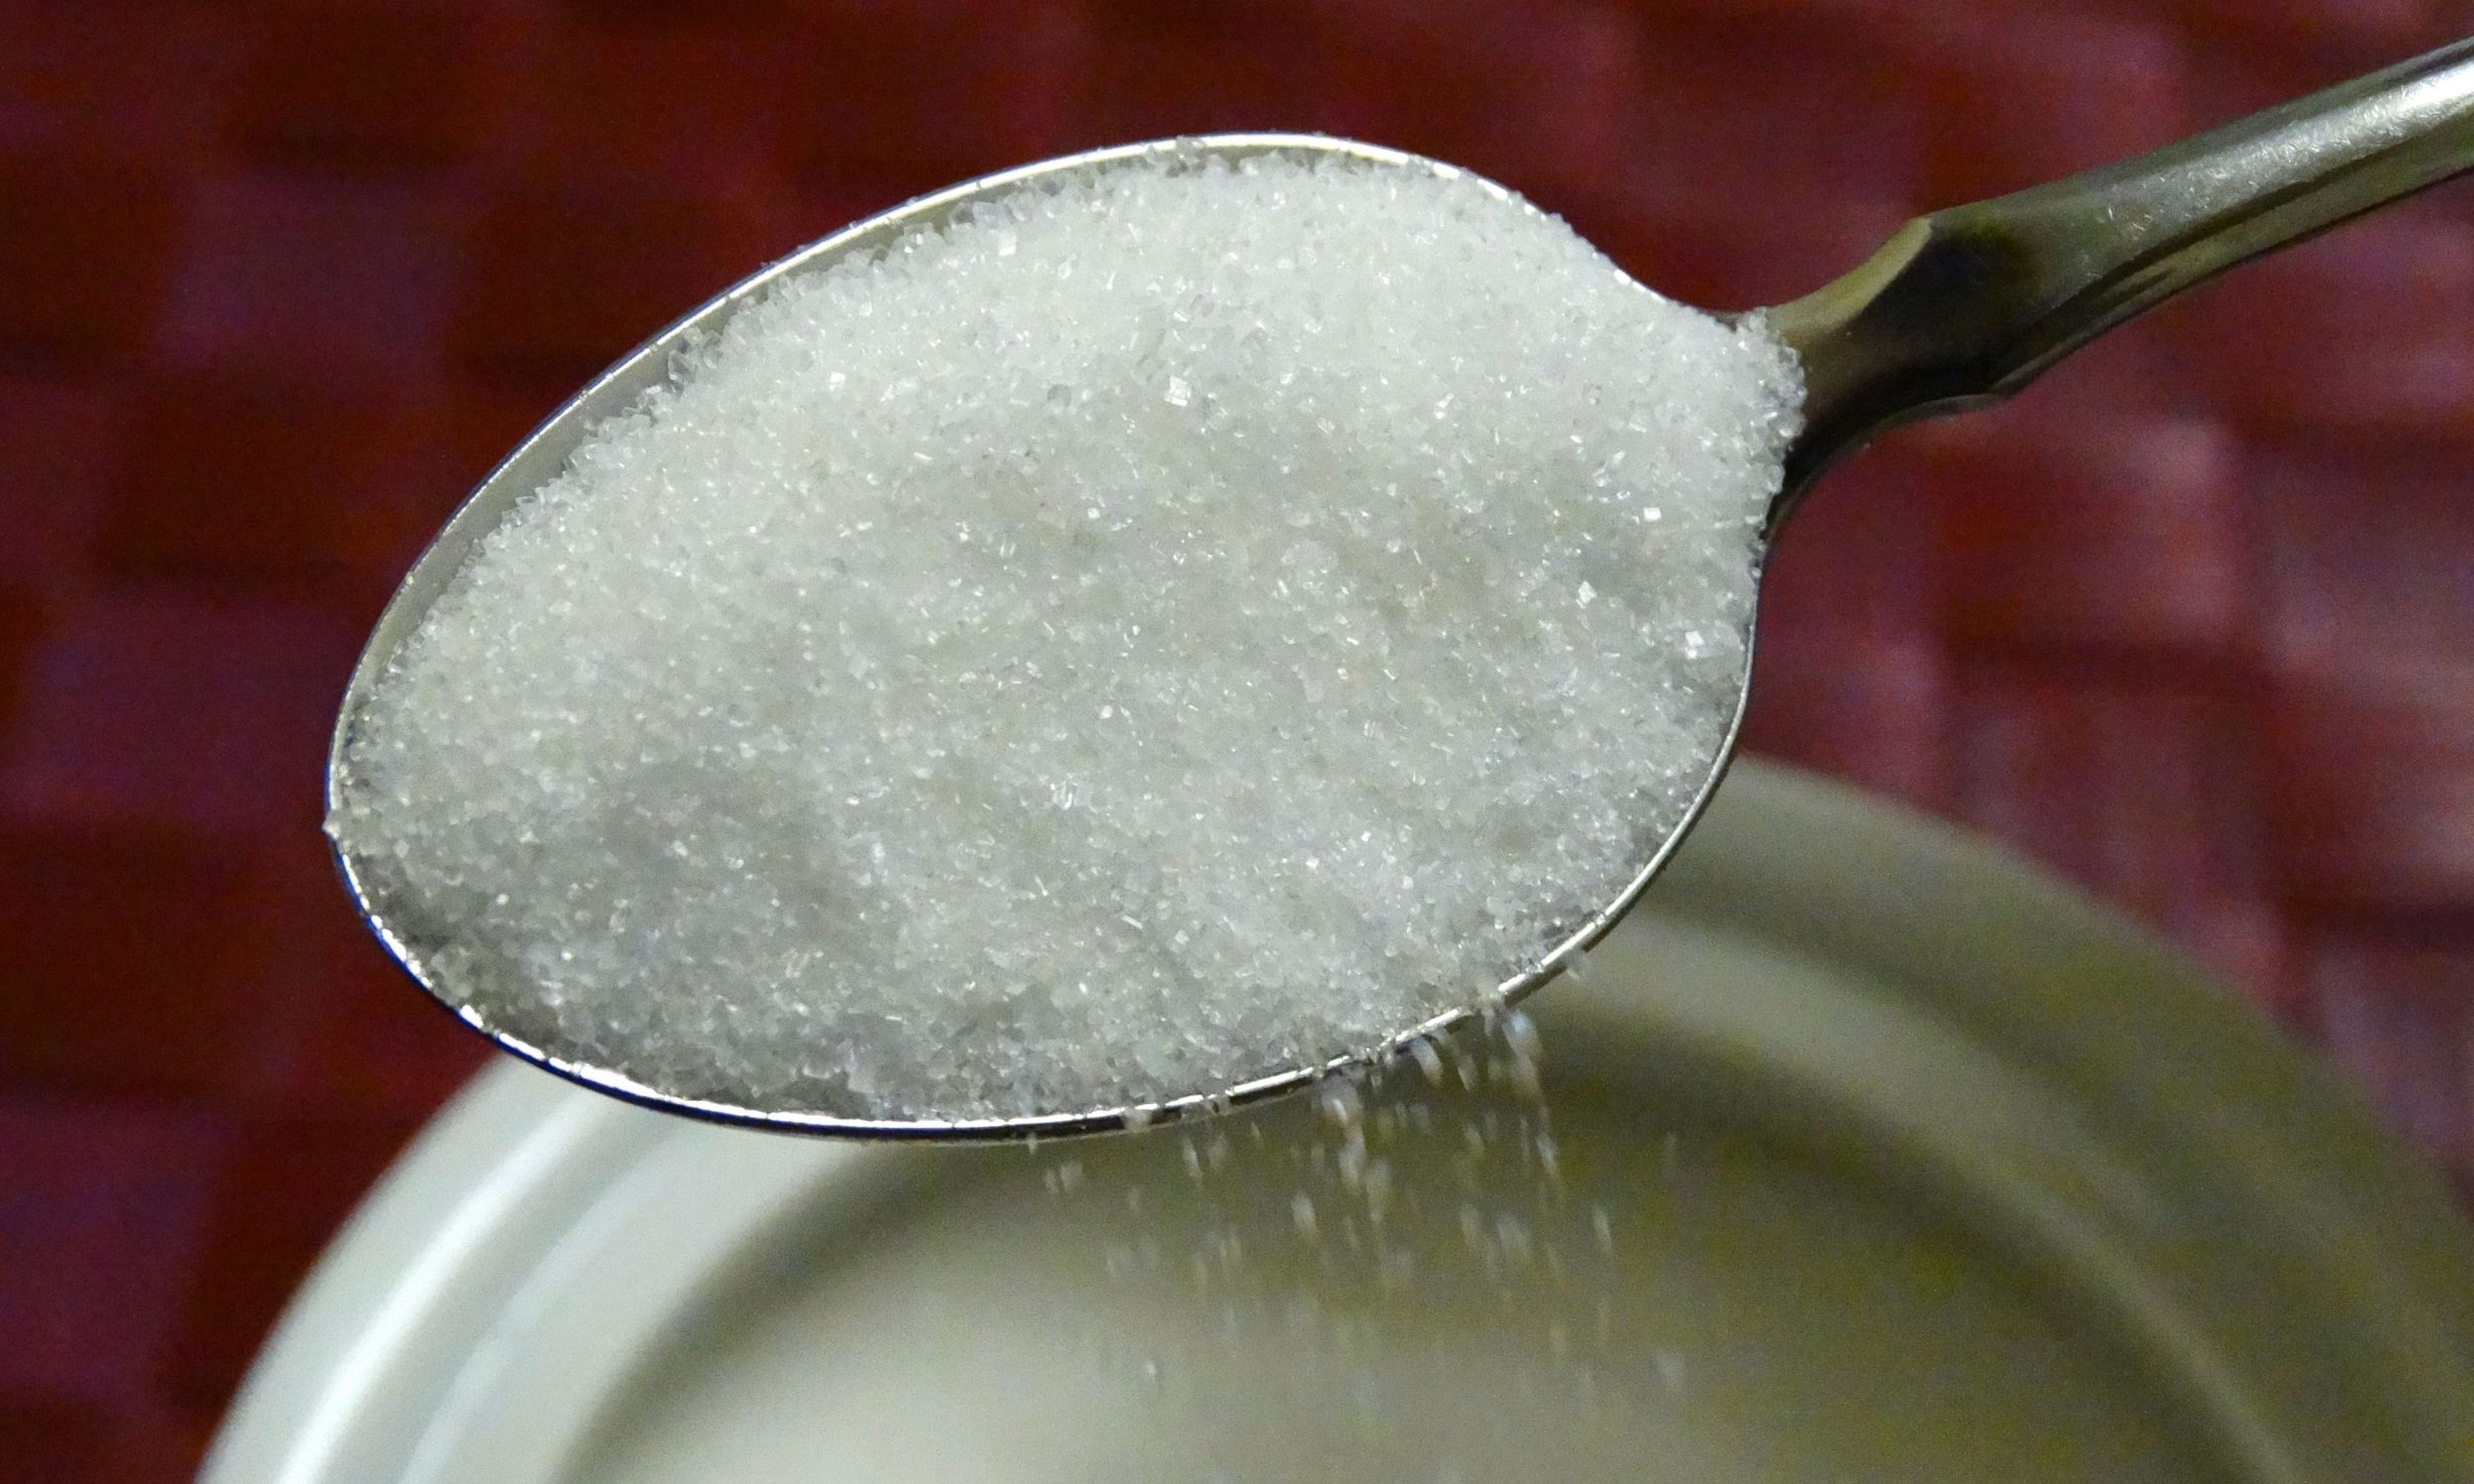
Once you have your water, it’s time to add sugar. Use regular refined white sugar, not honey, artificial sweeteners, brown sugar, or other sugar products, all of which can be difficult for hummingbirds to digest. The correct ratio of sugar to water is 1:4, or ¼ cup of sugar to 1 cup of hot water. Increase or decrease the quantities as desired, but make sure you stick to the 1:4 ratio.
So if starting with 2 cups of water add ½ cup of sugar.
There is no need to add supplemental vitamins or red food coloring, either. The sugar doesn’t have to be red for hummingbirds to find it, and many wildlife and bird specialists feel that red coloring might be harmful to the hummer’s health.
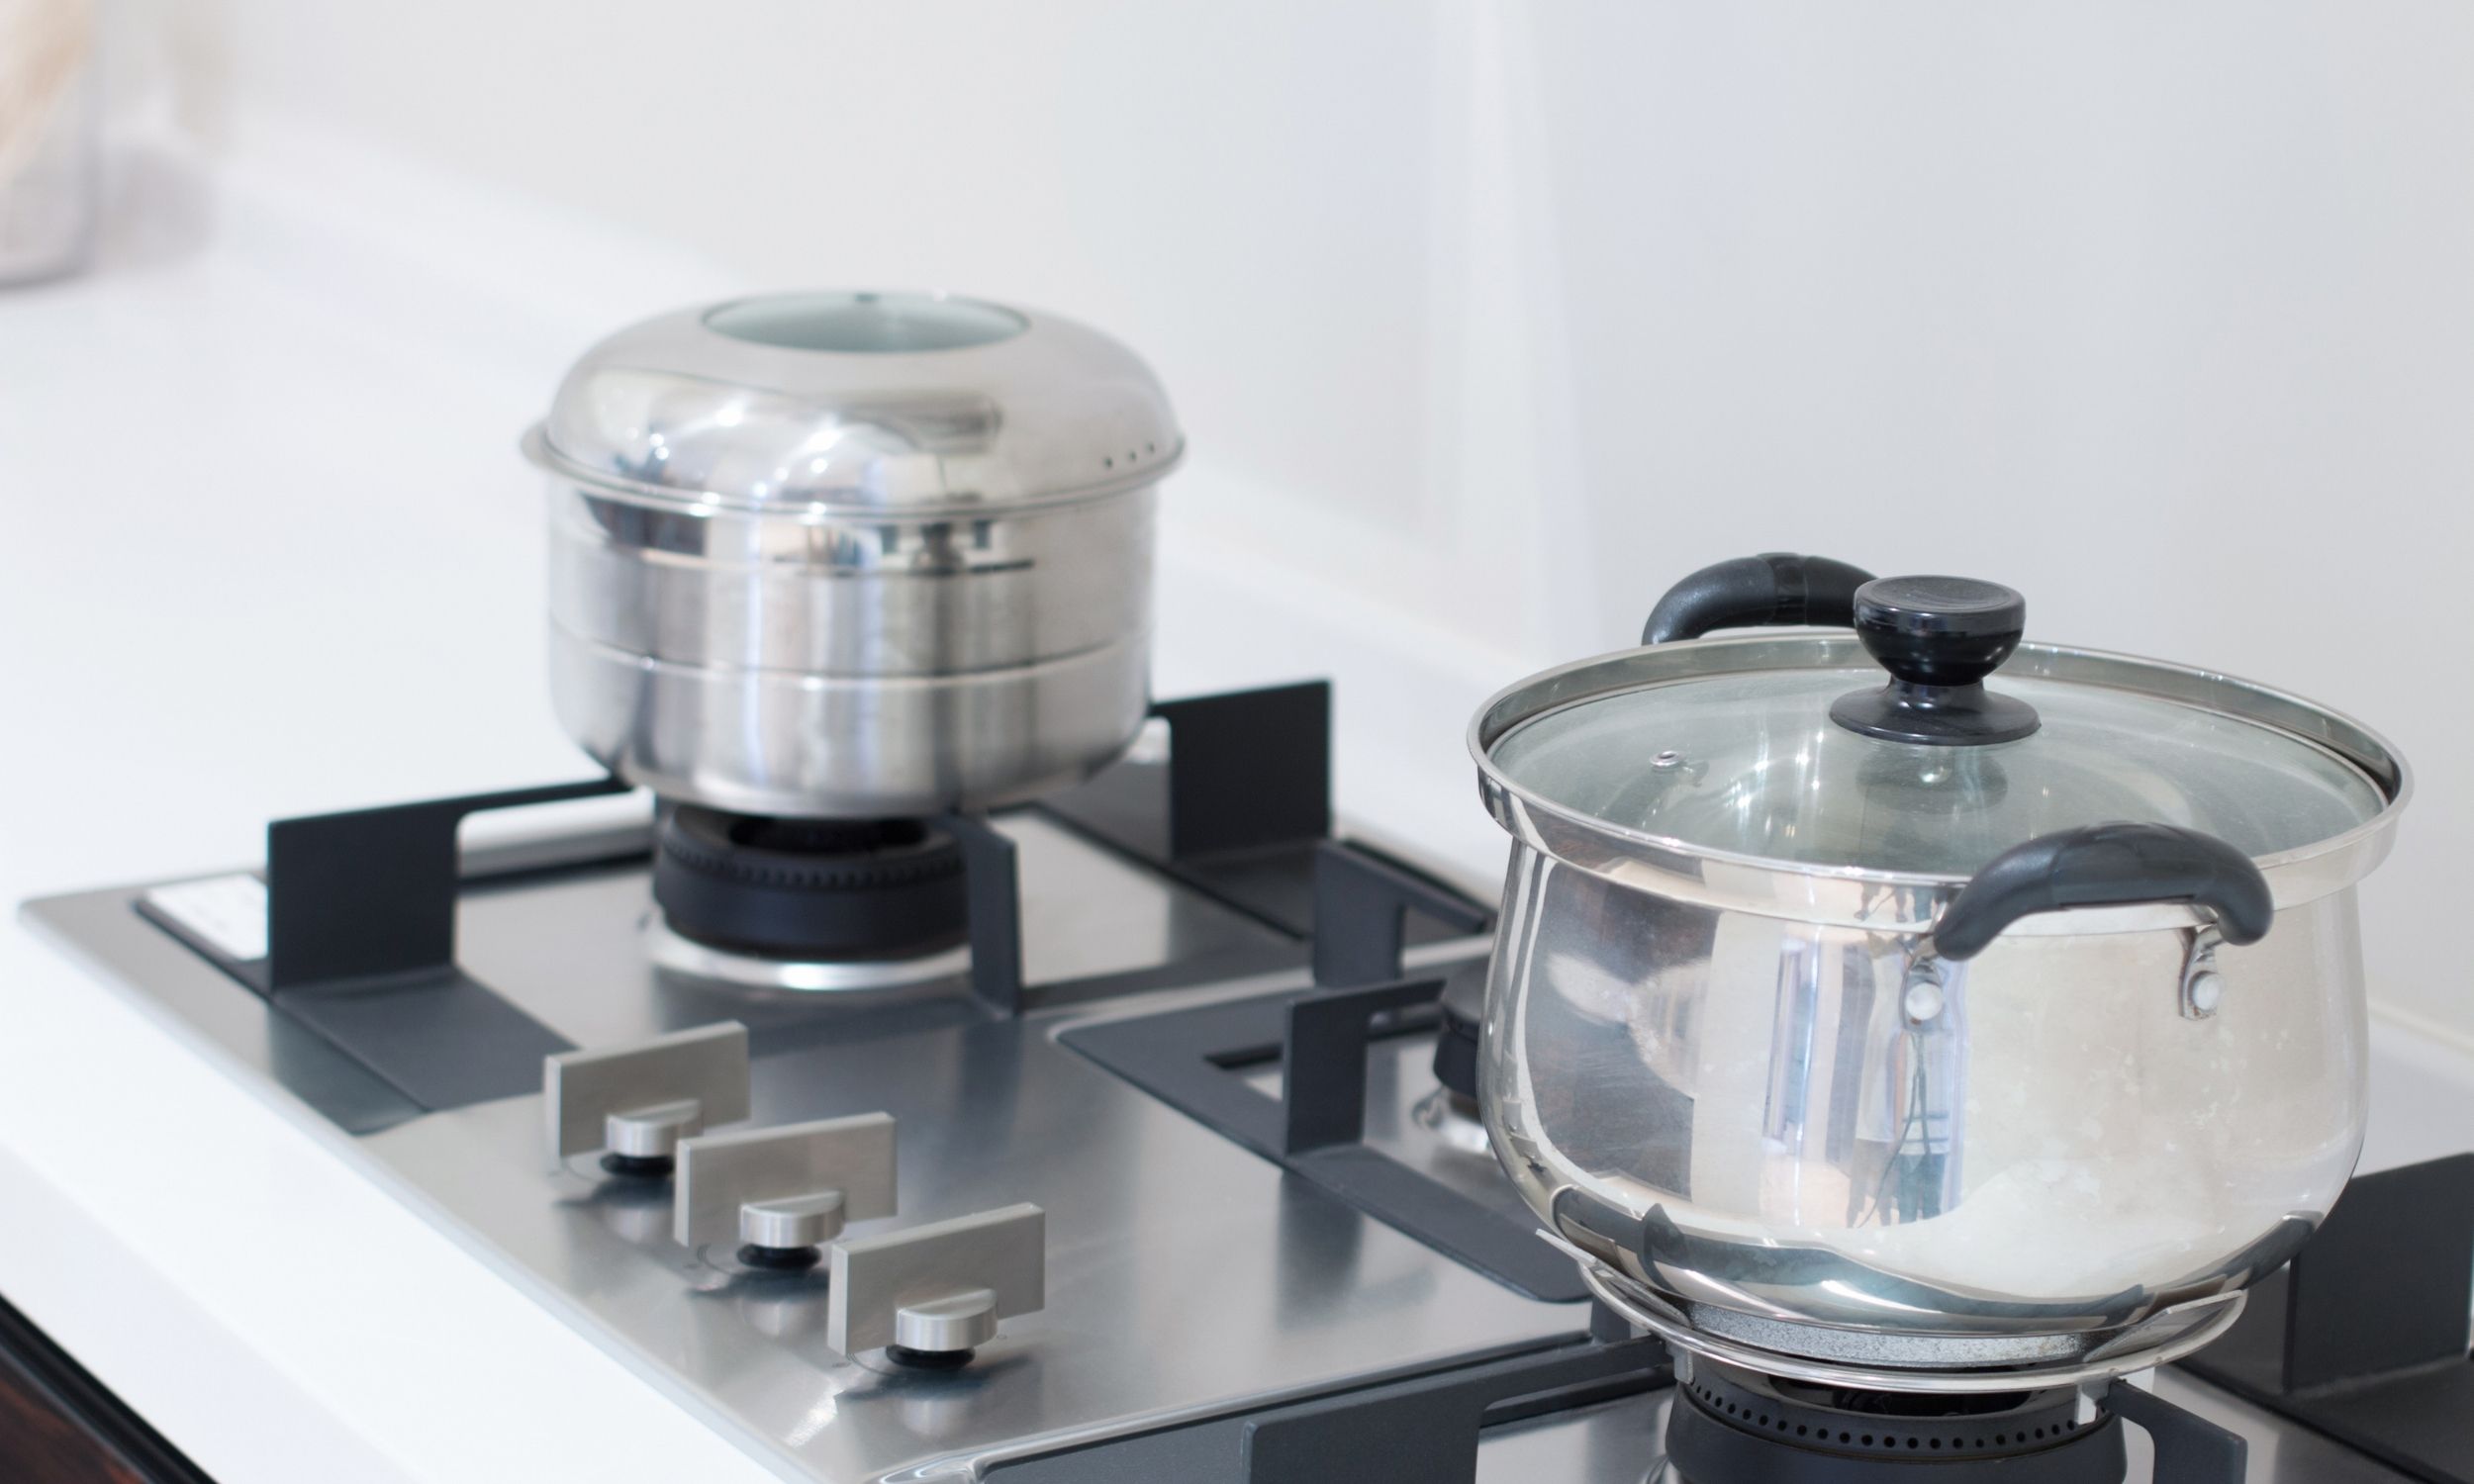
STEP 3: Heat it up.
Put your nectar solution in the microwave for 3 minutes. When the timer goes off, mix your nectar solution thoroughly until all sugar is completely dissolved. Then let the nectar cool to room temperature. I normally leave the solution overnight to make sure it is cool.
STEP 4: Fill the feeder and choose the best location.
Use a funnel, if you need one, to pour the nectar into your hummingbird feeder. It’s best to do the pouring over the sink to catch any sugary drips. Wipe away any solution from the outside of the feeder before hanging it outdoors.
The best spot to hang your feeder is a location that’s easy for you to see—you’ll want to enjoy your feathered visitors, after all—but not so exposed that the birds feel insecure. Ideally, the feeder should be no more than 10 to 15 feet away from a tree or large shrub that offers the hummingbirds a spot to perch while conserving energy or hiding from potential predators.
You want passing hummingbirds to be able to spot the feeder so don’t bury it in a heavily shaded spot, although some dappled afternoon shade is fine. To draw the most visitors, choose a location that isn’t too close to other bird feeders, is high enough so cats can’t leap up toward the hummers, and isn’t too close to glass doors or windows. Birds are easily confused by reflections from glass and are frequently injured or even killed flying into windows or doors.
Check out the Best Hummingbird Feeder, here.
STEP 5: Store extra hummingbird food.
It’s convenient to mix up a big batch of hummingbird nectar and store the extra in your refrigerator to use as needed. You can store hummingbird food for up to two weeks in the fridge, but if the nectar turns cloudy, develops a sour or off odor, or has obvious spots of mold, it needs to be tossed. Don’t fill your hummingbird feeders with food that’s gone bad.
STEP 6: Clean the feeders regularly.
It’s a good idea to fill your hummingbird feeders with only as much food as the birds are likely to consume in a day or so, as the nectar quickly spoils and can even ferment when it’s warm. But even if the feeder isn’t empty, don’t go longer than two days in hot weather and five days when it’s cool before dumping out remaining nectar and cleaning the feeder thoroughly.
You should clean the feeder every time you refill it. Disassemble the feeder—usually the bottom will screw off—and wash all parts with warm water and a gentle dishwashing liquid. If necessary, a bottle brush makes it easy to reach all the way down inside the feeder. Pay special attention to the feeding ports, which often become crusty or moldy. If necessary, use a pipe cleaner or an old toothbrush to scrub away any debris.
Rinse all parts of the feeder thoroughly with clean water until no soap residue remains. Let the feeder air-dry or dry it with a clean towel before refilling it and hanging it back outdoors. Your feathered friends will thank you for protecting their health by keeping their feeder clean.
We love watching our hummers zip, hover and chase each other off our feeders. The kids consider them pets and when we go away they always ask who going to take care of our hummingbirds. By following the steps outlined above, you can easily mix your own hummingbird food that will entice these tiny, beautiful birds into your backyard for an up close and personal view.
