Growing in Landscape Mesh for a No Weed Garden
Are you ready to start a garden but the thought of wedding the garden every day has you running for the hills? We were exactly the same way!! Until we discovered landscape mesh. Jamie calls it cheating but we will gladly “cheat” if that means we don’t have to spend long hours bending over beds wedding.
Growing your garden in landscape fabric is a great way to suppress weeds and keep your garden healthy and growing strong. The fabric works by creating a barrier that prevents weeds from growing, while still allowing water, nutrients, and oxygen to reach your crops. Additionally, it helps to prevent soil erosion by protecting the topsoil from wind and rain. Whether you are growing flowers, vegetables, or other plants, using landscape fabric can help give you the results you want with minimal effort. So if you’re looking for an easy way to grow a beautiful garden without having to deal with weeds and other problems, growing in landscape fabric might be just the solution you need.
Anyone who has ever tried to garden knows the frustration of dealing with weeds. They can take over your garden and choke out your plants if you’re not careful. Some gardeners swear by using landscape mesh to help keep weeds at bay, and it can be a great solution for a no weed garden. Keep reading to find out how to use landscape mesh in your own garden!
Disclosure: Some of the links below are affiliate links, meaning, at no additional cost to you, I will earn a commission if you click through and make a purchase.
Benefits of Growing in Landscape Mesh
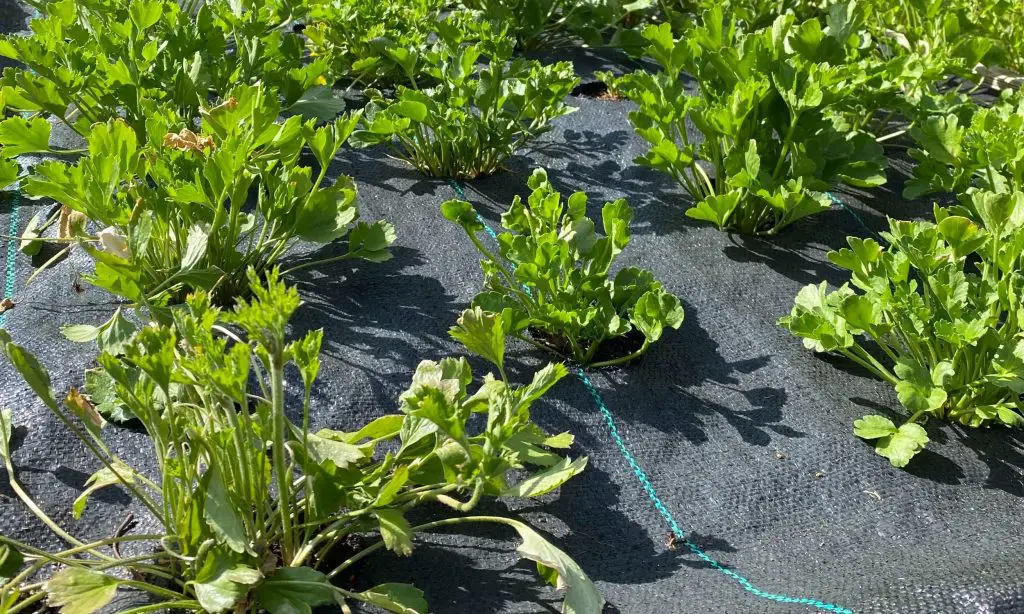
Weed suppression is our main reason for using landscape fabric, there are a few additional benefits worth noting. Unlike plastic, landscape fabric is reusable. Flowers like zinnias, celosia, cosmos, and basil, which like warmer soil and added heat, thrive when planted into the fabric. And moisture retention seems to be greatly increased too. Another great bonus is that fabric makes for a tidy, clean-looking garden. Proper plant spacing is a snap when the holes are preset.
Cons of Growing in Landscape Mesh
The main con of growing in landscape mesh would have to be the up front investment, but knowing that it can be used for decades after if taken care of makes up for it.
Landscape mesh can also be labor intensive at the beginning of the season and the end of the season but when you think about how much time it is going to save you over the whole growing season you will glady spend the extra time setting it up and taking it down.
What to look for
Lately we have bought AGFabric brand of landscape fabric. It comes in a variety of different lengths and widths making it perfect for our raised garden beds and our in-ground beds. It is shiny on both sides (avoid the type with a fuzzy bottom) and is super-durable.
For our in ground beds we prefer the 6-foot-wide by 300-foot-long rolls, which allow 4 feet (.3 m) for the growing bed, and, if overlapped with another swath of fabric, provide a weed-free path between beds that’s just wide enough for planting, weeding, and harvesting.
Burning holes in Landscape Mesh
It’s important that the holes in the landscape fabric are burned, not cut. We highly recommend using a handheld Bernzomatic.
For perfect spacing and increased efficiency, you will need to use some type of template. We created ours out of lawan; it is thin and pretty light weight.
Using a template is a total game-changer when it comes to using landscape fabric because it allows you to perfectly space each hole quickly and efficiently, saving you so many hours of work.
To burn the holes place your template over the landscape fabric, we recommend doing this in a spot where you don’t mind if what ever in underneath the fabric gets a little burned.
Then using the bernzomatic to burn a hole. It doesn’t take much; most of the time within a few seconds you will have a perfect hole.
Want to know the perfect spacing for your flowers get our FREE Flower Spacing Guide.
https://youtu.be/BgkrObCF4Hk
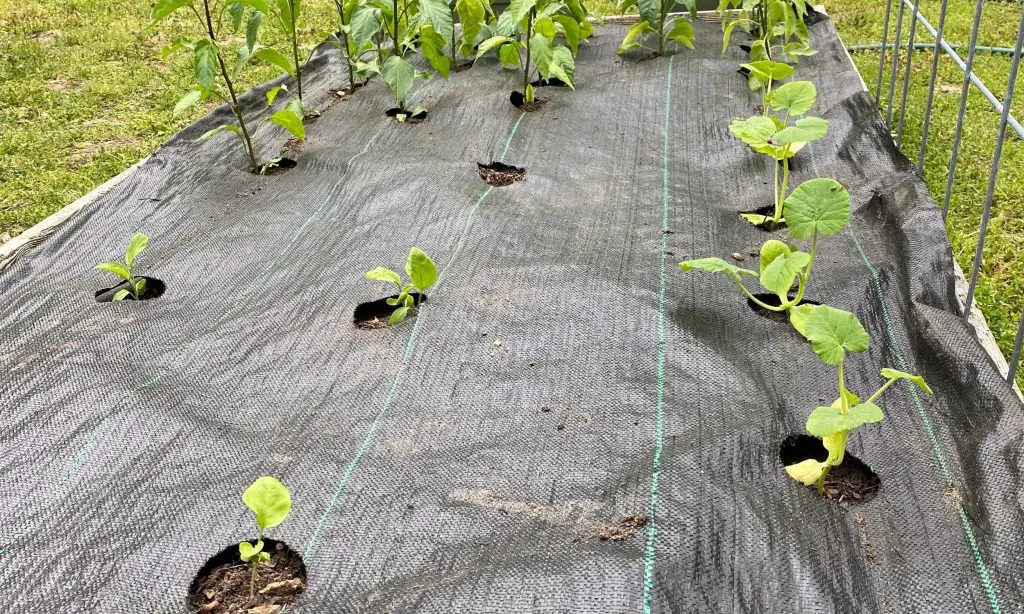
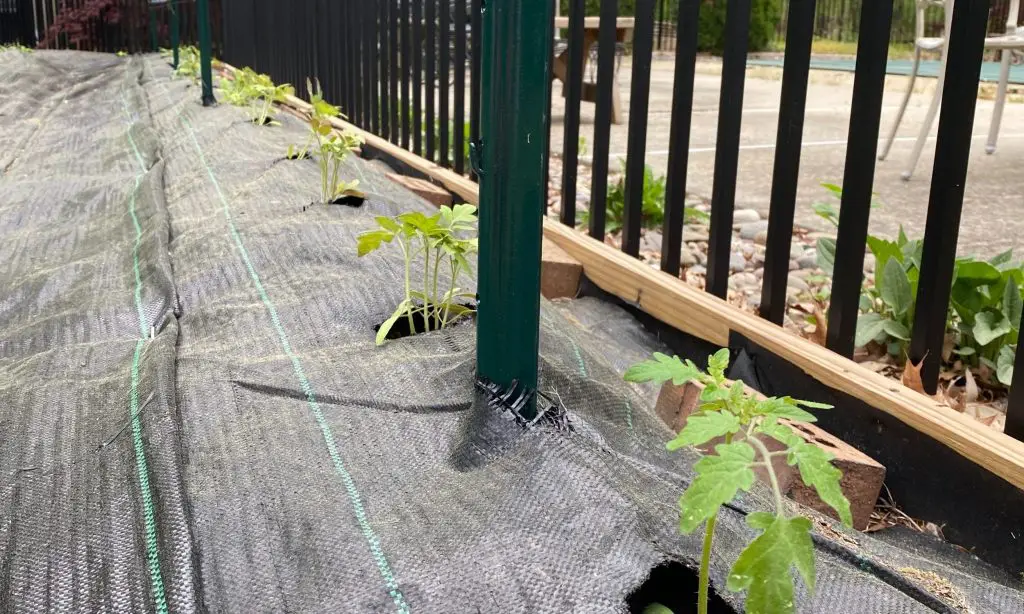
Using Landscape Fabric
Before laying the fabric, we amend beds with compost and fertilizer, then lightly till and lay four lines of drip irrigation.
After the soil has been amended and drip irrigation is in place, we roll the fabric out over the beds and irrigation lines, and anchor it in place with landscape staples.
Seedlings are then tucked into the holes with our favorite planting tool, a butter knife. Nothing does the job better! Newly planted babies are given a light overhead watering and a long drip irrigation soaking, then are left to do their thing.
End of the Season
After the crop has been harvested, we remove the netting, mow the remaining foliage down with either our brush hog, set a foot above the ground, or with a weed whacker/string trimmer.
Then we pull up the landscape mesh, shake of the excess dirt, and fold it up for next year.
When you are first starting out, it is important to realize that growing in landscape mesh can be a labor intensive and costly endeavor. However, the benefits of weed suppression make the investment well worth it in the long run.
By using our flower spacing guide, you can create an evenly spaced garden that looks great and requires very little maintenance. Get our FREE Flower Spacing Guide.